
You and your rose soul-mates have found each other. Now what? How do you keep them happy and thriving in our maritime Pacific Northwest climate? Roses are not completely carefree, but with a few basic care guidelines, you can grow them successfully and enjoy their beauty for years to come.
Planting Roses
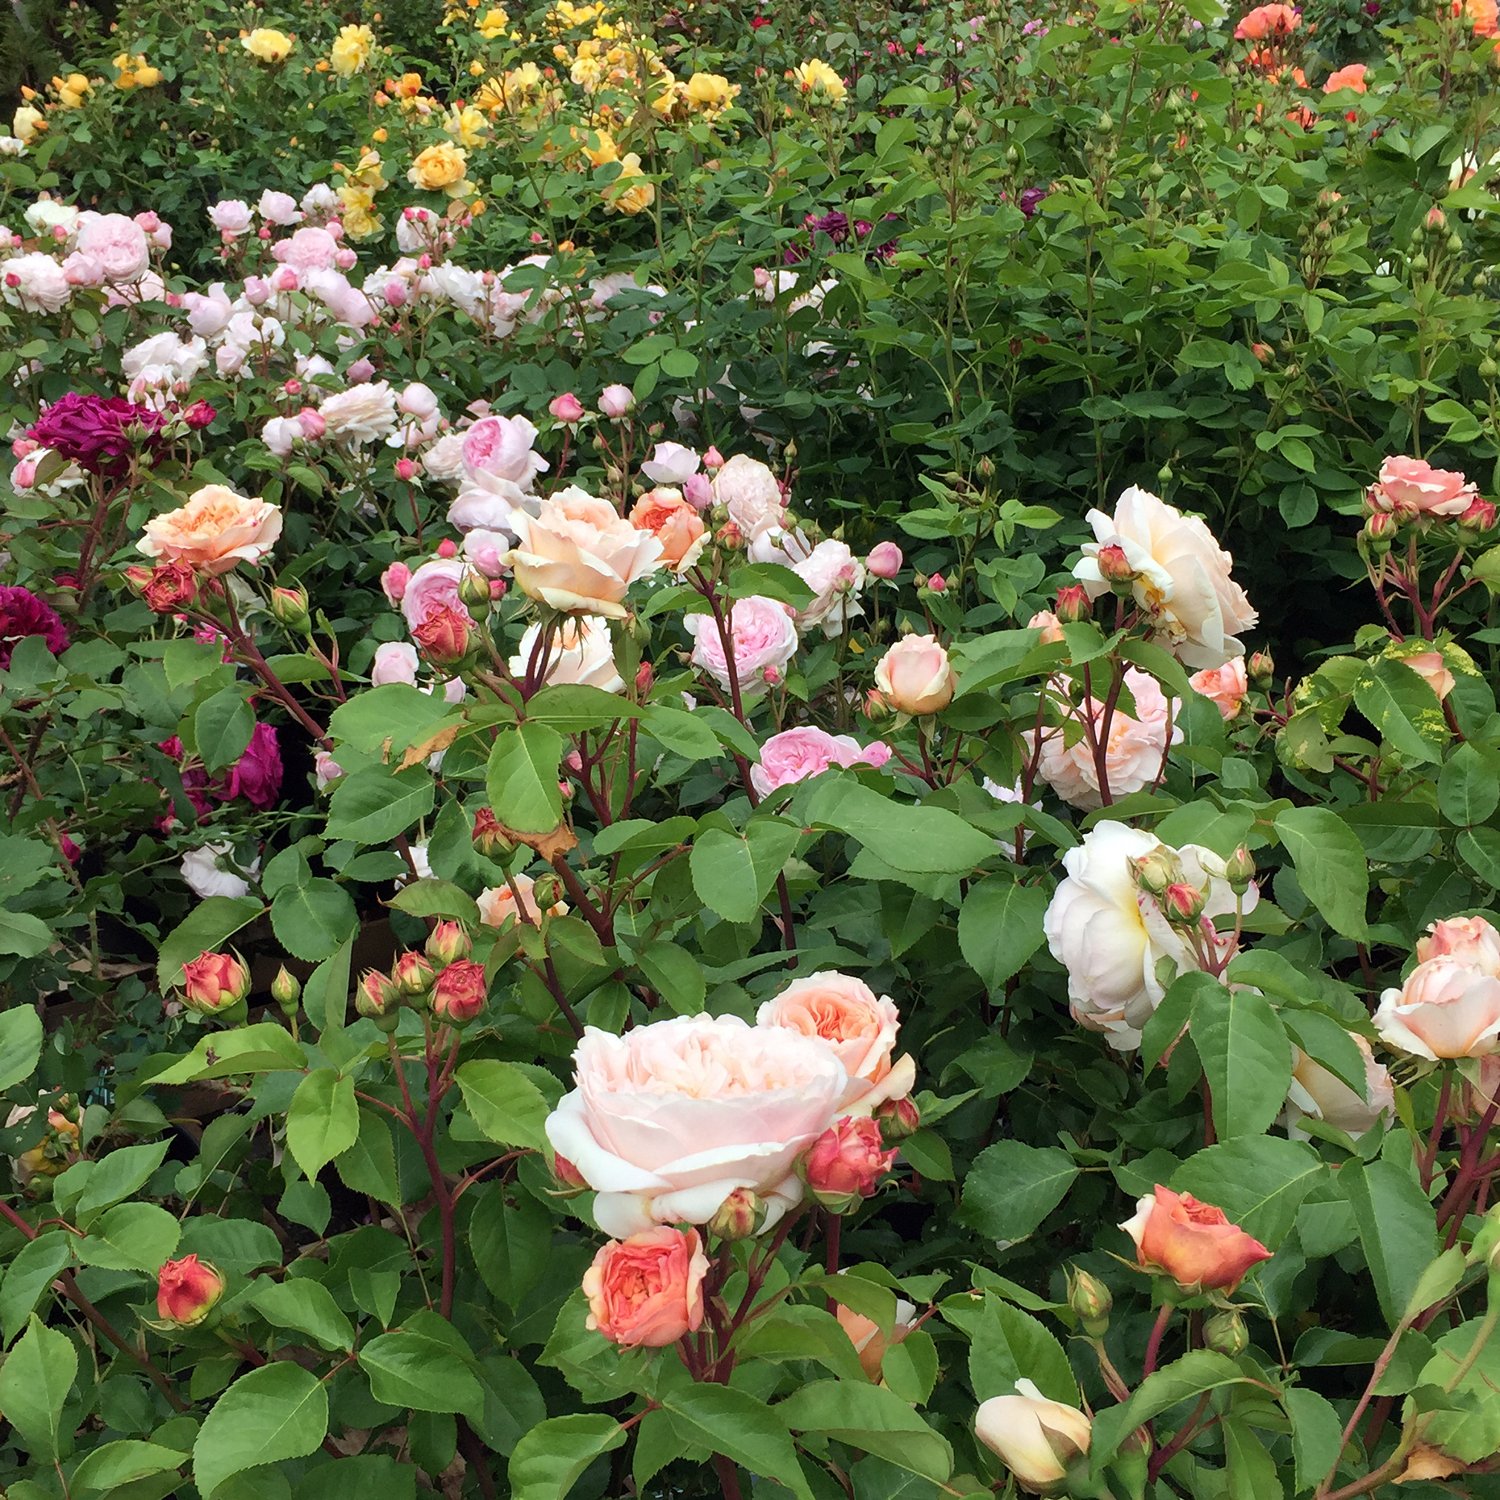
Roses at Swansons Nursery
Choose a location that receives full sun (at least 6-8 hours of sun per day) for planting and avoid crowding rose plants in order to provide adequate air circulation and help prevent disease.
Remove your rose from its pot and gently massage the tangle of feeder roots to loosen them from the soil ball. If the mass is so severely rootbound that you can't loosen the roots, use a clean, sharp knife to score the root mass about 1 inch deep, then spread the roots gently apart. This is essential so the roots can grow out into the soil.
Dig a hole twice as wide as the root ball and deep enough to ensure that the graft at the base of the stem remains above ground level after planting. The graft looks like a protruding nub or ball on the woody stem.
Place your rose and fill the hole with a mixture of 4 parts existing soil to 1 part compost or soil conditioner. Gently pat down and be sure the graft remains 1-2" above the soil. You can mulch the area around the rose with about 2 inches of the same compost or soil conditioner, keeping it a few inches away from the trunk.
Watering Roses

Marilyn Monroe Rose
Water roses immediately after planting and then water deeply twice a week for the first summer. After roses are established, you can water once or twice a week in subsequent summers (don't forget to water during dry periods in spring and fall as well).
Drip irrigation and soaker hoses are great watering tools because they allow the water to soak slowly and deeply into the soil. This type of irrigation also keeps water off of the leaves, which can help stop the dreaded black spot and other diseases, as well as protect buds and blooms.
Fertilizing Roses

Topaz Jewel Rose
Fertilizing roses encourages strong growth and blooms. We like Espoma Rose-tone or Dr. Earth Rose and Flower Fertilizer because they are both natural and organic, slowly feeding your roses over a period of time.
For established roses, we recommend digging a trench 1-2 inches deep around the drip line of the rose; this is the circumference around the outermost leaves of your plant where feeder roots are actively absorbing water and nutrition. Sprinkle the fertilizer (following the label directions) into the trench, smooth over the soil, and water well. You can also add 2-3 cups of earthworm castings or alfalfa meal as an additional nutritional supplement.
Preventing Diseases

Angel Face Rose
In the Pacific Northwest, fungal diseases such as black spot can be a real problem. Since it's very difficult to eradicate a fungal disease outbreak during the spring and summer, it's best to prevent the plant from getting the disease in the first place. Here are a few tips:
Keep the foliage dry during the warm seasons by not watering from above.
Practice good sanitation. Remove all dead leaves and dead twigs from the ground. Remove and destroy all affected leaves. Note: do not put these leaves into your home compost or you risk spreading fungal spores.
Use safe fungicide sprays to prevent healthy leaves from becoming infected. These sprays can help prevent spores from germinating if used over a period of time.
Rose Pests

Rosie the Riveter Rose
Just like other shrubs, roses can sometimes be affected by pests but fortunately, there are several ways to rid your roses of these pests. Inspect your plants often. Early detection and removal help avoid larger infestations.
Aphids are one of the most common rose pests. You can remove them with a gentle spray of water (do so early in the day, so the leaves and flowers have time to dry out in the sun. If you don’t mind the yuck factor, you can also gently smash them between your thumb and forefinger, but try not to bruise the leaves of your plants or damage the flower buds in the process.
There are also many safe insecticidal soaps and natural sprays for use on roses. Our experts can help you choose the best option for your specific issues. Remember, always follow the instructions on the label when using!
Pruning Roses
Gertrude Jekyll Rose
Pruning your roses will help keep them bushy and full of blooms. We won’t get too in-depth in this post (watch for a detailed rose pruning post, coming soon!), but here are a few basics.
To encourage continual blooms, deadhead faded flowers by cutting down to just above an outward-facing leaf with five individual leaves. New budding stems will push out from this spot. You can also thin out any crowded branches during the growing season.
In the late fall, many gardeners prune off rose hips (the fruit of the rose plant) to encourage energy to go into preparing for the next growing season rather than ripening the hips. You can experiment with pruning them off or leaving them for ornamental purposes or for wildlife and then decide which method is best for you.
Major pruning is usually done each year, from the end of February through early March, depending on the weather. Ideally, the roses are still dormant but there is little risk of hard freezes in the near future. There are many methods, from light pruning that removes dead or diseased canes and takes the remaining canes down slightly to hard pruning, which leaves only 5 thick canes per bush, all shorter than 1 foot. Look for our upcoming blog post about pruning roses for more in-depth information.
For more detailed information on pruning roses, see our blog post: How to Prune Roses
Caring for your roses can be very rewarding, especially when you see (and smell) the "blooms of your labor"! If you have questions or need more specific advice, we're always here to help. Come into the nursery, email us, or ask us on social media with #heyswansons!