
Oftentimes I hear people lament that they can't keep their houseplants alive, despite their best intentions. They say: "It doesn't matter what I do, my indoor plants never seem to do well. I give up; I must have a black thumb."
It always makes me sad to hear this because indoor plants can thrive in our homes, creating a more beautiful and healthier living space.
Like any living thing, houseplants need some care. How much depends greatly on what variety of plant you choose. However, here are a few general guidelines to help you deliver the best care to all of your leafy friends.

Light
You will find many different ways to label light needs: sun, part sun, shade, part shade, bright light, indirect light, etc. These are the three basic light levels you need to know:
High Light: direct sunlight for several hours during the day. Plants that need high light can be placed directly in front of south-, west-, or east-facing windows. In the height of summer you may need to move your plants a few feet away from hot, south-facing windows. Some plants that need high light levels include: Aloe, Cacti, Succulents, Jade Plant, Ficus, and Croton.
Medium Light: place plants that desire medium light levels near bright eastern exposures or 4-6 feet away from full western or southern exposures. Some plants that do well in medium light include: Dracaena and Philodendron.
Low Light: plants that tolerate low light do well in north-facing windows, across the room from south- or southwest-facing windows, and often even in the corners of a room. Some plants that do well in low light include: Aglaonema, Aspidistra, Chamaedorea, Ivy, Sansevieria, Pothos, and Spathiphyllum.
Luckily there are houseplants for nearly every level of light.
Fun fact: "As you move from a sunny window towards a corner of a room you will pass from full sun to shade in about 8ft." - The Indoor Plant & Flower Expert
Water
Often the trickiest task. Most people admit to forgetting to water their plants and who hasn't rescued a sad, limp houseplant with a life-saving drink? But you will surprised to learn that overwatering - not underwatering - is the main reason for untimely plant deaths.
To avoid such tragic situations, water your plants when the surface of the soil is dry. Do not keep your plant's soil consistently soggy, but do not wait until your plant has collapsed due to severe dehydration.
"But how often should I water?" you say. That will vary depending on the plant, the pot size, the location and a host of other variables (sorry, there's no set schedule).
Here are a few hints that will help enormously:
When potting your plant, leave around 1" between the rim of the pot and the top of the soil to allow space for water.
Always use a pot that has drainage holes, so excess water can drain away.
Place a tray under the pot to catch any extra water and dump this water out after the plant has finished draining - do not let plants stand in water!
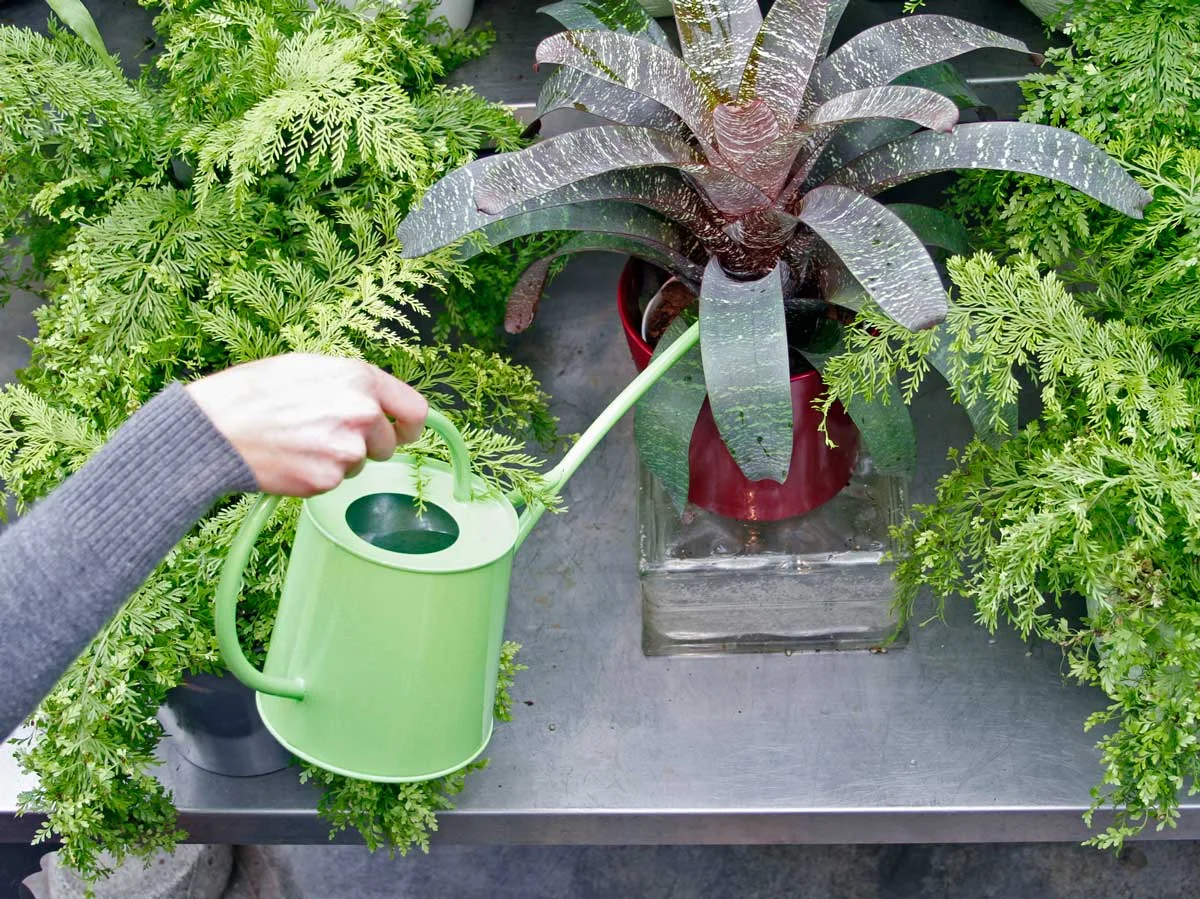
Water close to the soil and try not to get any water on the leaves of the plant (a watering can with a long, narrow spout is very helpful).
Water slowly and thoroughly with tepid water, preferably in the morning and when the sun is not shining directly on the plant.
For most plants, water again when the surface of the soil becomes dry.
Some plants like to dry out a little more (ex: Succulents, Cacti) and others prefer to remain more consistently moist (ex: Calathea, Jasmine, Ferns). Be sure to check your plant's care tag for more specific information.
There are a few ways to check whether the soil is dry:
Dig into the soil a little (about 1/2-1 inch) with your finger and feel whether it is dry.
Look at the soil; dry soil turns pale. Use a moisture meter to test the level of hydration.
Pick up the pot; dry soil is lighter than wet soil.
A combination of any of these things done repeatedly will help you get to know how often your specific plants need to be watered.
Troubleshooting: If the water runs out of the pot immediately, two things could be happening.
The soil has completely dried out and has shrunk away from the sides of the pot. Place the pot in a deep bowl and fill with water to a couple of inches below the pot rim. Leave immersed until the surface of the soil is wet, then remove and let drain.
The plant has outgrown its pot and is rootbound. Peek at the drainage hole to see if the roots are trying to escape and, if so, carefully repot your plant into a slightly larger container.
Temperature & Humidity
Nearly all indoor plants are happy in a temperature range of 55-75 degrees and they can tolerate temps slightly outside of that range for short amounts of time. Broad temperature fluctuations, however, can be detrimental, so keep indoor plants away from cold drafts in the winter.
Most plants need higher humidity than the air in a heated and/or air-conditioned home can provide. To increase humidity, try one (or more) of the following:
Mist plants with room-temperature water in the morning
Place pots on a pebble-filled tray and fill with just enough water to cover the pebbles (be sure the water level rests below the base of the pot so the roots don't rot).
Group plants together. As they transpire water they create their own pockets of humidity.
Use a humidifier to increase air moisture in the whole room or area.
Tip: Use your home's microclimates to your advantage. Plants that need high humidity, such as Ferns and Crotons, will be happy in a bathroom or kitchen while Cacti and Succulents do well in warm areas around heat vents and fireplaces. Just be sure the light conditions are ideal as well.
Soil & Food
Always use a high-quality potting soil, like E.B. Stone Edna’s Best Potting Soil. Specialty mixes are available for cacti and succulents, African violets, and orchids.
During the growing season (spring-autumn) your plants will appreciate a liquid fertilizer, such as Dr. Schultz Indoor Plant Food, which can often be applied while watering. There is no need to fertilize in winter when plants are resting, except for winter-flowering plants such as African Violets.
Tip: Avoid fertilizing newly-purchased plants until they have had a chance to settle into their new conditions.
Cleaning & Grooming
A little cleaning and light grooming can keep your plants healthy and looking beautiful. Keep your plants neat by removing dead leaves and spent flowers.
Dust blocks leaf pores and can also reduce your plant's ability to absorb light. To clean, gently sponge the leaves with fresh water early in the day. Most plants appreciate a nice tepid shower but be sure the stream of water is very gentle so you don't do any damage.
Repotting
Repotting is a blog post in itself, but the are a few basics that can help you get started.
The best time to repot your plants is in the spring when they are coming out of their rest period. Look for signs that your plant has outgrown its present container:
The roots are growing through the drainage holes
The plant dries out very quickly after being watered
There is a significant slowing of growth
Water your plant about an hour before transplanting and choose a pot only a bit larger. You may remove thick, coiled roots from the bottom of the root ball, but be gentle when transplanting as it is a shock to your plant.
Voilà!
Now you know the basics of indoor plant care. Remember, there isn't always a one-size-fits-all solution. Individual plants have different needs, but with these fundamentals, you are on the path to a home or office filled with lovely, healthy, and thriving plants.
Want to learn more? Discover the 18 Houseplants That Clean The Air on our blog, look at the Indoor Plants section on our NW Gardening Tips page, or peruse our great selection of books about indoor plants in our Gift Shop.