There’s a new trend in the world of houseplants: moss poles! Instagram offers a lot of inspiration (and plant envy) with photos of Philodendrons and Monsteras happily climbing towards the ceiling.
What are the benefits of staking your plants? Many tropical houseplants, including Monstera, Philodendron, Pothos, and Scindapsus are considered epiphytes. This means that in their natural outdoor habitat they grow on other plants as a means of support to reach the brightly lit tree canopy. Moss poles mimic the texture of moist, mossy bark and provide physical support for your plants to grow aerial roots and climb upward. Moss poles also offer a way to train widely growing plants into an upright narrow form to fit better in small spaces.
While making your own moss pole may seem to be an intimidating project, it’s easy and fun! We’ll show you the steps to creating moss poles for a few different houseplants. Follow along to make your own and soon you’ll have a shelf filled with climbing plants.
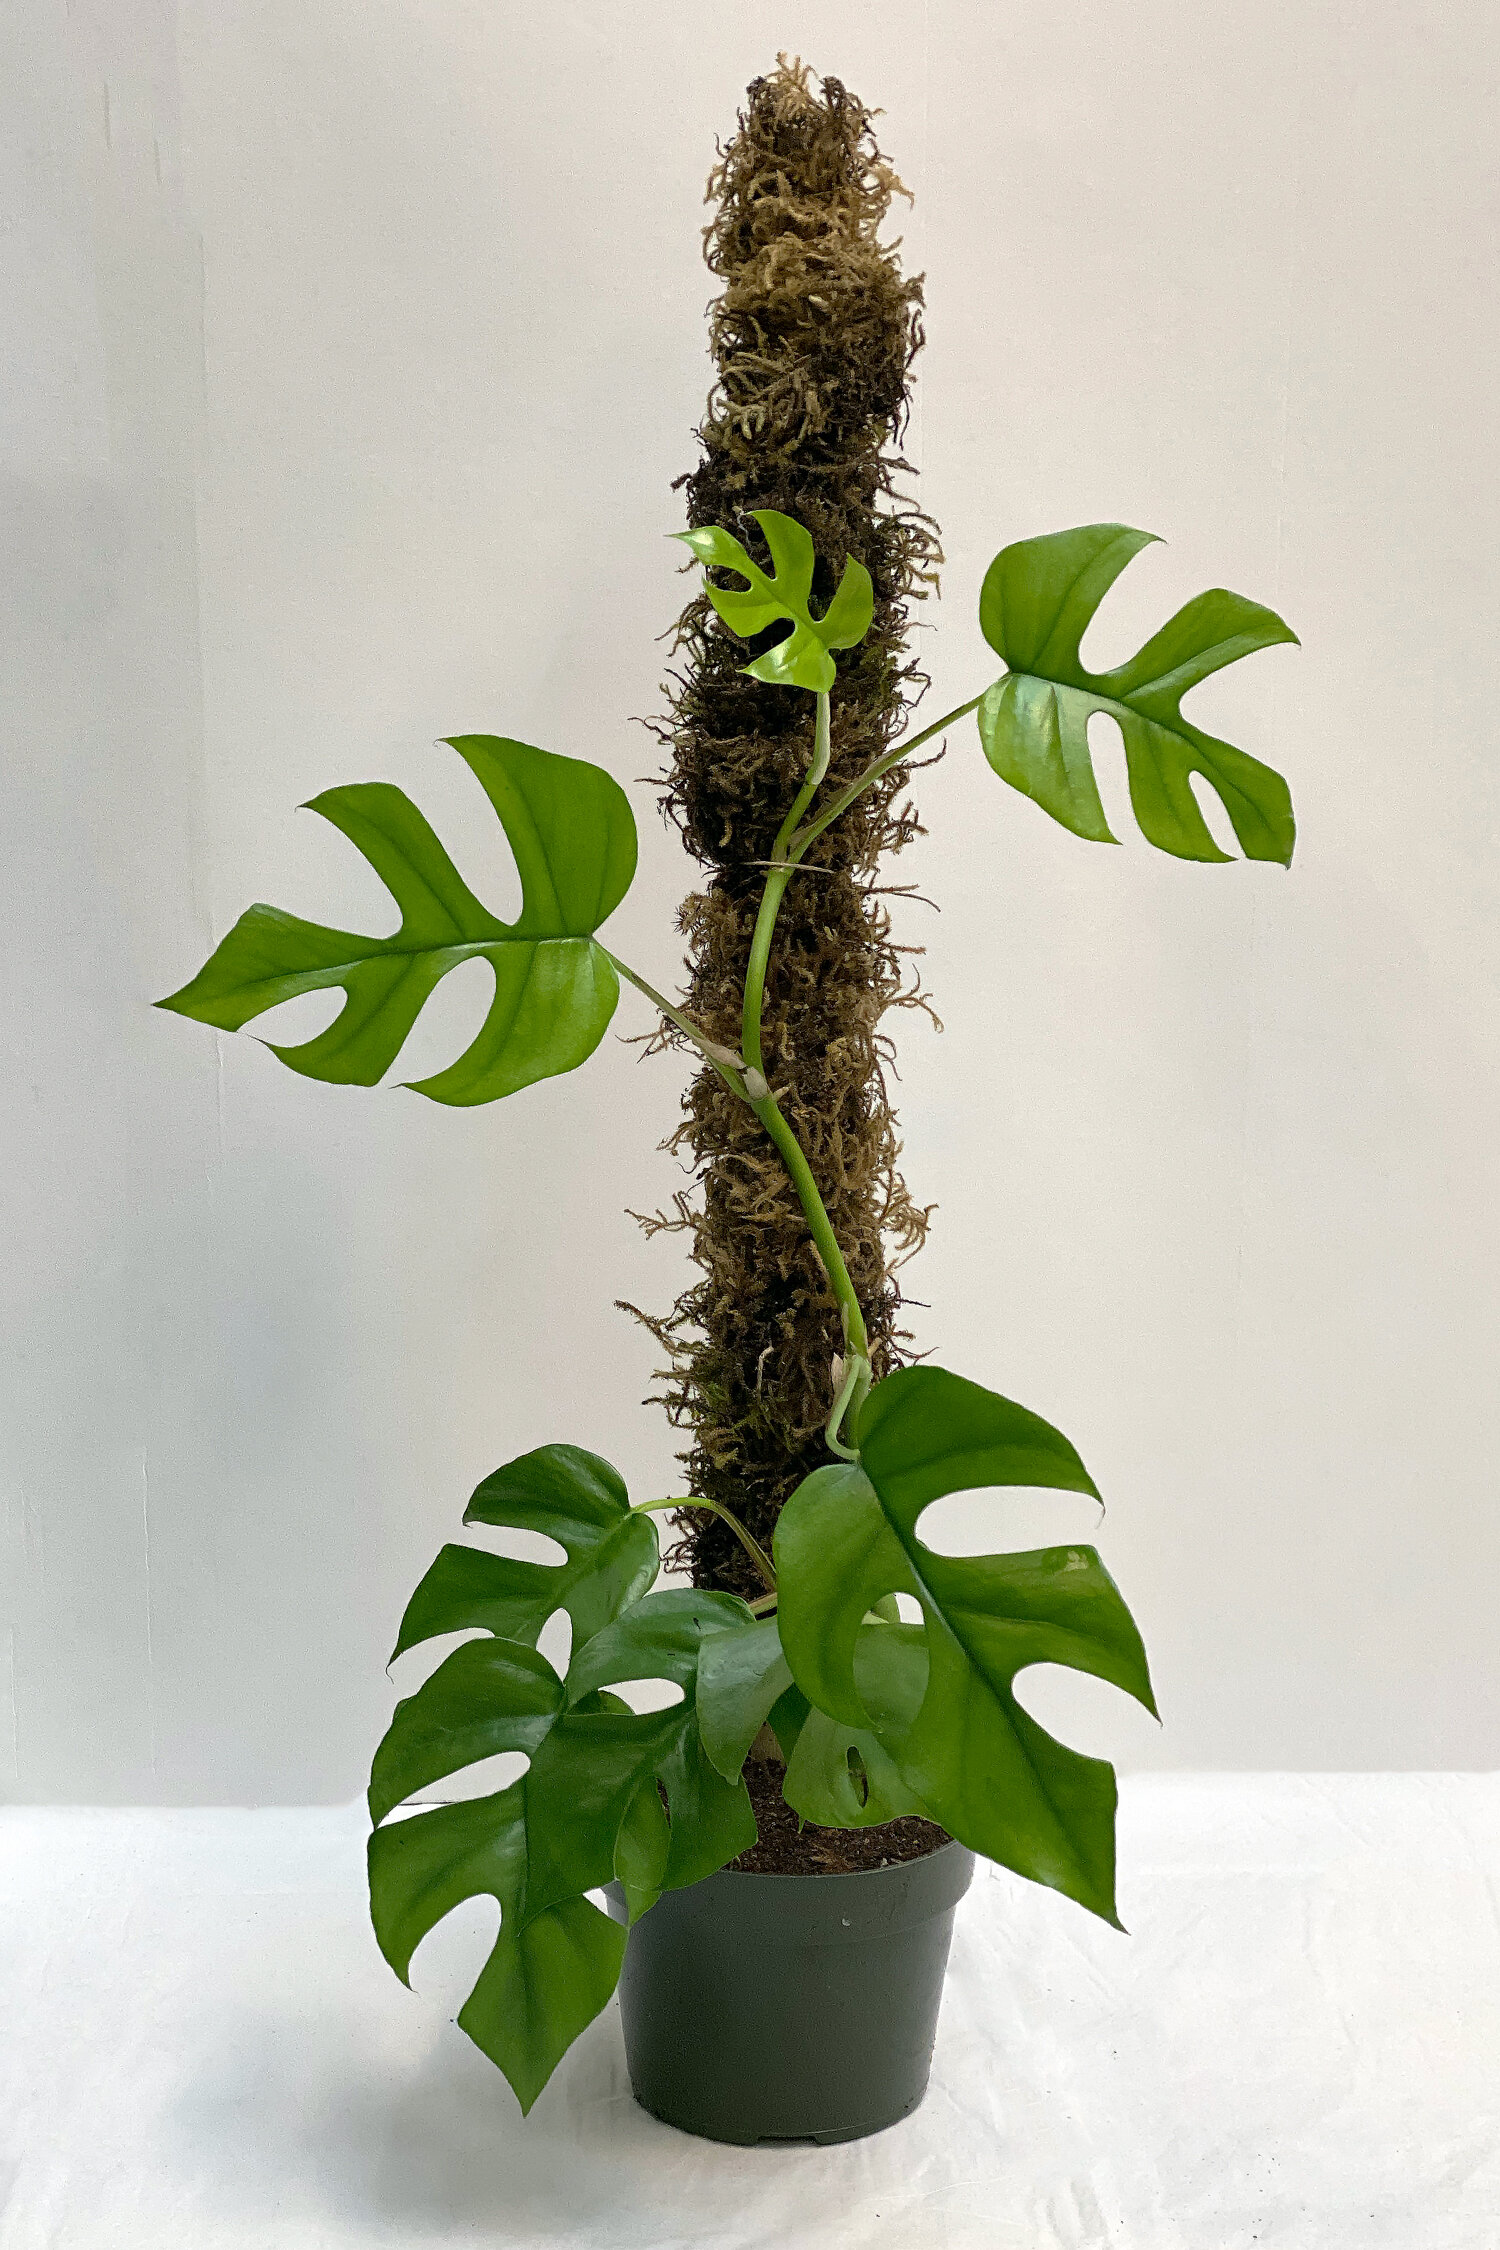
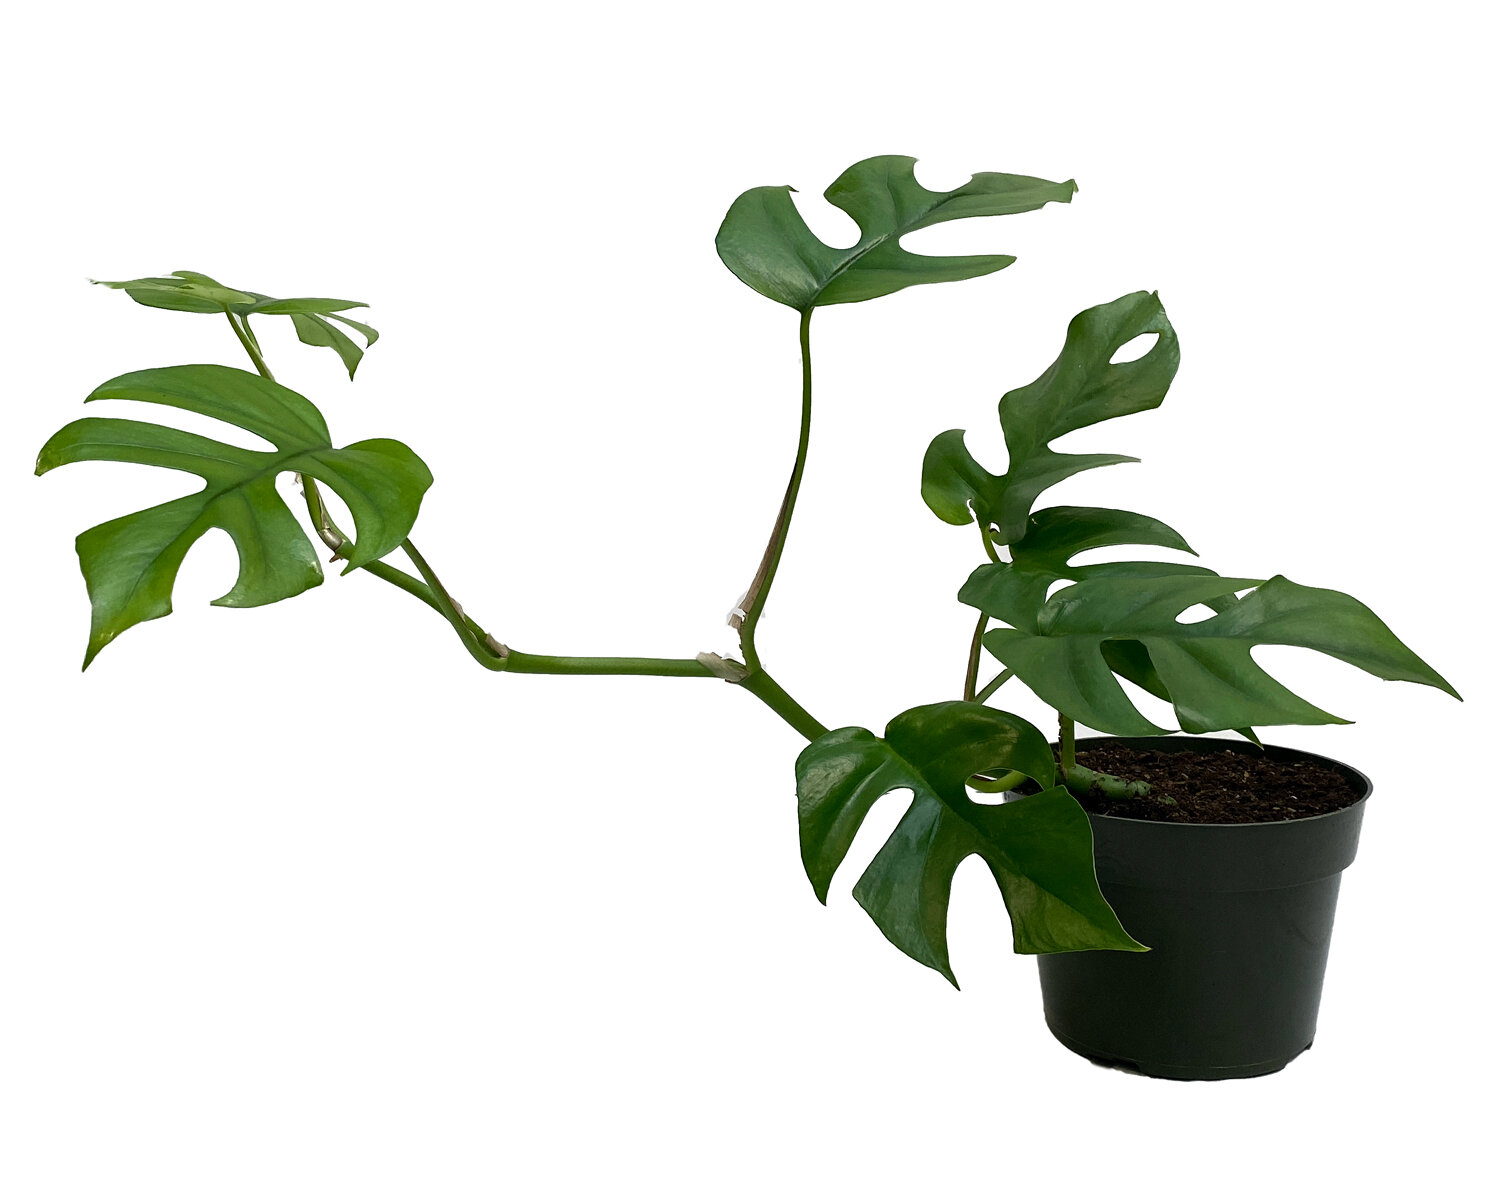
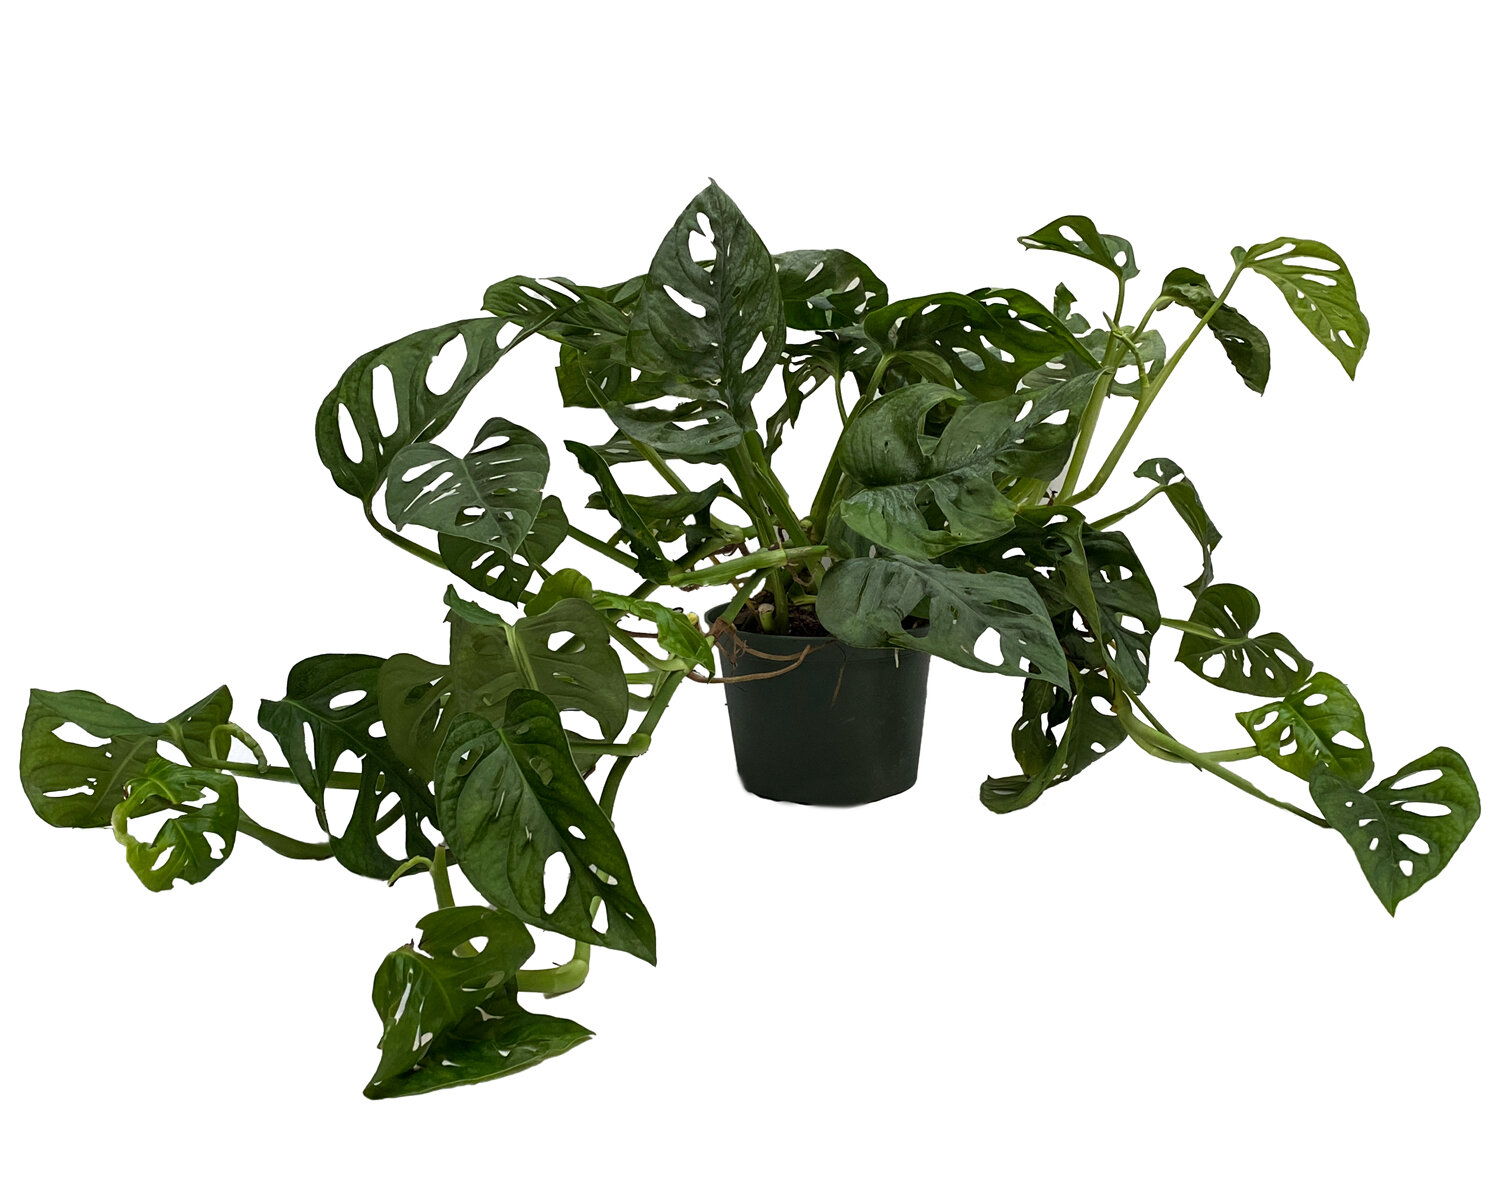
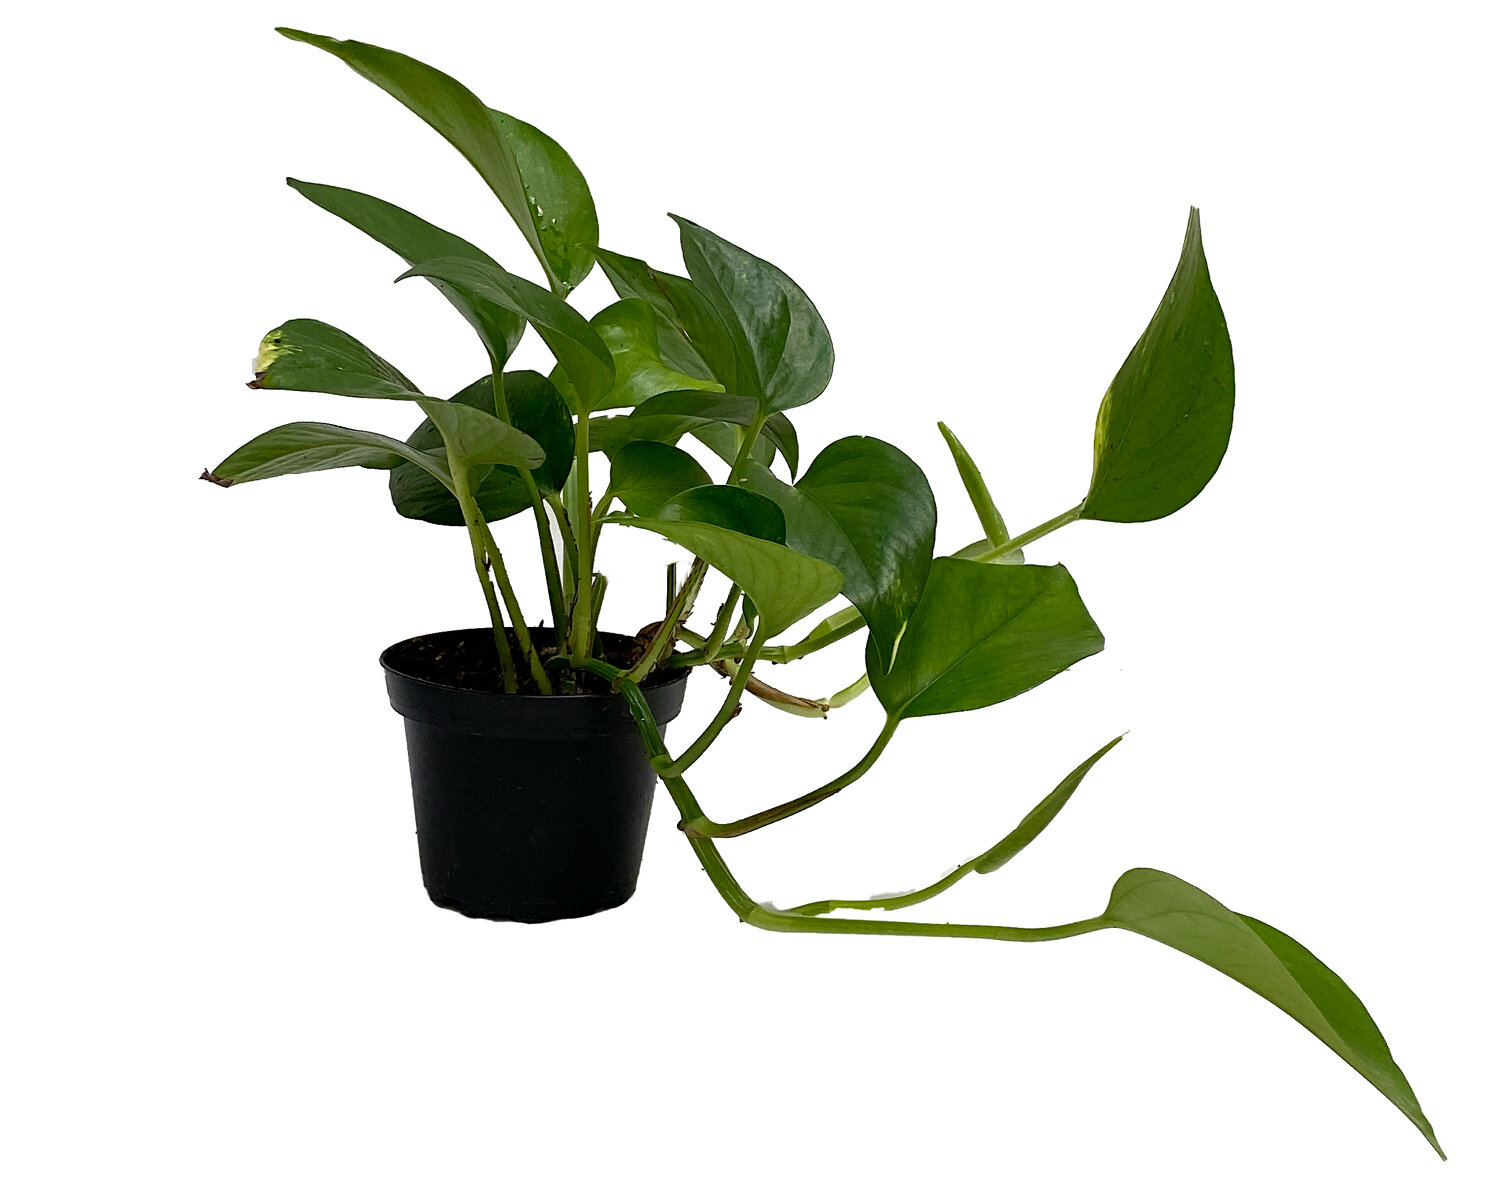
These plants are certainly ready to climb - let’s get started!
Step 1: Gather Your Materials
For this project you will need:
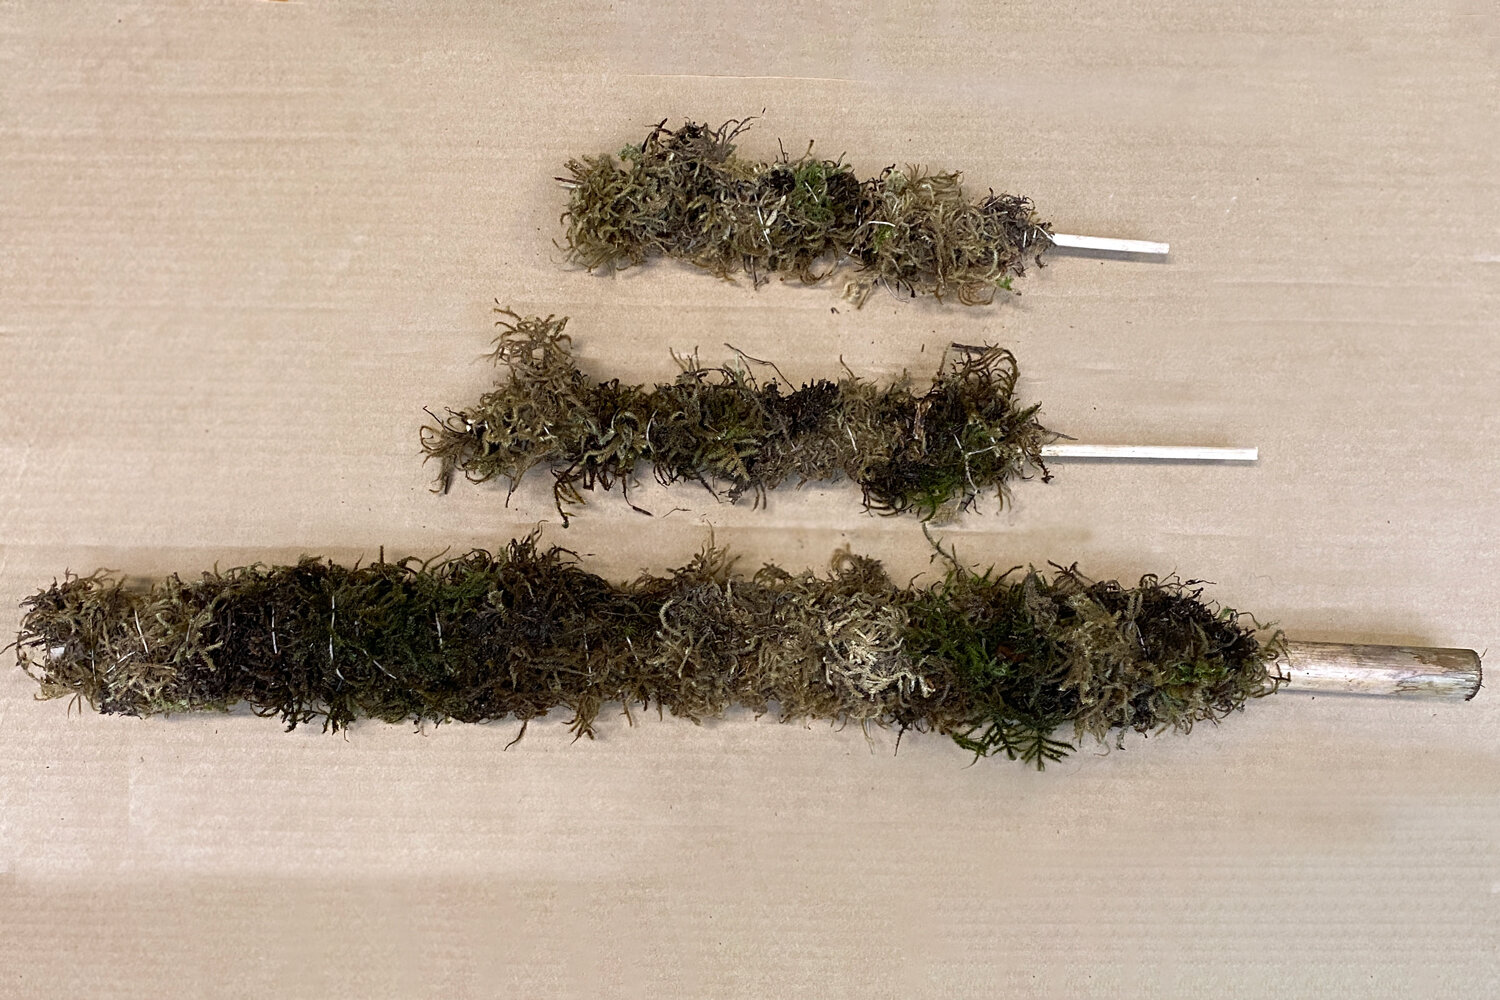
A stake of your desired height and width (bamboo, PVC pipe, wooden dowel or bamboo chopsticks work well)
Sphagnum moss, sheet moss, or coconut fiber sheet (not used in this project but a great option).
Your choice of string: twine, jute, fishing line about 3 to 4 feet in length
Scissors
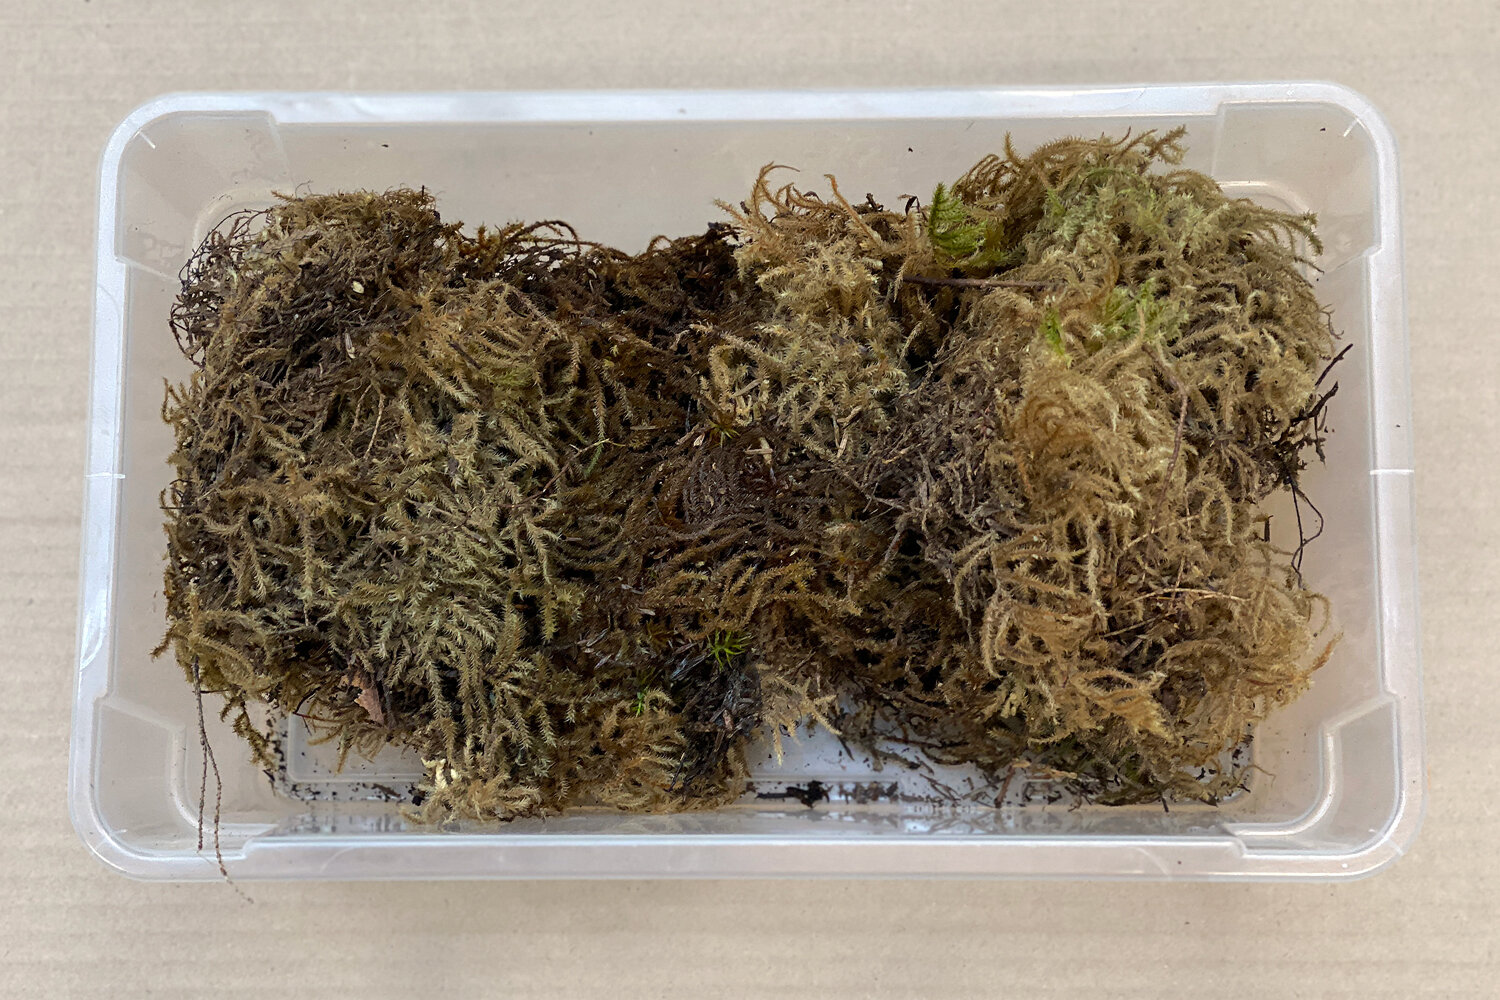
A container to soak your moss (if using sphagnum or sheet moss)
Gloves (optional)
The height and thickness of the staking material will be influenced by the size of plant you would like to train to climb. Shorter and thinner stakes are ideal for smaller plants while larger diameter and taller stakes are great for supporting larger Monstera and Philodendron plants.
Step 2: Soak your Moss
Place your Sphagnum or sheet moss into a container of water and allow to thoroughly soak, about 15 minutes. Once the moss is soaked, remove from container and squeeze to remove excess water. The goal is to have damp moss that isn’t dripping wet.
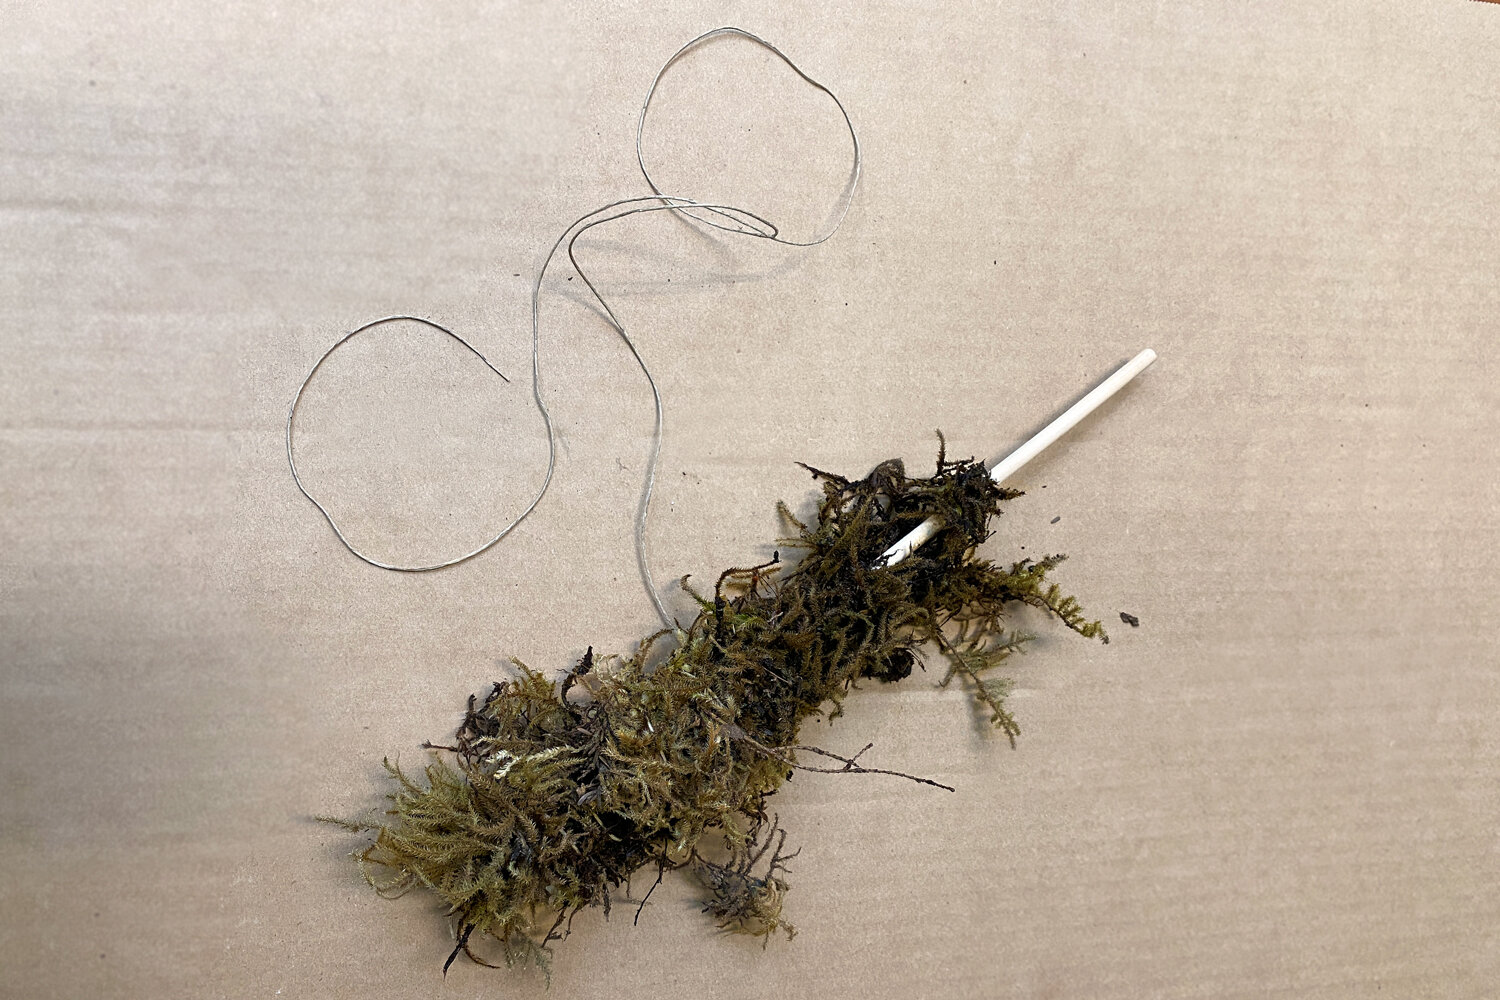
Step 3: Attach the Moss to your Pole
Next, tie a piece of string tightly around the top of the support and make a strong knot. Lay handfuls of moss on your pole. Use one hand to hold the moss around the pole while using the other hand to wrap the string downward along the stake in a diagonal direction. The goal is to have a thickness of ½ - 1 inch of moss around the pole. Leave the bottom 1/3 of the stake bare as this section will be placed into the soil. Once the moss is secure, tie off the string with a knot and cut off any extra length. Trim any stray pieces of moss.
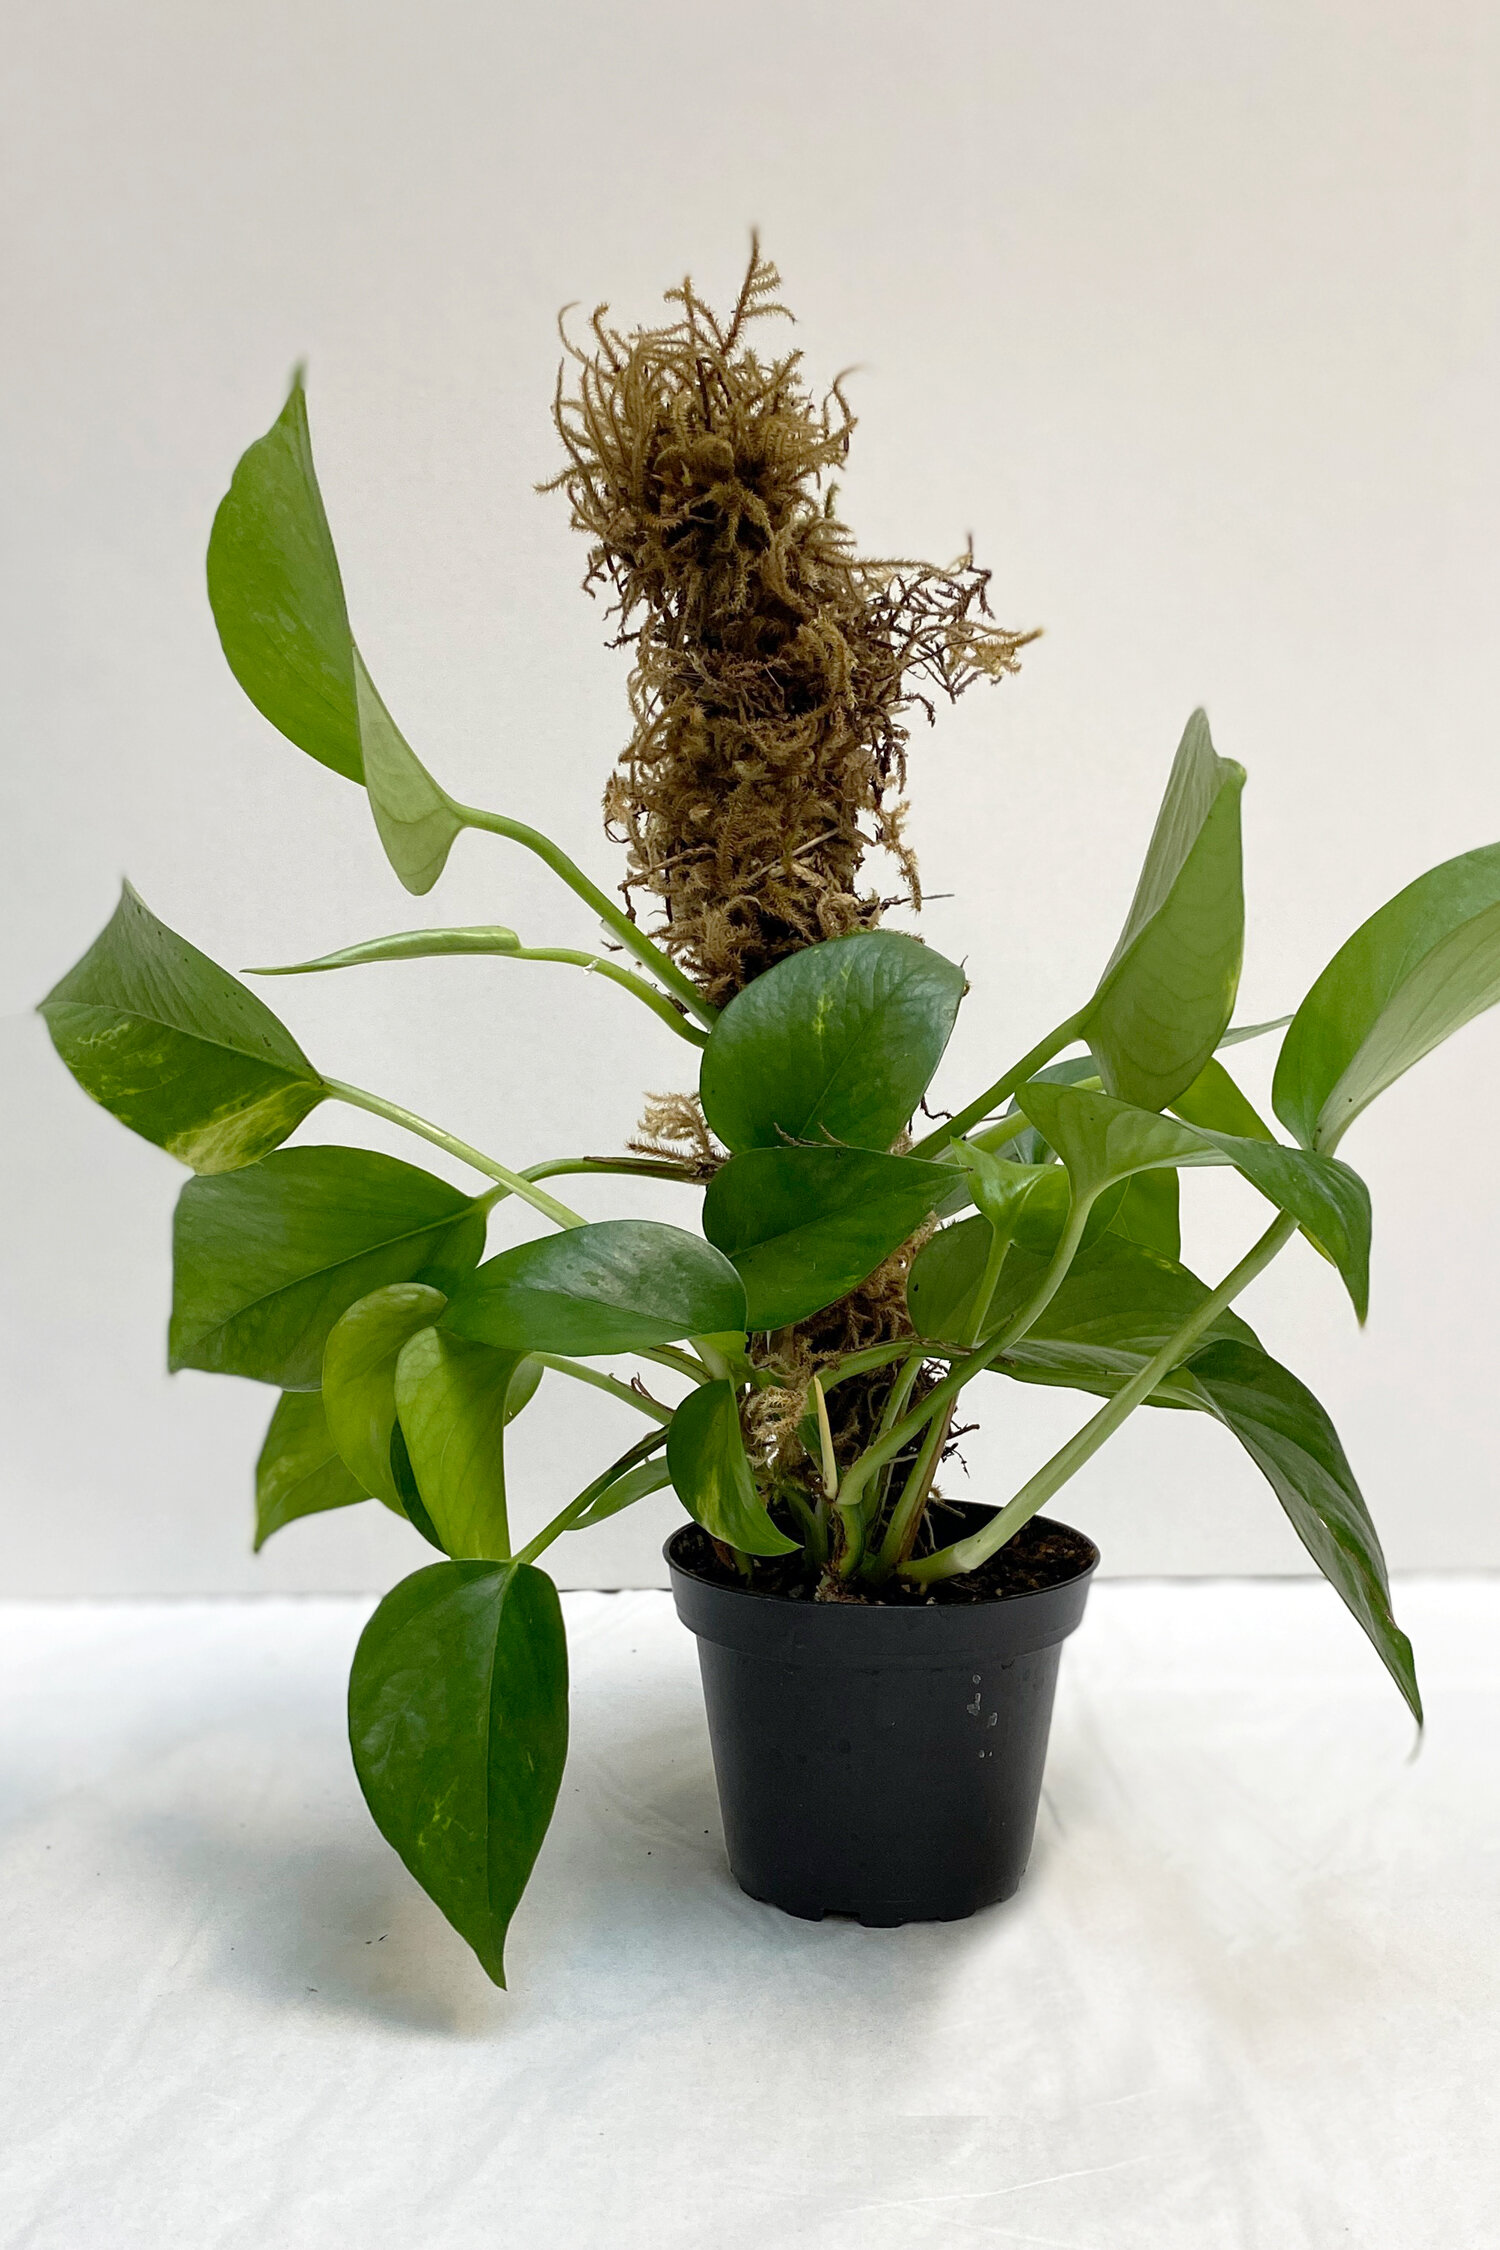
Step 4: Place your Pole and Train your Plant
Carefully insert the unwrapped section of the stake into the soil as far as possible to stand upright. Adding some potting soil may offer some extra support.
Train plants gradually, rather than force into place. Flexible stem such as those on Golden Pothos can be twined around the pole; more rigid stems like those on Mini Monstera can be staked to grow straight up. You don’t need special support ties when staking plants; plant tie tape, twine, or strips of fabric can be used, although take care to avoid tying stems too tightly on the pole. Misting the moss on the pole where the plant is growing will encourage aerial roots.

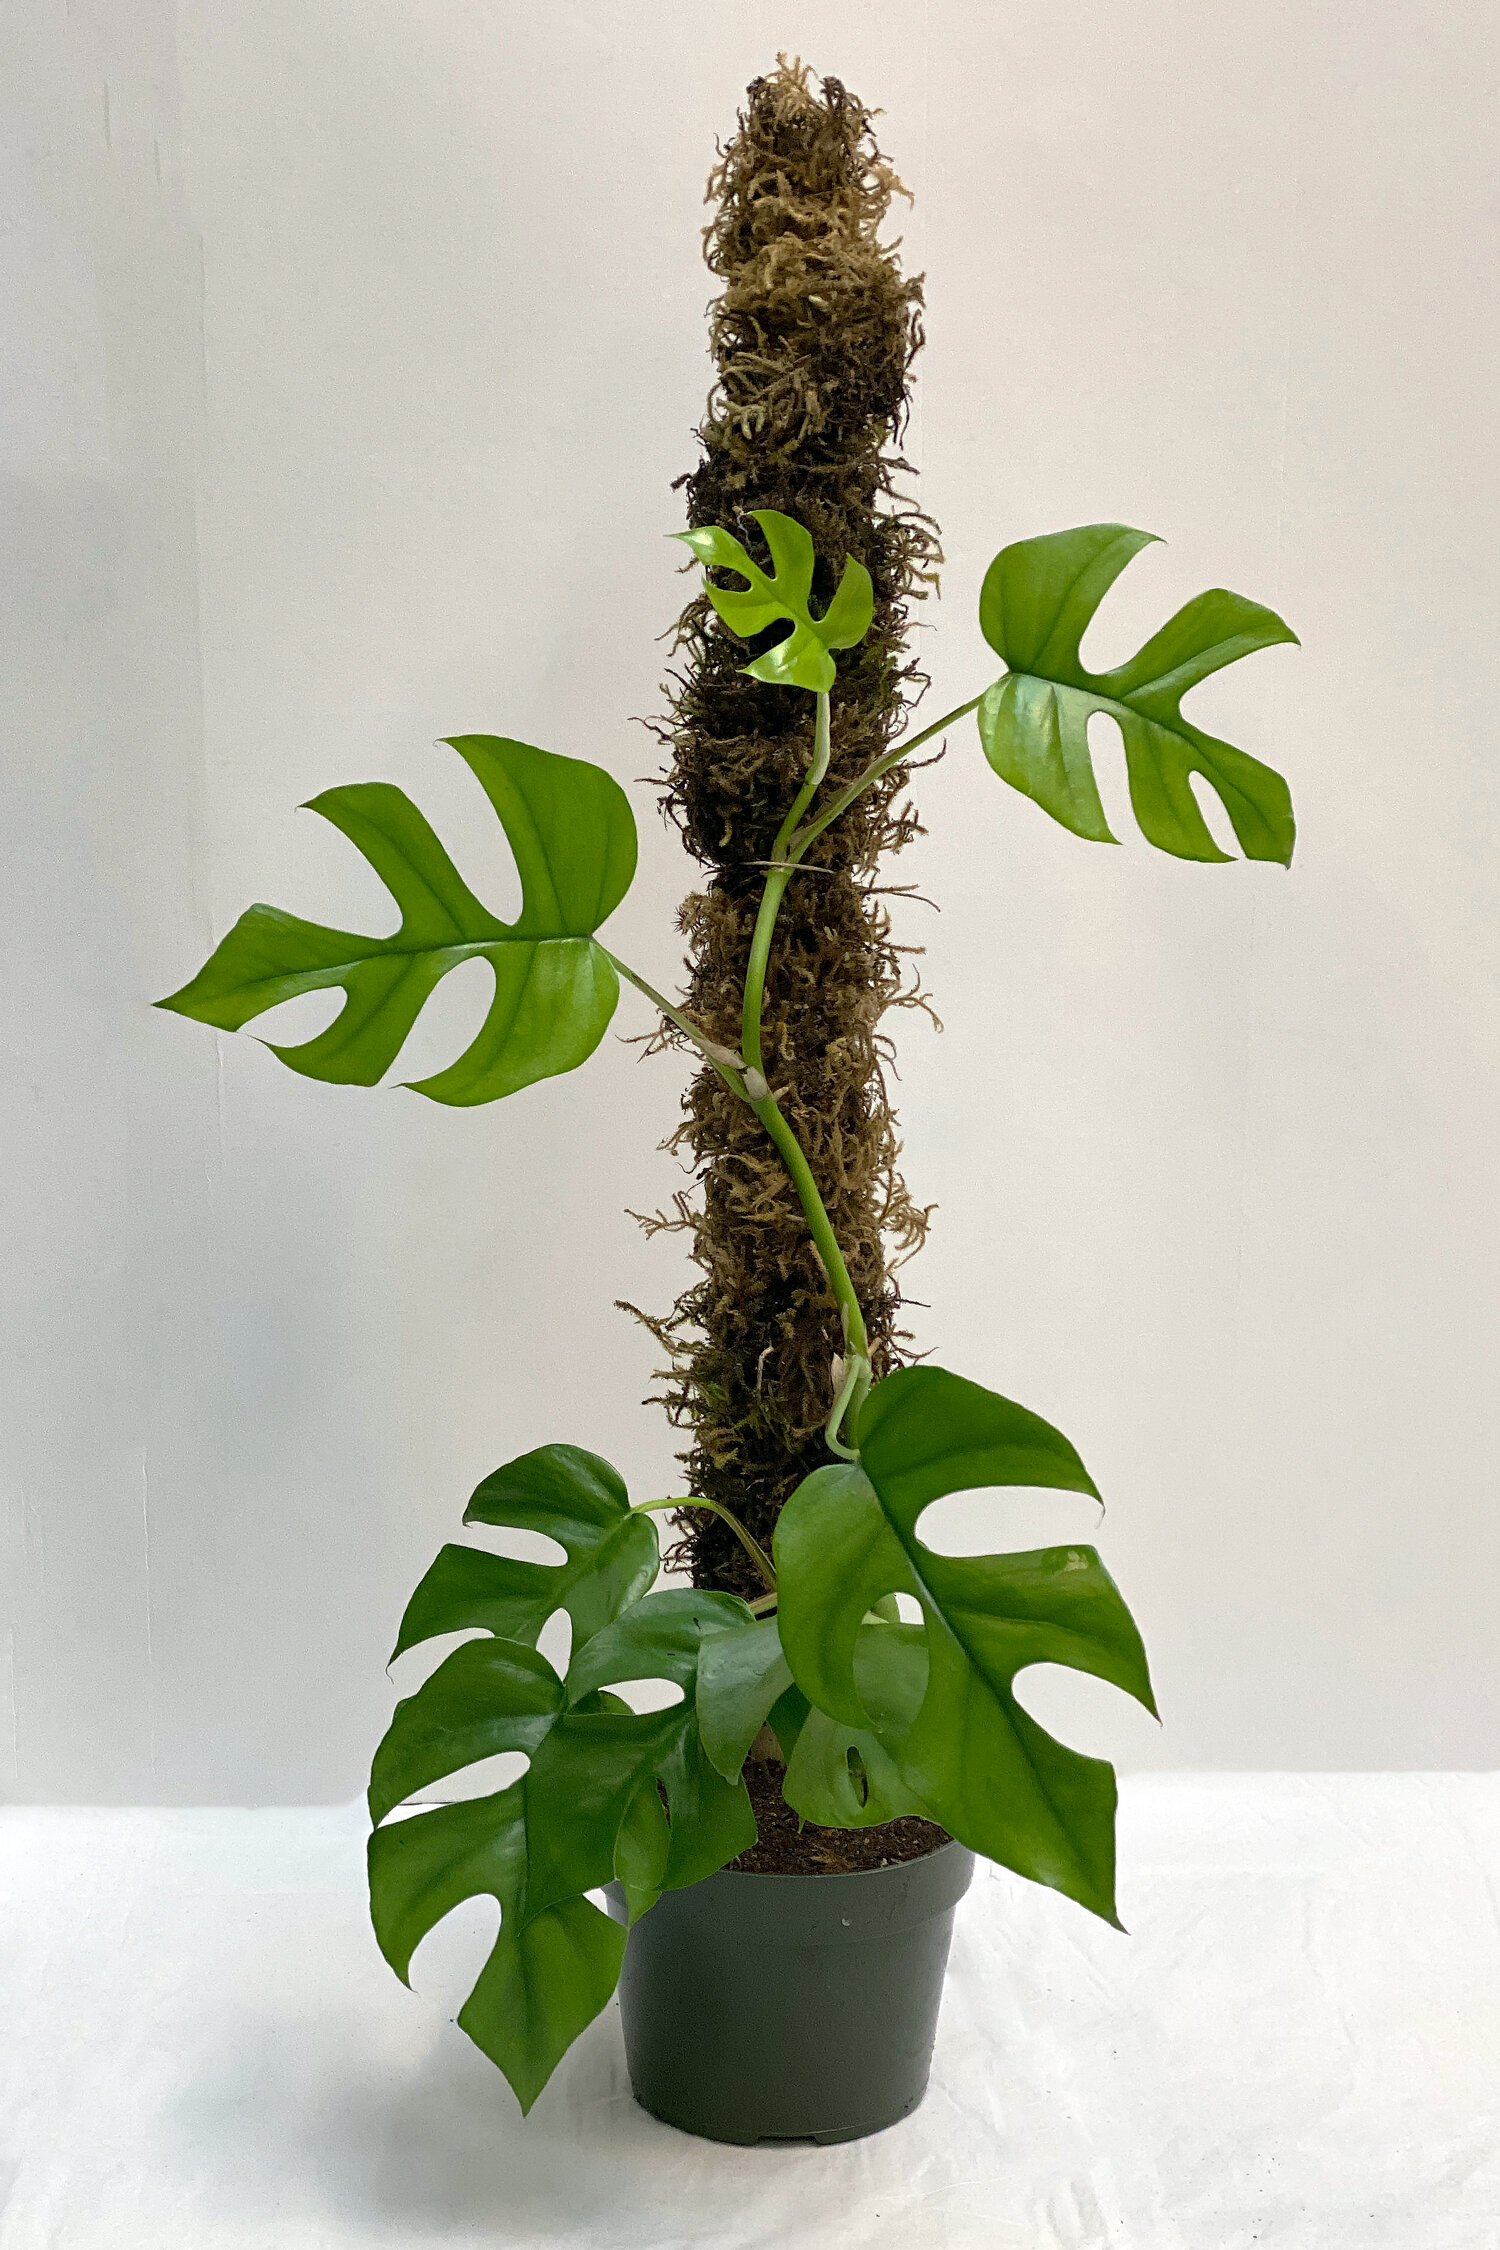
These houseplants are ready to climb upon their personal moss poles. Thanks for following along, we’d love to see photos of your moss poles so comment here or post a note on social media with #heyswansons. If you have any questions about the process, let us know!