
Fruit tree netting is something I had never used or considered using until this year. I had experimented with nylon apple maggot barriers before with moderate success, but their application is quite laborious and time-intensive. Now that I have tried tree netting I will never go back. The process of netting a tree can seem intimidating at first, but with proper planning and the right supplies, it is an excellent way of protecting fruit from pests such as apple maggots and coddling moths, as well as those pesky crows and squirrels.
Measuring and Preparation
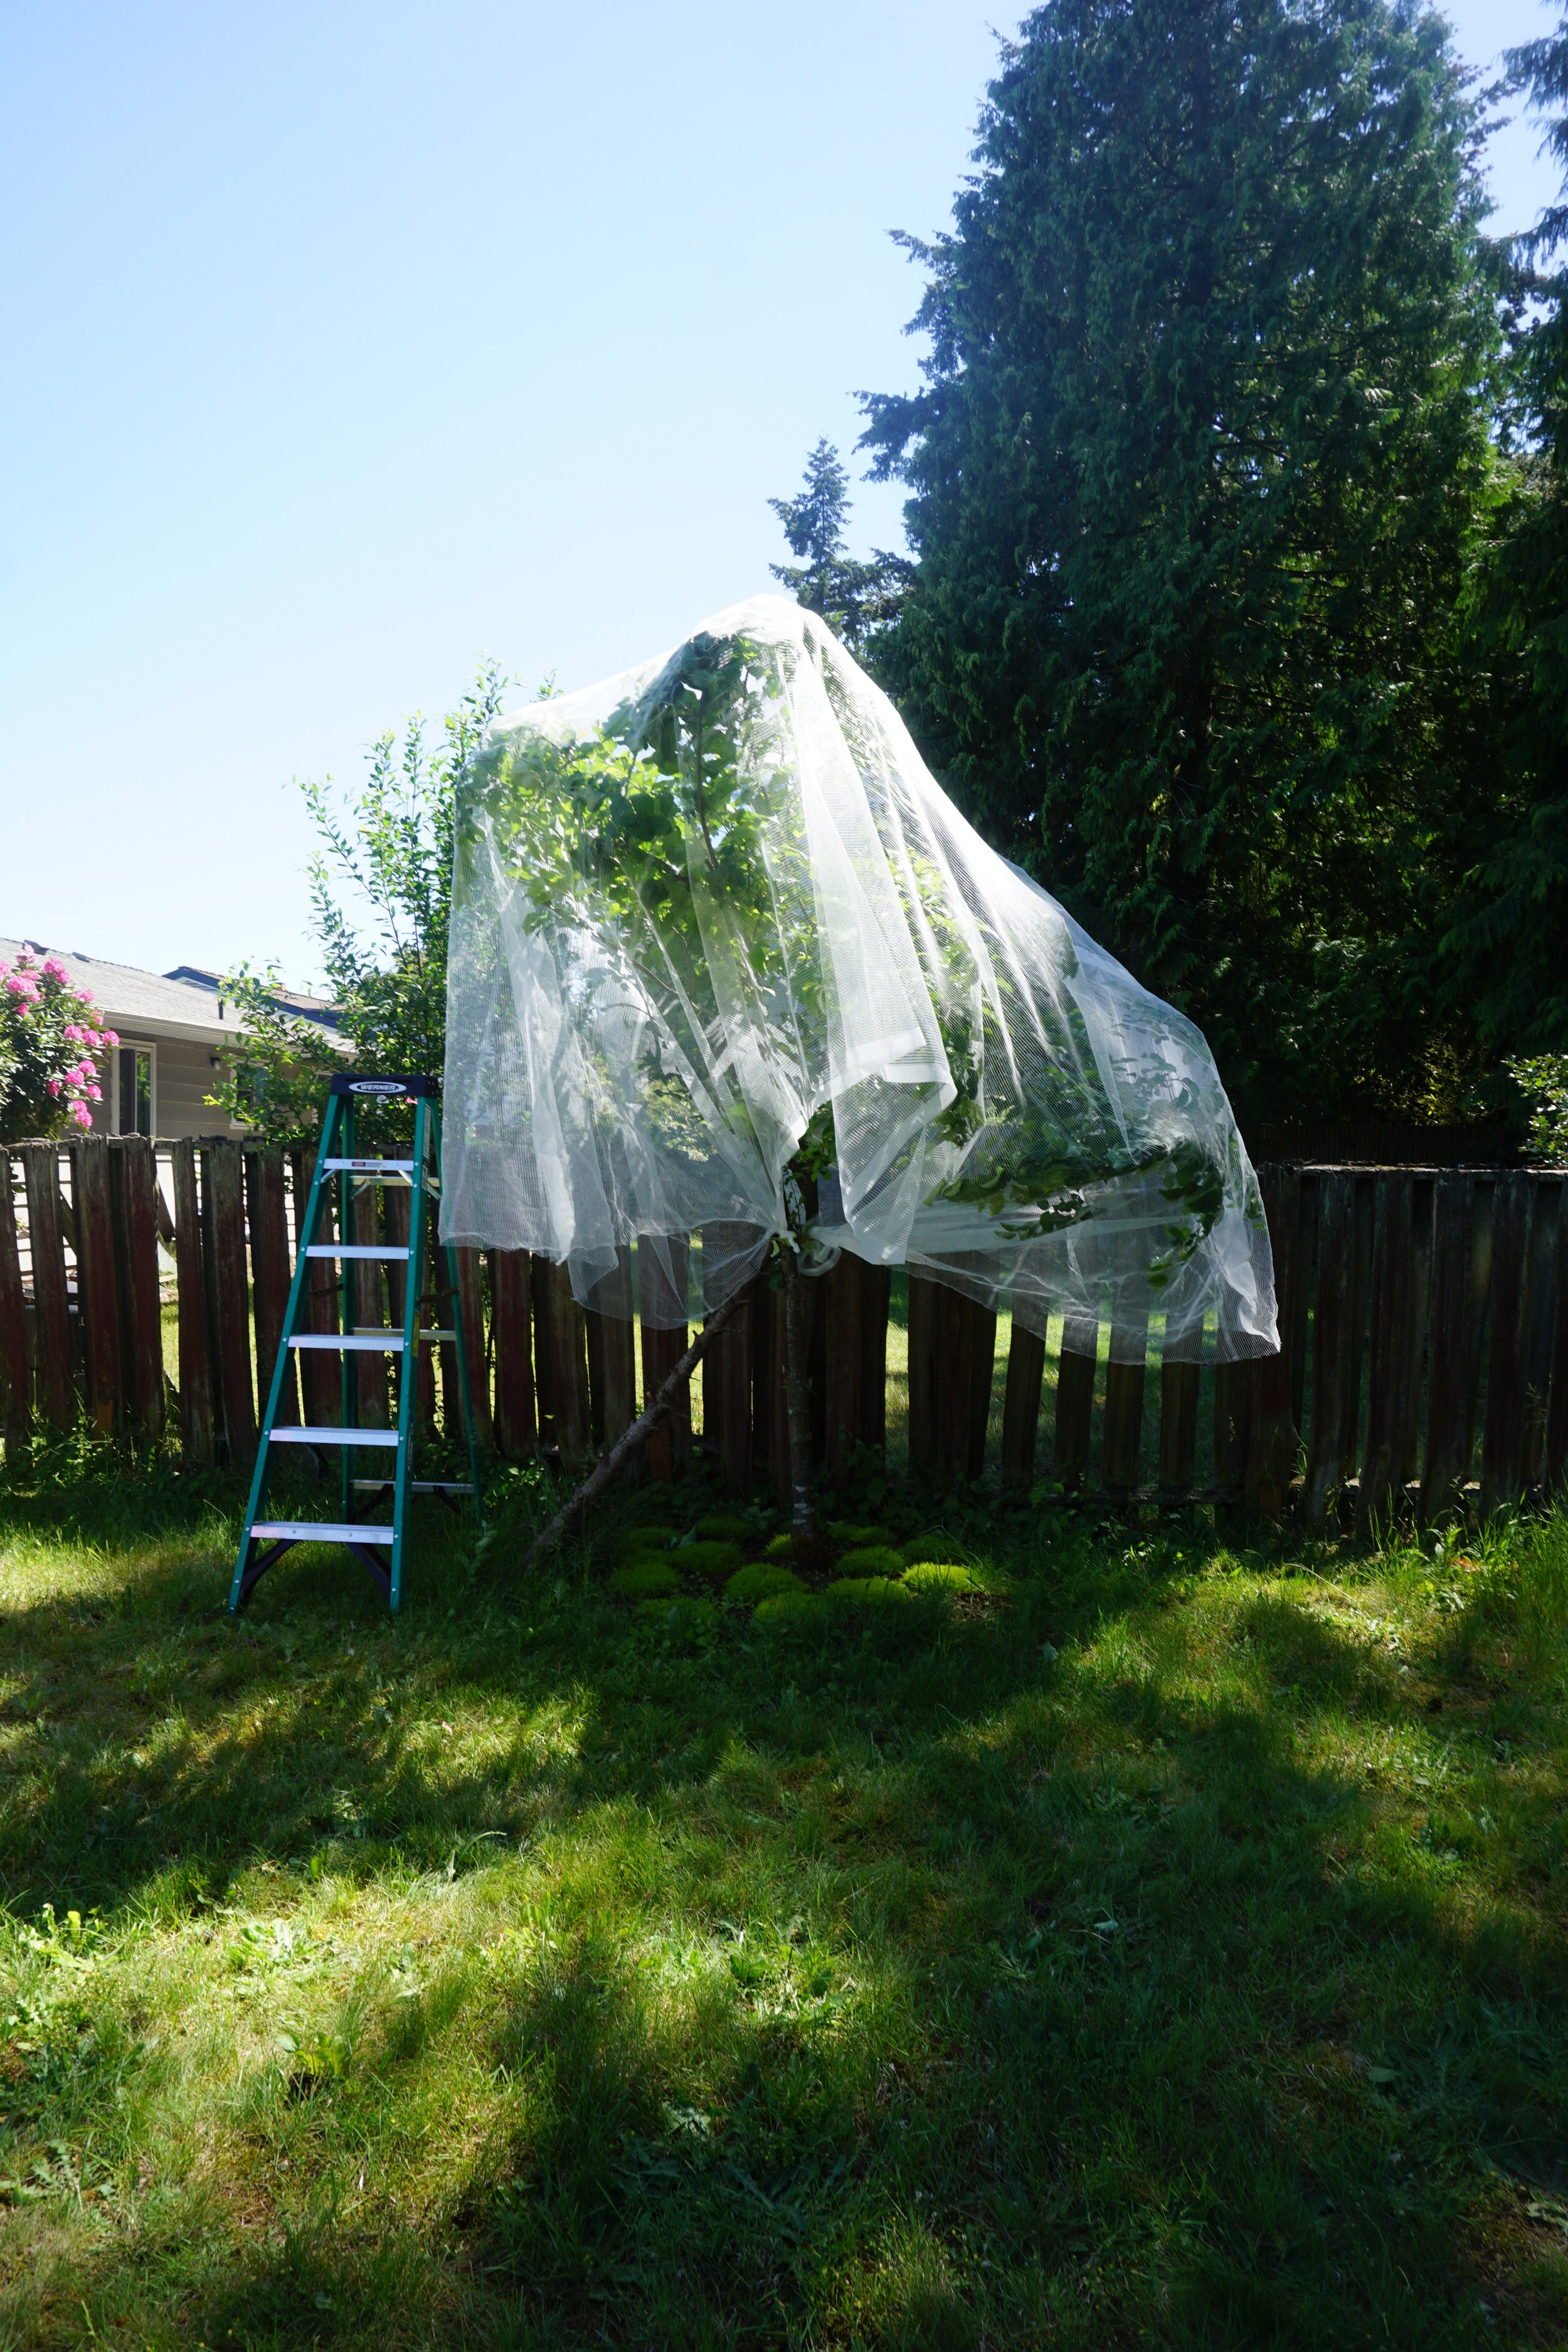
The first step is to make sure that you will have enough netting for the tree (or part of the tree) that you want to cover. The netting available at Swansons is 17.5 feet wide and is sold by the foot. I started with an 18-foot length, giving me a roughly square piece of netting. However, by the time my apple tree was covered, I wished I had given myself a little more to work with. To determine the amount of netting to cover your tree, measure the height of the tree starting at the lowest branch and its width at the widest part. Then, add the length and height together and multiply by 2. This will equal the minimum length you need for a square piece of netting.
It’s important to wait until your fruit tree has finished blooming and the petals have fallen before netting your tree. You want the bees to be able to pollinate so you get lots of fruit! Before wrapping your tree it is also a good idea to finish up any last-minute work on the tree, such as pruning and fruit thinning if you wish to do so. I cut off all but one apple per cluster on my tree because I want fewer, larger apples.
Setting Up the Netting
I started by laying my sheet of netting out on the lawn near my tree so that it was easy to work with.
Next, I tied a long stick to each of the corners on one end. With a little help, I was then able to raise the net up in the air with the sticks and drape it over the top of the tree. Getting the net into place required a bit of poking and prodding with one of the sticks.


Once the net was draped over the tree, I tied each of the four corners to the trunk with a bit of twine.

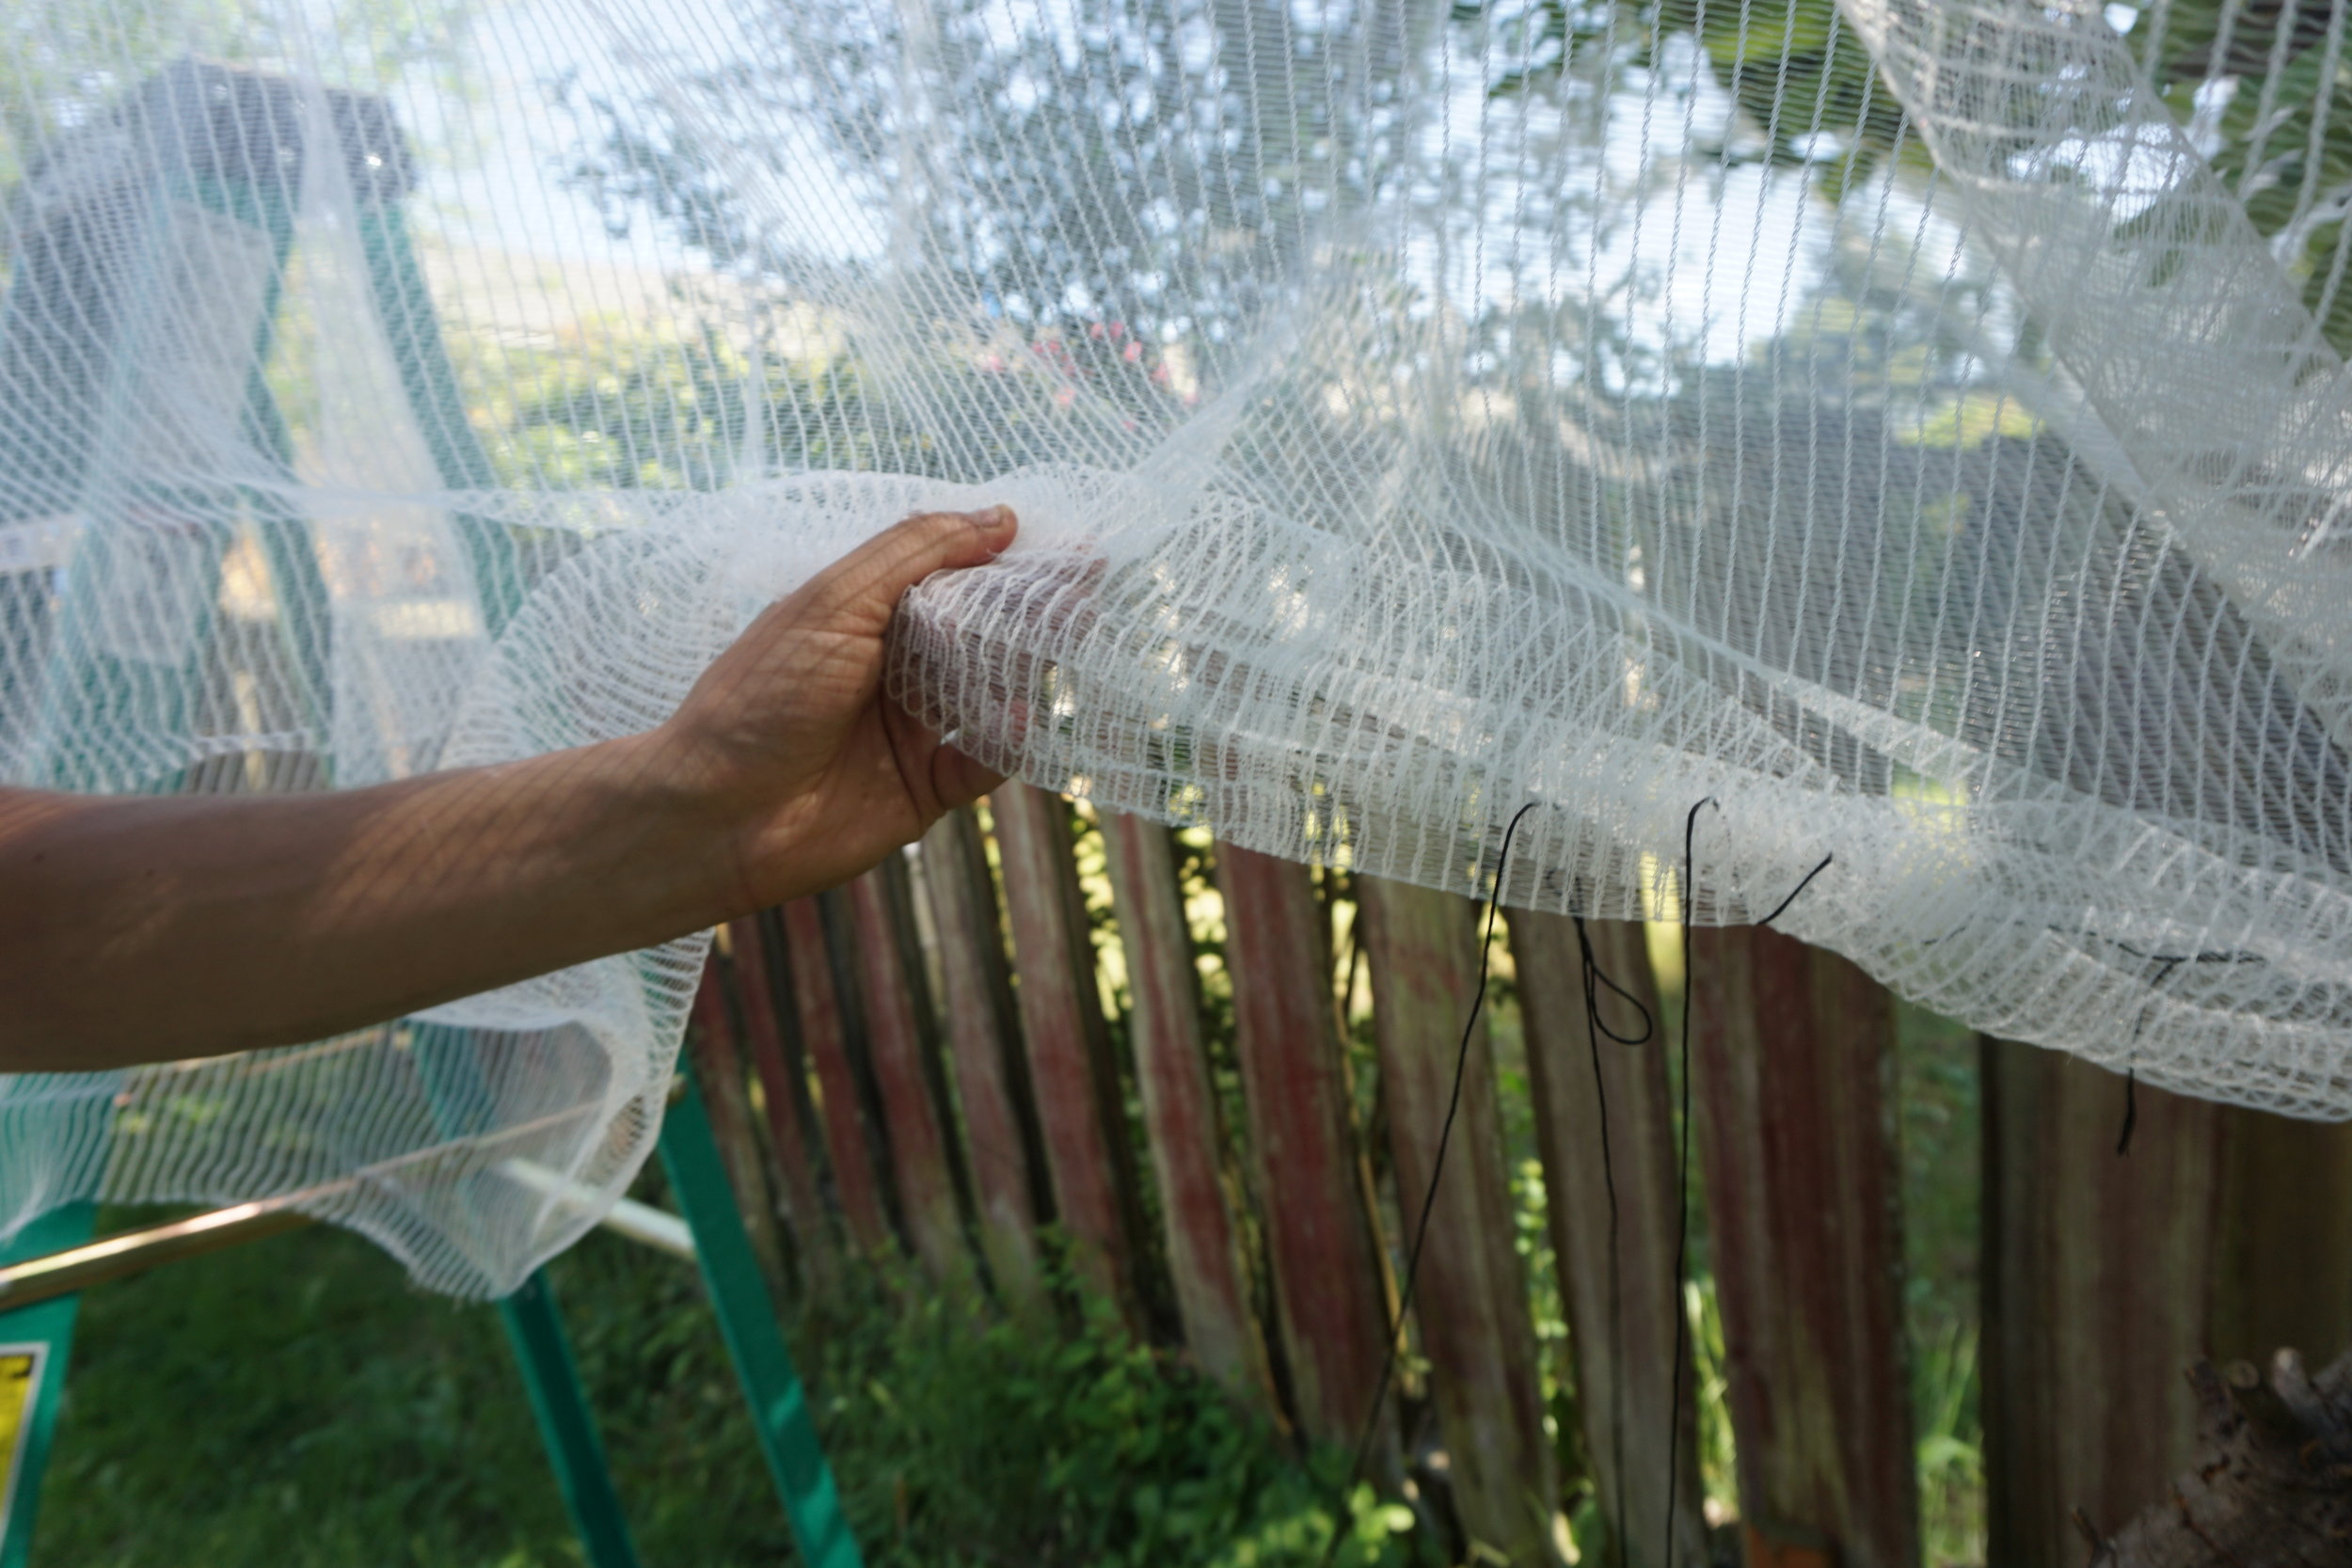
Then, I used heavy thread and a needle to seal up the four openings where the net came together. To ensure that no critters would be able to squeeze through I took the two net edges and placed them side by side, then I rolled them over one or two times and threaded the needle through in a pattern like the spine of a spiral notebook. At the end of the opening, I tied the thread off securely, and then repeated the same process for the other openings. I am lousy at sewing, but with this method, it was quite simple.


After the net was secured to the tree so that there was no gap between it and the trunk and all of the holes were closed, only one step remained: adjusting the net so that the branches inside were minimally bent and the net was not so tight that it was straining the tree. For this part, I got up on my step ladder and adjusted it by hand.
For larger trees, it can be easier to use separate sections of netting for each large branch or group of branches. This makes it easier to drape the net and can save material if the branches are spread far apart from each other.
If you have any questions about measuring or using netting, feel free to contact us in person or email us at garden@swansonsnursery.com. Local nonprofit City Fruit also has information about netting trees and services to help you care for and harvest your fruit.