
There’s something miraculous about a seedling as it starts to grow. Anyone who has poked toothpicks into the sides of an avocado seed and watched it unfurl its first bright green leaf or planted a bean seed in science class will understand.
Seed-starting is a great way to have fun with your kids and it can be a simple, inexpensive, and entertaining activity for the whole family. Let’s get started!
Seed-Starting Supplies
There are a few items you need to purchase but you can also get creative with homemade supplies (and combine a valuable lesson on upcycling with a fun art project)!
Seeds
Seeds that germinate quickly and easily are the most fun. Neither kids nor adults really want to wait weeks to see progress! And growing a beautiful flower or something that you would like to eat is always a good idea.
If you plan to keep your seedlings inside in a sunny window or under lights, we recommend planting:
Cat Grass (your feline friends will be paws-itively overjoyed)
Arugula
Basil
Cilantro
Radishes (indoor sprouts or transplant outside for full-grown radishes)
Swiss Chard
These leafy greens can grow pretty well inside if they have either a very sunny window or a grow light. They sprout quickly and you can eat them all when they are still seedlings. You can transplant everything but basil outside in spring if you’d like them to mature in the garden (keep basil inside until June).

If you want to transplant your seedlings outside into larger pots or into the garden after they have sprouted, try any of the seeds mentioned above, plus these:
Sugar Snap Peas
Pumpkins
Squash
Melons
Nasturtiums
Sweet Pea Flowers
These plants appreciate a nice grow light (or bright fluorescent) to grow into strong seedlings but you can also try them in a sunny window.
Radishes, Swiss chard, cat grass, arugula, sugar snap peas, sweet peas, and nasturtiums can go outside as early as March. For pumpkins, squash, and melons, wait to start them indoors until late March or early April, then transplant them outside in late April to early May (they might need protection from the cold until mid-to-late May).
“Tip: Bring your seedlings outside in the shade for a few hours over 4-5 days, gradually increasing the time outside and the amount of time in the sun. Otherwise, they may burn to a crisp - they’re not used to the strength of sunlight!”
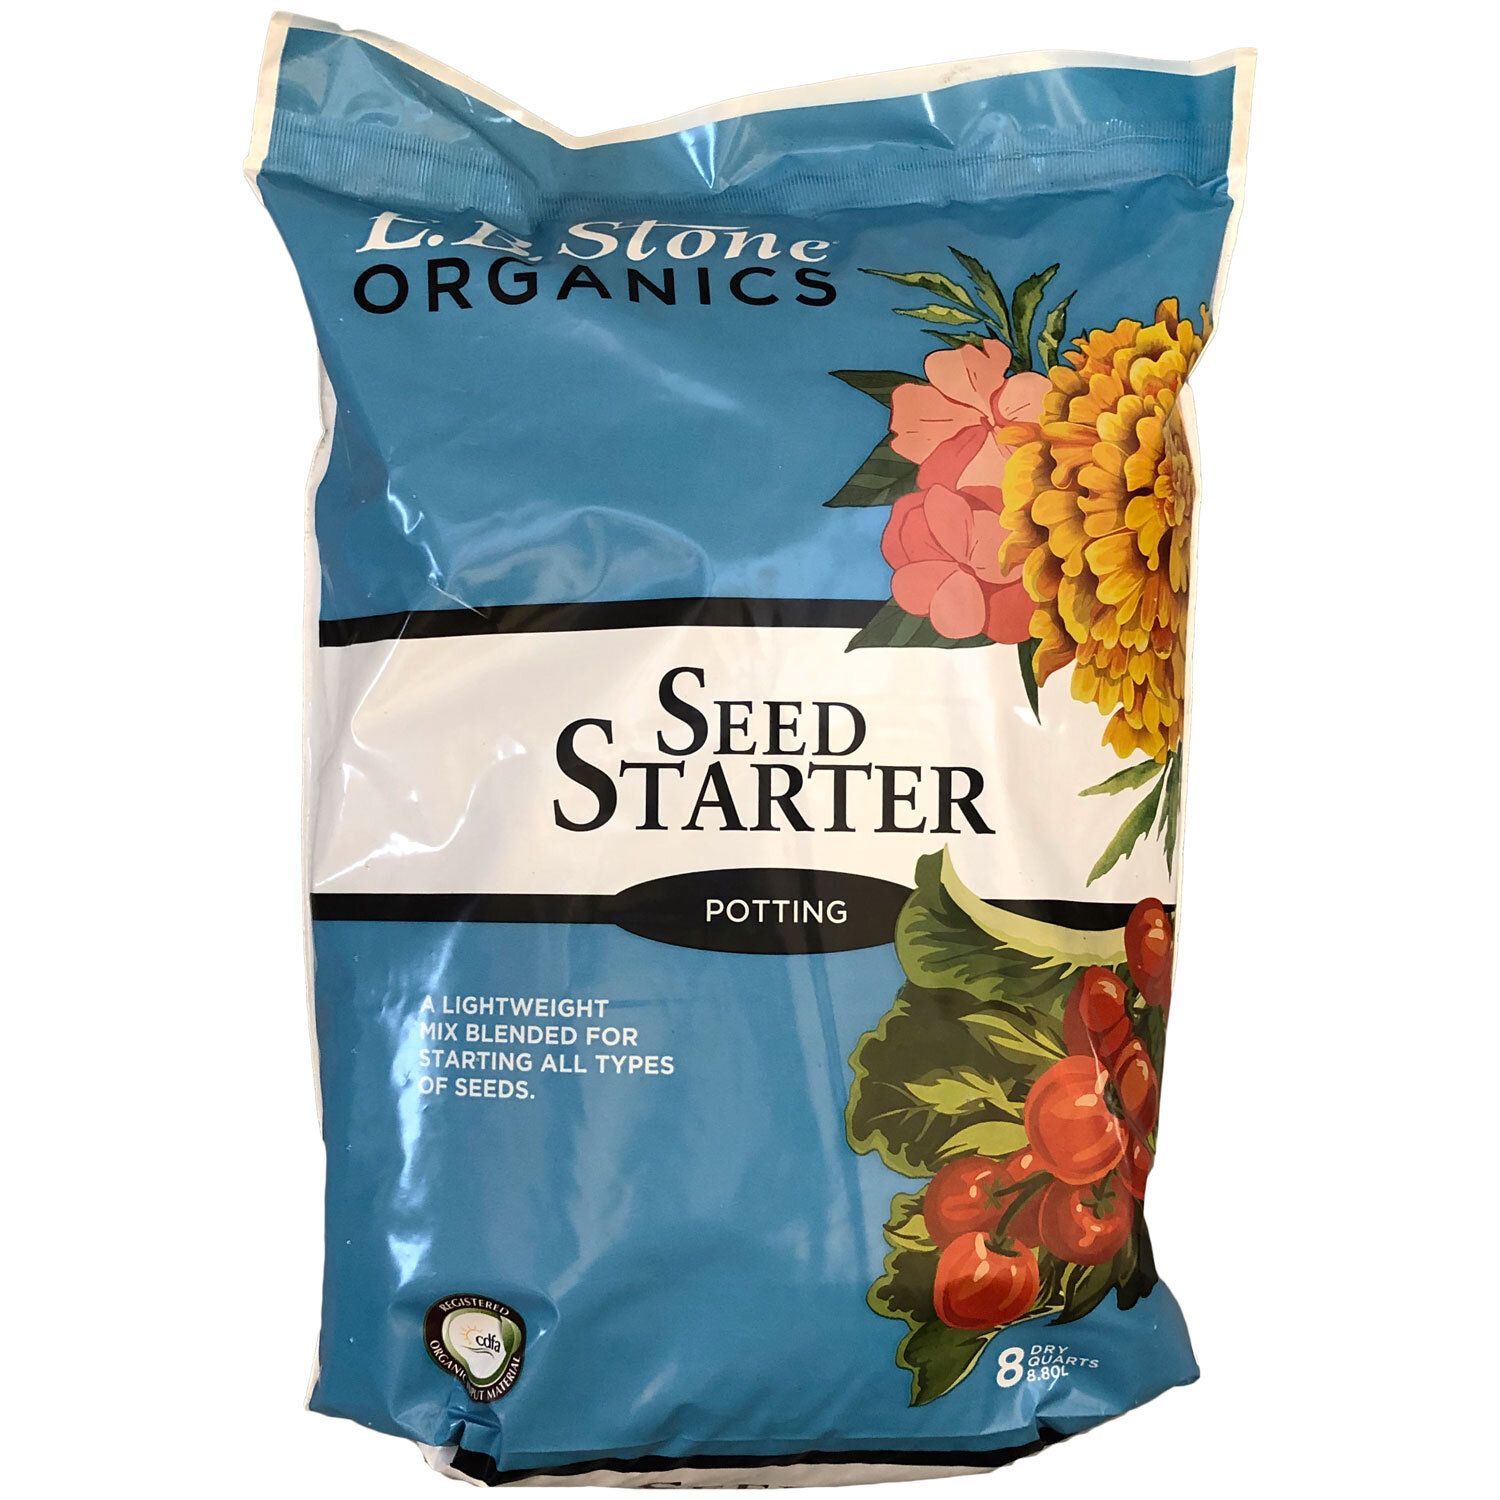
Soil Made for Seeds
Garden soil just won’t work for tiny seedlings. Treat your seeds to a seed-starting mix like E.B. Stone Organics Seed Starter. It’s lighter and formulated especially for seeds.
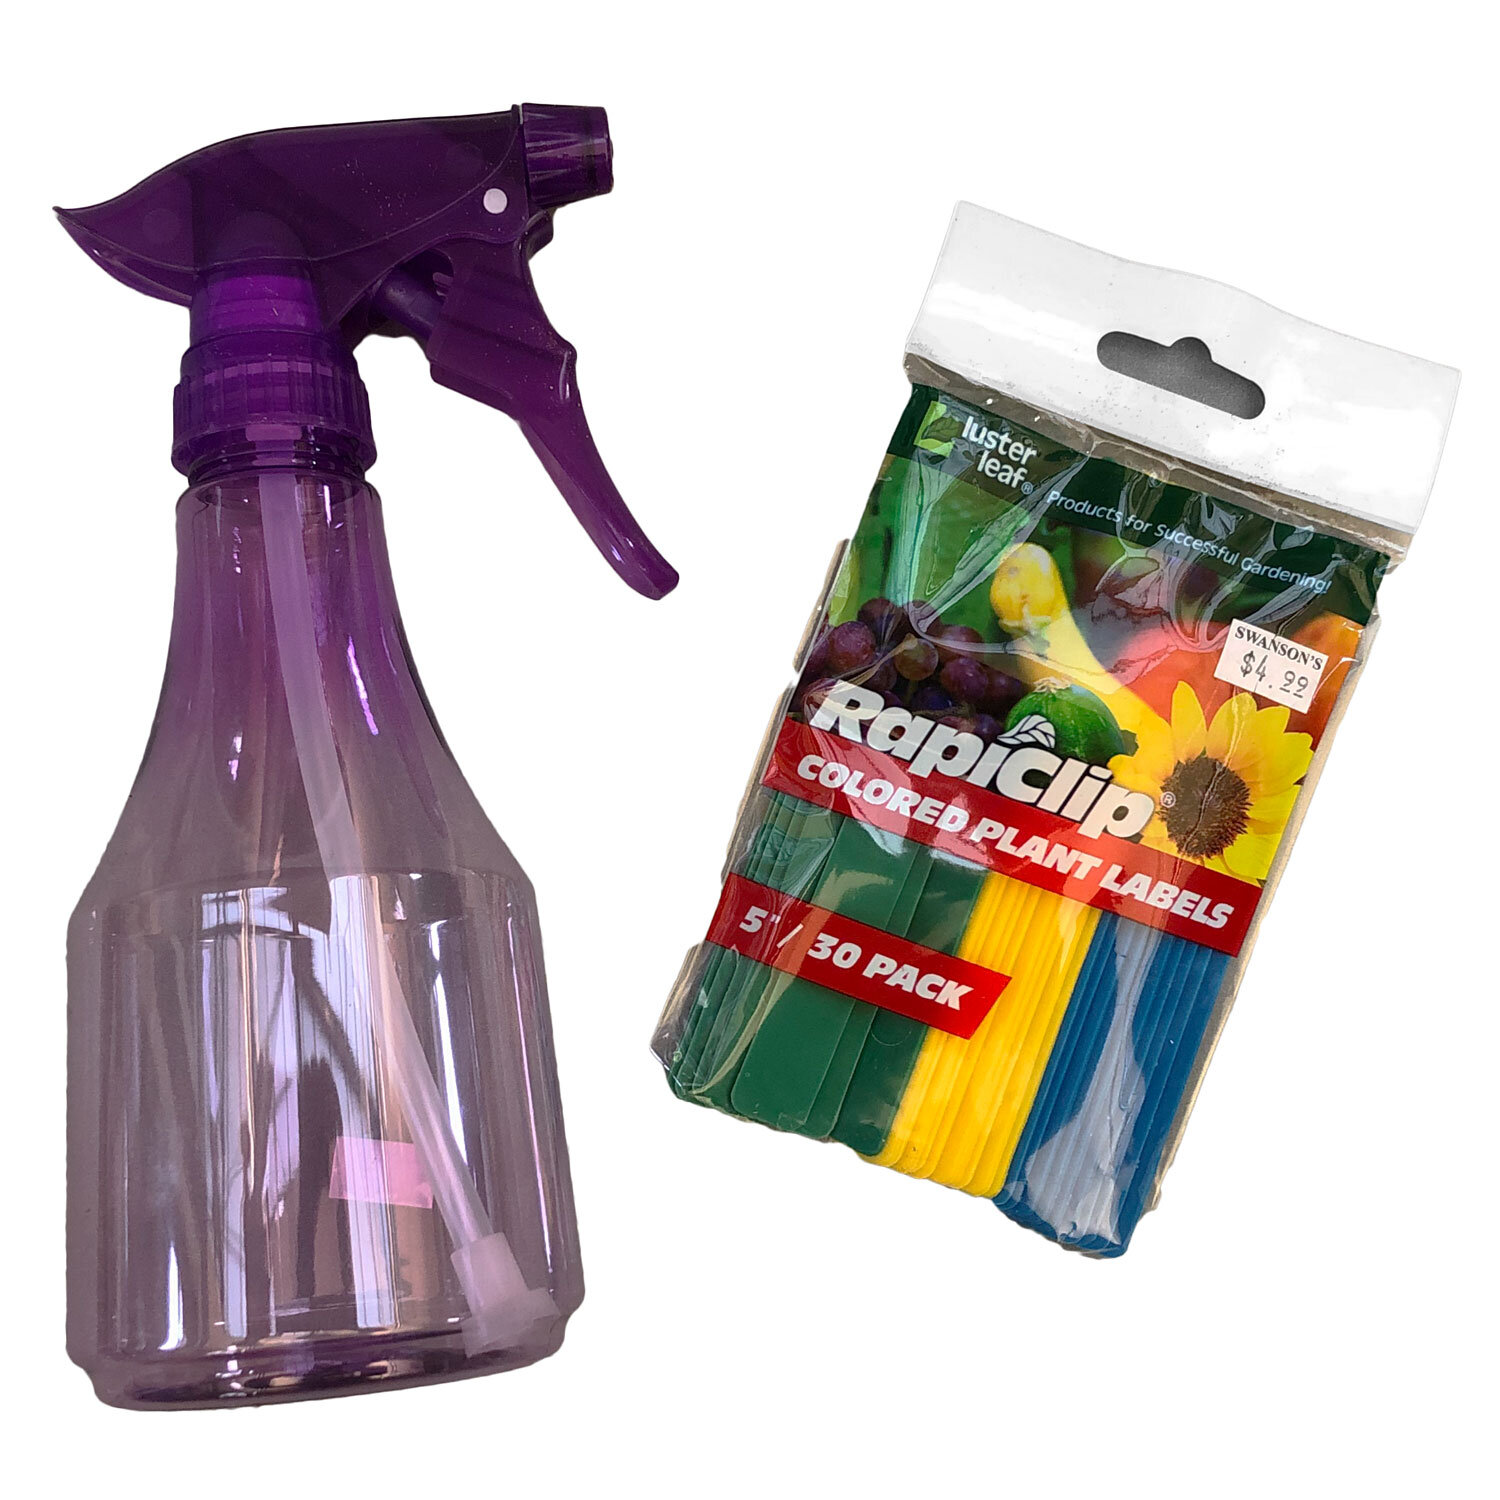
Spray Bottle (Mister)
A mister is a great tool for watering your seedlings. You can spray to their heart’s content and not risk drowning your seedlings in a gush of water. Once seedlings are bigger, you can graduate to a watering can - with a rain nozzle - to gently and thoroughly water the plants.
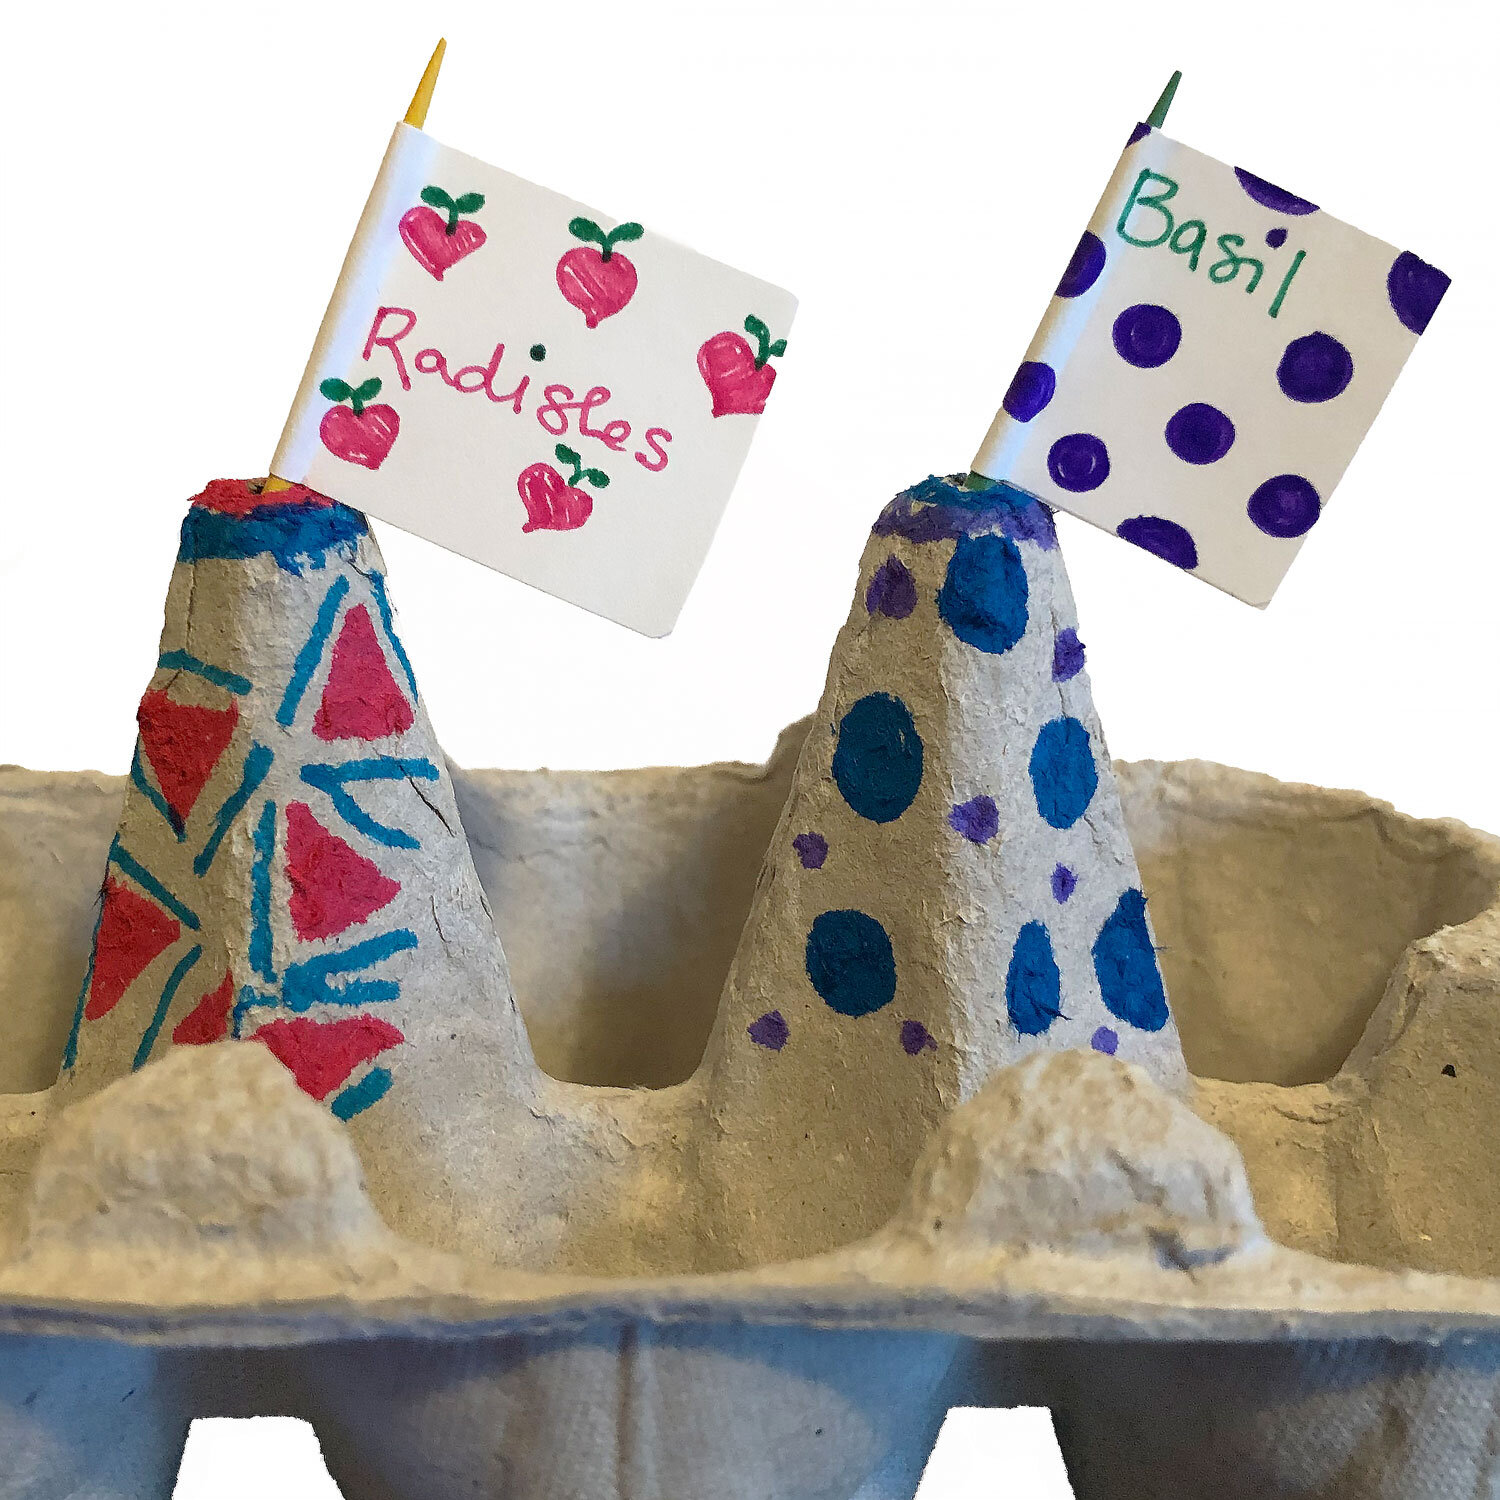
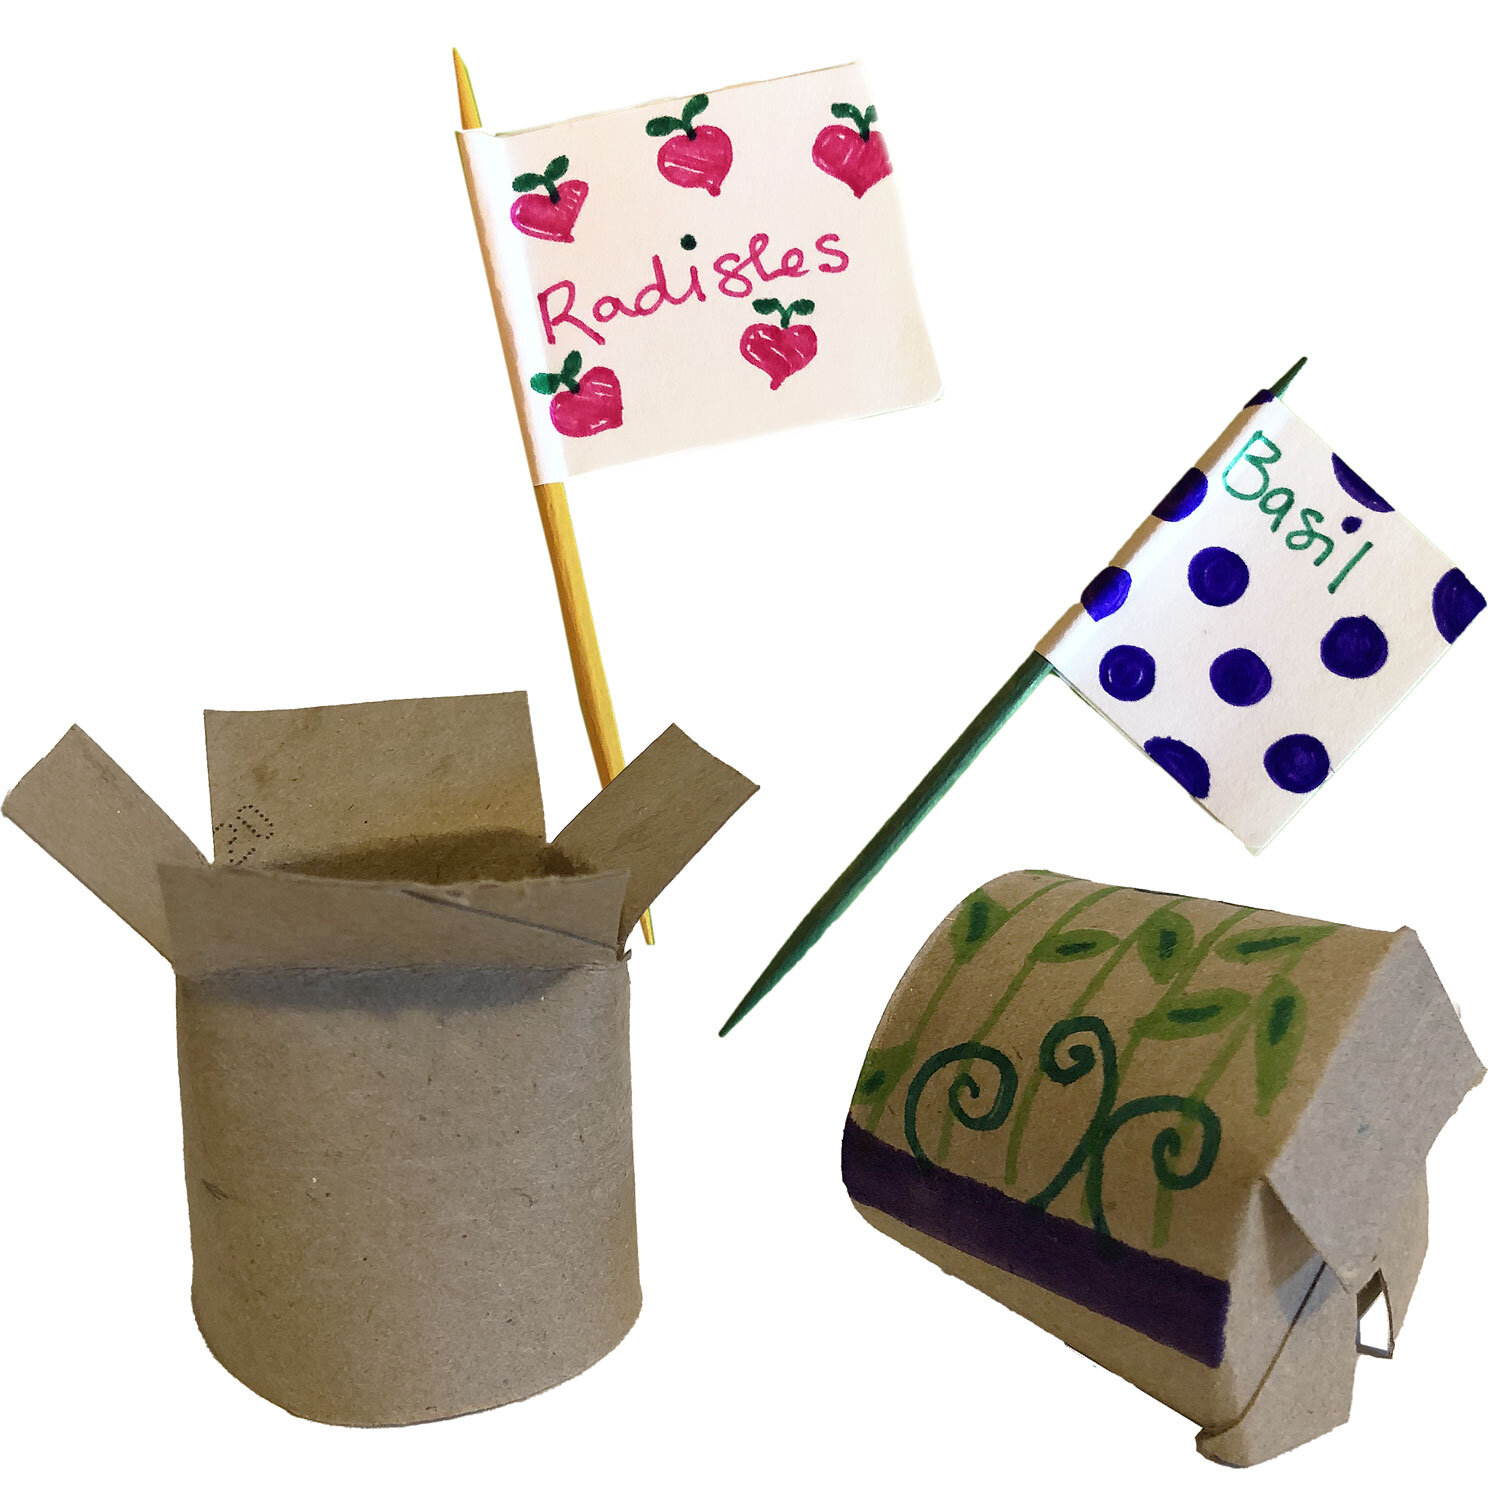
Seed Pots
Here’s where you can get creative. You can start seeds in almost any small container as long as it allows drainage. Egg cartons work great and so do individual “kid-sized” yogurt containers (remember to punch a few drainage holes into the bottom of either one). You can even use toilet paper tubes, cutting them in half crosswise to make two smaller rolls, then making 3-4 vertical cuts around one end of each and folding in the tabs to create a “bottom” to your pot (with a built-in drainage hole!) Have fun decorating the outside of your creations but remember they may get pretty damp so designs might blur or fade.
“Tip: Use an upside-down sandwich bag or plastic wrap to cover the seedlings until they germinate, then remove. You’ll also want a tray underneath your pots to catch any draining water.”
Plant Labels
Decorated popsicle sticks, toothpicks with stickers wrapped to make plant label “flags” or anything your imagination comes up with can be used to label your pots of seeds. Whatever you choose, write in permanent marker or crayon so the words don’t blur in damp conditions! If you don’t want to make your own, we like Rapiclip colored plant labels because the plastic label doesn’t disintegrate and they’re bright and colorful.
How to Start Seeds in 3 Easy Steps
You’ve gathered your supplies and personalized them to make them unique and beautiful. Now you’re ready to start planting!
Step 1: Fill a large bowl with seed-starting mix, sprinkle some water over it with your watering can, and gently mix the soil to make it evenly moist but not sopping wet.
“Tip: You might want to wear a face mask because seed-starting mix is very light and dusty and can make you sneeze or cough if you inhale it. ”
Step 2: Fill your containers almost all the way with soil, place a few seeds in each pot, then sprinkle a little more soil over the top to cover the seeds.
Step 3: Mist the soil until the surface is damp (you can also mist the sides of the pots), then push your plant marker into the soil and cover with your bag or plastic wrap. (this keeps the seeds nice and warm and humid so they will start to grow).
Caring for Your Seedlings
Put your pots in a sunny windowsill or under lights and check on your seedlings every day. Seeds won’t sprout if they dry out, so you may need to remove your covers and mist once in a while. The seeds listed above should sprout within a week (some within 3 days!)
When you see your seedlings poke up out of the soil, you can remove the cover from the pot. Keep misting them (it’s even more important to check often once the cover is removed because they will dry out more quickly now). When they get a little bigger, you can start watering them gently with a watering can. The best kind has a rain nozzle so the water comes out gently like a rain shower.

Transplanting Your Seeds
You may just want to enjoy your seedlings inside and that’s great! But if you want to grow flowers and mature vegetables, you’ll eventually need to transplant them outside into larger pots or into the garden. Remember to start them off in the shade and gradually get them used to the sun. With regular watering and a little time, you’ll soon have masterpieces from your seed-starting efforts!
Have fun starting seeds at home! We’d love to see your results - post photos on Facebook, Twitter, or Instagram with #heyswansons to share with us!