
Spring is in full swing and our houseplants are starting to grow more actively. After a long, sleepy winter, our plants love a spring refresh! This is a great time to repot any plants that may be rootbound or need new potting soil.
In this post, I’m repotting a very rootbound Marble Queen Pothos plant. I’ll walk you through all the steps for a successful repotting. These steps are essentially the same for all types of indoor and outdoor plants, so you can take these tips and use them for any potted plant.
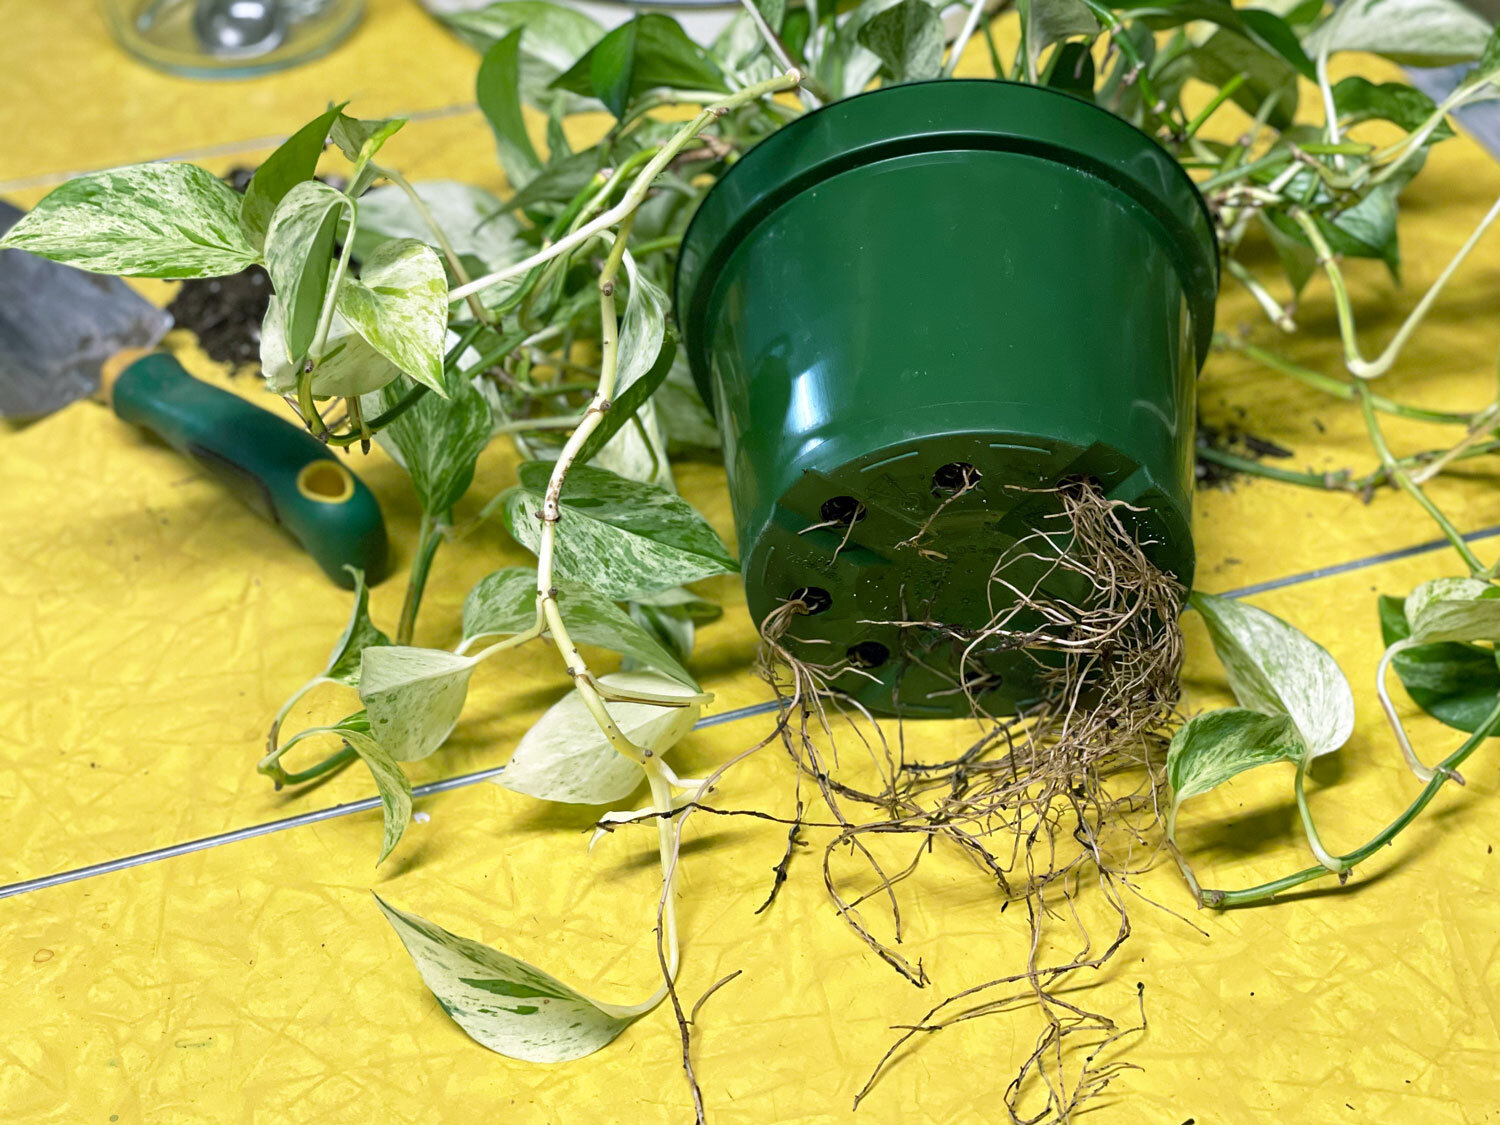
As you can see, my Pothos has been in need of a new, larger pot for quite a while; the roots have grown way out of the bottom of the pot! But, since in the winter many houseplants go somewhat dormant and stop growing as actively, it’s best to wait until spring and summer to repot your houseplants.
Make sure your new pot has drainage holes. If you have a cache pot (a decorative pot without holes) put your plant into a plastic pot and place that pot inside the cache pot. In general, it’s best to choose a new pot that is 1”-2” larger than the current pot.
If you would like to repot your rootbound plant back into the same pot (or one that is the same size) and you don’t want it to grow much larger, you can root prune your plant. To root prune, cut off up to about 1/3 of the roots at the bottom after completing step 1 and then move on to step 2.
Step 1: Gently Remove Your Plant from its Pot
My Pothos is in a plastic pot so I can gently squeeze the sides of the pot, which helps loosen the soil. I’m also sliding a small shovel (a butter knife would work well, too) in between the edge of the pot and the soil so the plant will slide out more easily. Some plants are pretty firmly attached to their pots and it can take a while to loosen them. Just keep at it until the soil slides out when you tip the pot on its side. As it comes out, gently grasp around the soil or at the base of the plant to steady it as you slide the pot off.

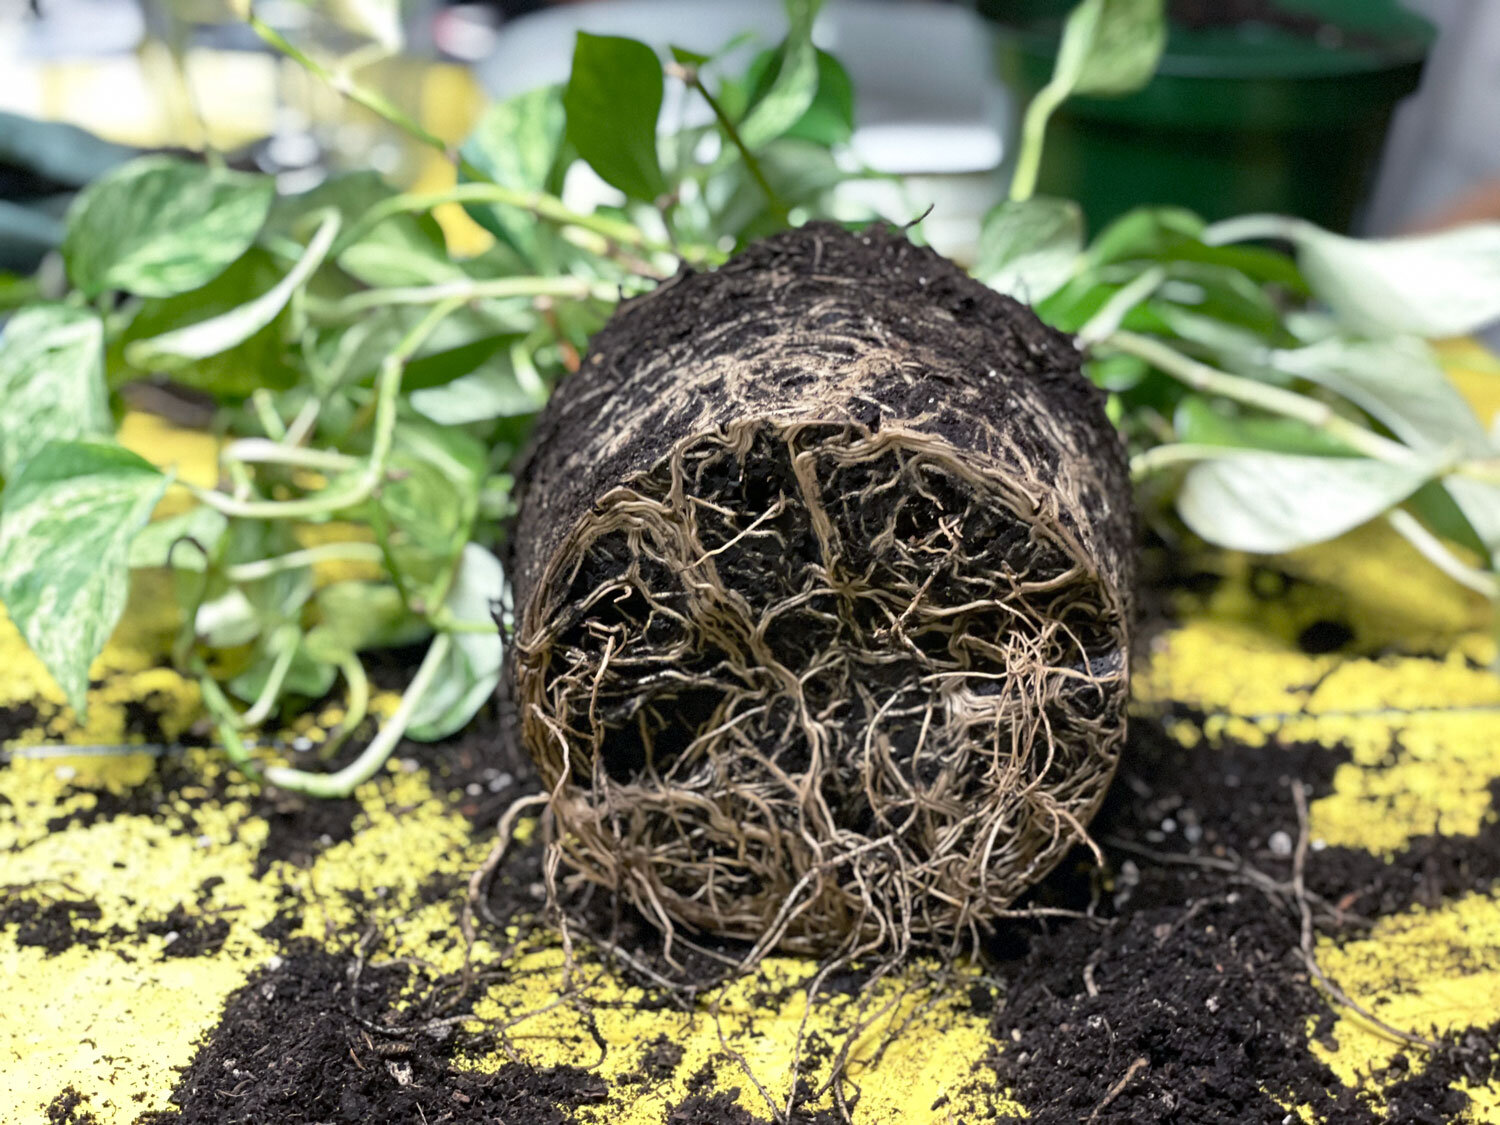
Look at all these roots! You can see how they began to circle around the bottom of the pot before eventually growing out of the pot’s drainage holes.

Step 2: Massage the Root Ball
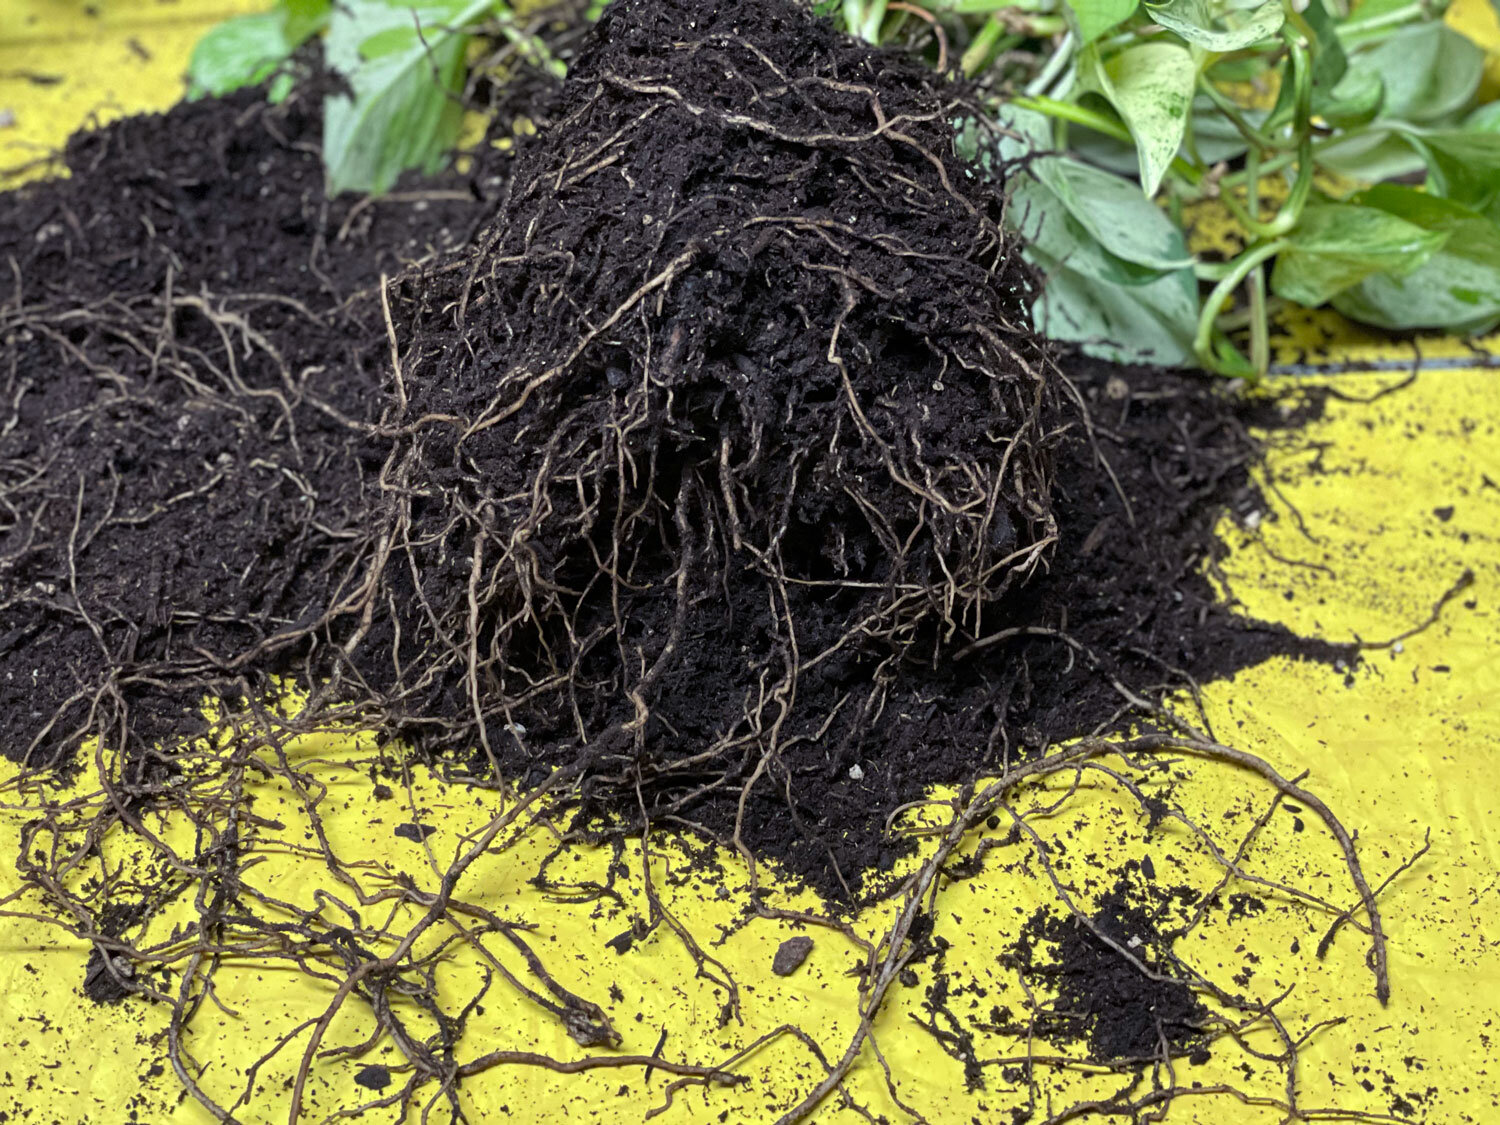
We want these roots to be free to grow and absorb water, air, and nutrients. Start by gently massaging the roots at the bottom until they loosen from their coils. Continue massaging the roots all around the plant until they are loose. You will probably lose a few roots as you work but that’s okay. Just don’t aggressively pull or break off any roots.

See the difference? The roots are no longer tightly coiled and they have room to grow! Now we’re ready for step 3.
Step 3: Place Your Plant into its New Pot
Choose a pot that is 1”-2” larger than the pot your plant is currently in. If you transplant your plant into a much larger pot, it will be surrounded by a lot of excess soil and when that soil gets wet and there aren’t enough roots to absorb the water, it’s a recipe for root rot. Not good. In fact, soil that stays waterlogged is the most common cause of houseplant demise (yes, more than underwatering!)

Fill the bottom third of your new pot with fresh potting soil then place the plant in the pot, gently holding it up so the base of the stem (or stems) is about 1/4”-1/2” below the top of the pot. Add or remove soil from underneath the plant to adjust until it’s at the right height. Now add shovelfuls or handfuls of new potting soil around the plant while you hold it in place. For a plant like this Pothos, I gather up all the stems and loosely hold them together so it’s easier to see when I have enough soil in the pot.
Make sure the soil fills all the empty spaces in the pot. When the pot is full, gently pat down the soil to firm the plant into place. You can also lightly tap the bottom of the pot on the table or floor to help settle the soil.

Step 4: Water Your Plant Really Well
This last step is crucial. Newly transplanted plants are suffering from a bit of stress and they need ample water right away. Place your plant in its cache pot or in a saucer and water your plant slowly (I like to use the “rain” head on my watering can for a gentle, even soaking, especially right after I’ve transplanted a plant). Let it all soak in and water again, until the pot feels heavy and water runs out of the drainage holes in the bottom of the pot. You can let the pot sit in the saucer for around 30 minutes to see if it will soak up any of the drained water, then dump any excess.

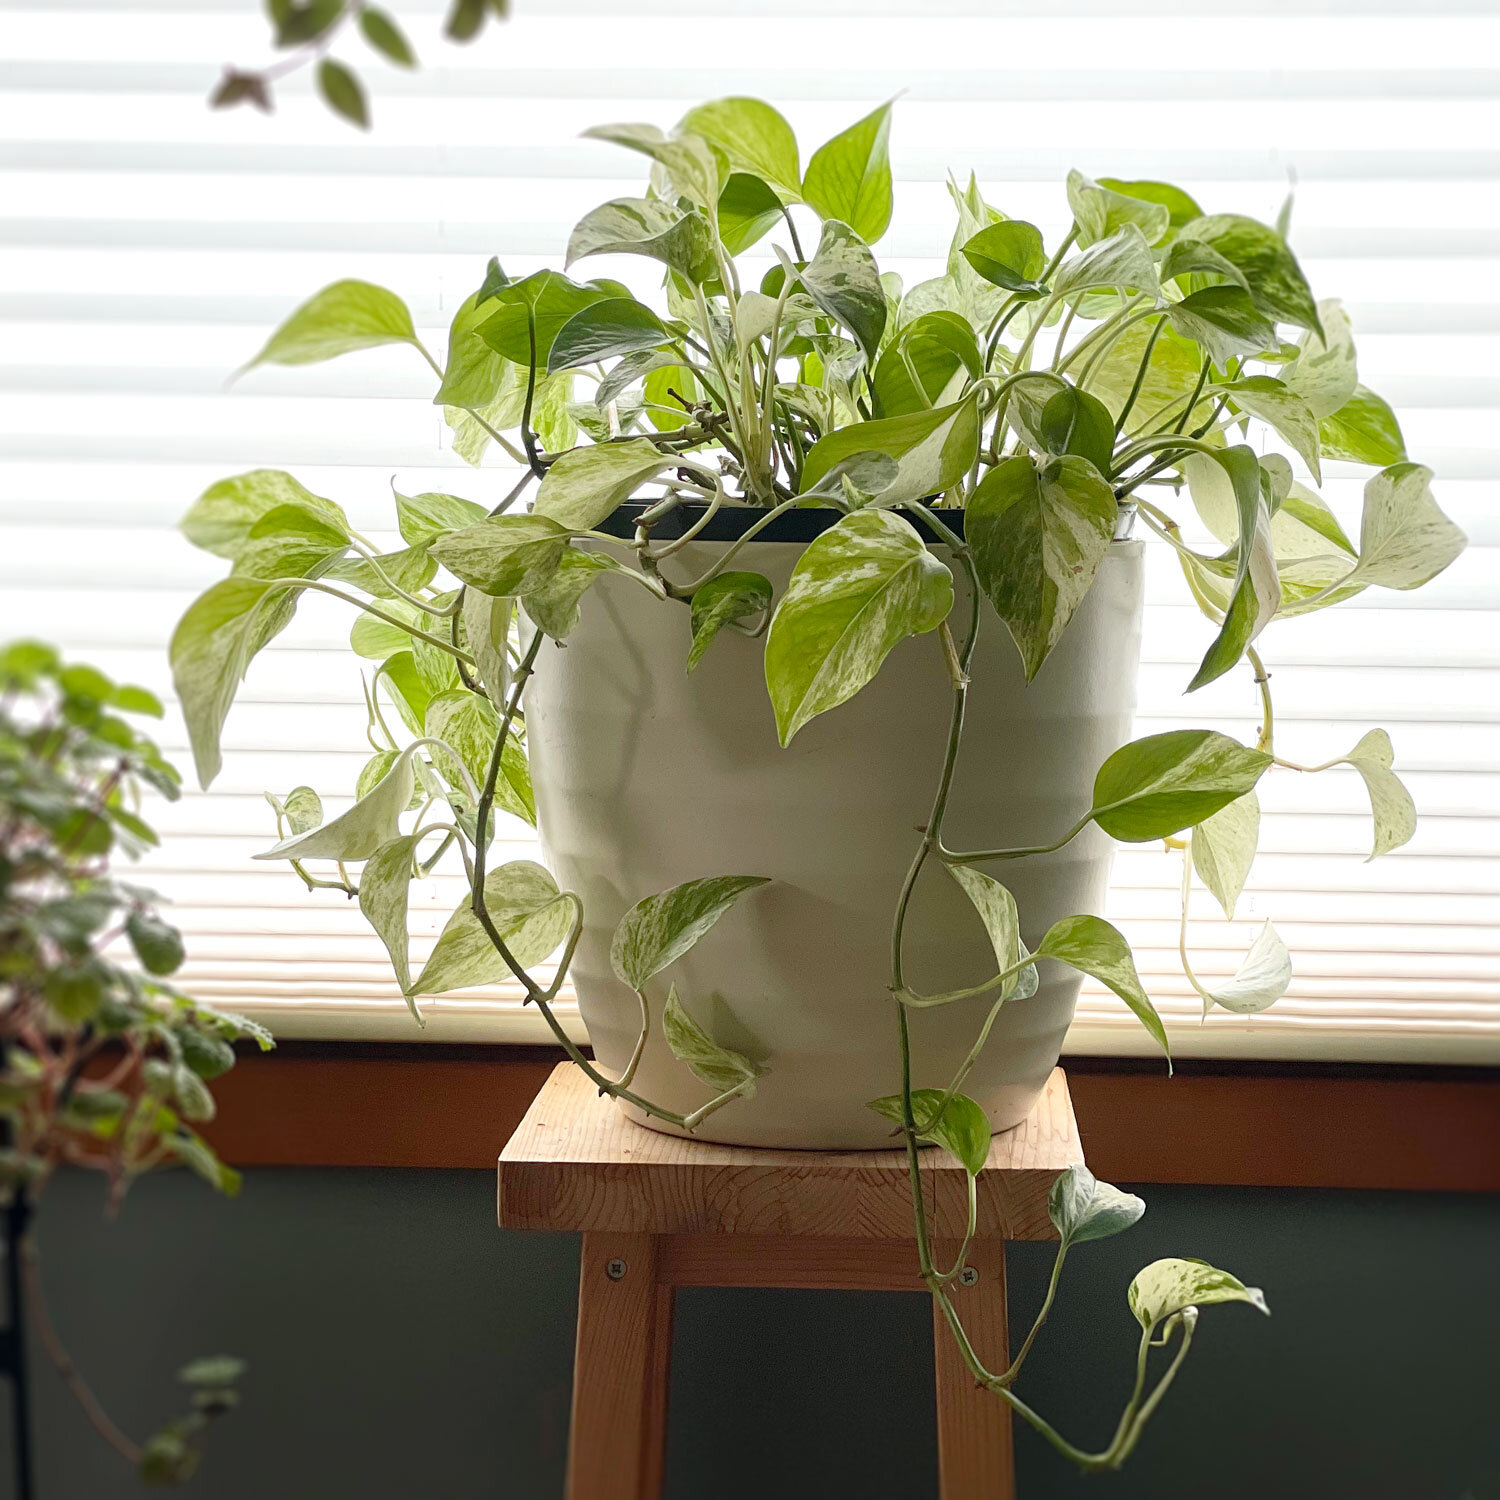
Voilà! You have now repotted your plant! Here’s my transplanted Pothos enjoying some diffused afternoon light. It looks happier already!
A Note about Watering
You might notice that your plant needs watering less often in the first few weeks after transplanting. That’s because it has more soil around it that can absorb water. As it grows roots to fill the soil, it will need watering more often.
Watering is one of the trickiest aspects of good plant parenting. I really like to feel the weight of my pots, as well as feel the soil, to determine when to water. As the soil dries out a pot begins to feel lighter. If a pot still feels really heavy, even if the surface of the soil appears slightly dry, I know it’s generally not yet time to water. Of course, every plant is different. Some plants like to dry out almost completely in between waterings (Cacti, Succulents, ZZ plant, Snake plant), some like the top few inches to dry out (Spider plant, Pothos, Philodendron), and some like only the surface to dry out (most Ferns).
It takes a little time to see what your plant prefers. Feeling the soil and the weight of the pot can help. I keep a note of each time I’ve watered my plants and pretty soon, using my notes and the other methods I’ve described, I can see about how long each plant likes to go between waterings. I even set up reminders on my phone for the finicky plants! Remember, the timing can change between seasons. Just find your plants’ rhythm and they will thrive.
Questions about repotting a plant? Want us to repot your plant for you? Give us a call at 206-782-2543 or email us and we can help!