Terrariums, those miniature worlds within glass, have always fascinated me. There is something so satisfying about creating a safe haven where your chosen plants can thrive with very little care. Mollie (our indoor plant specialist) and I decided to make a simple fern terrarium, step by step. With this foundation, you can create your own terrarium, one as elaborate or as minimalist as you would like. Be creative and have fun!
Let's get started...
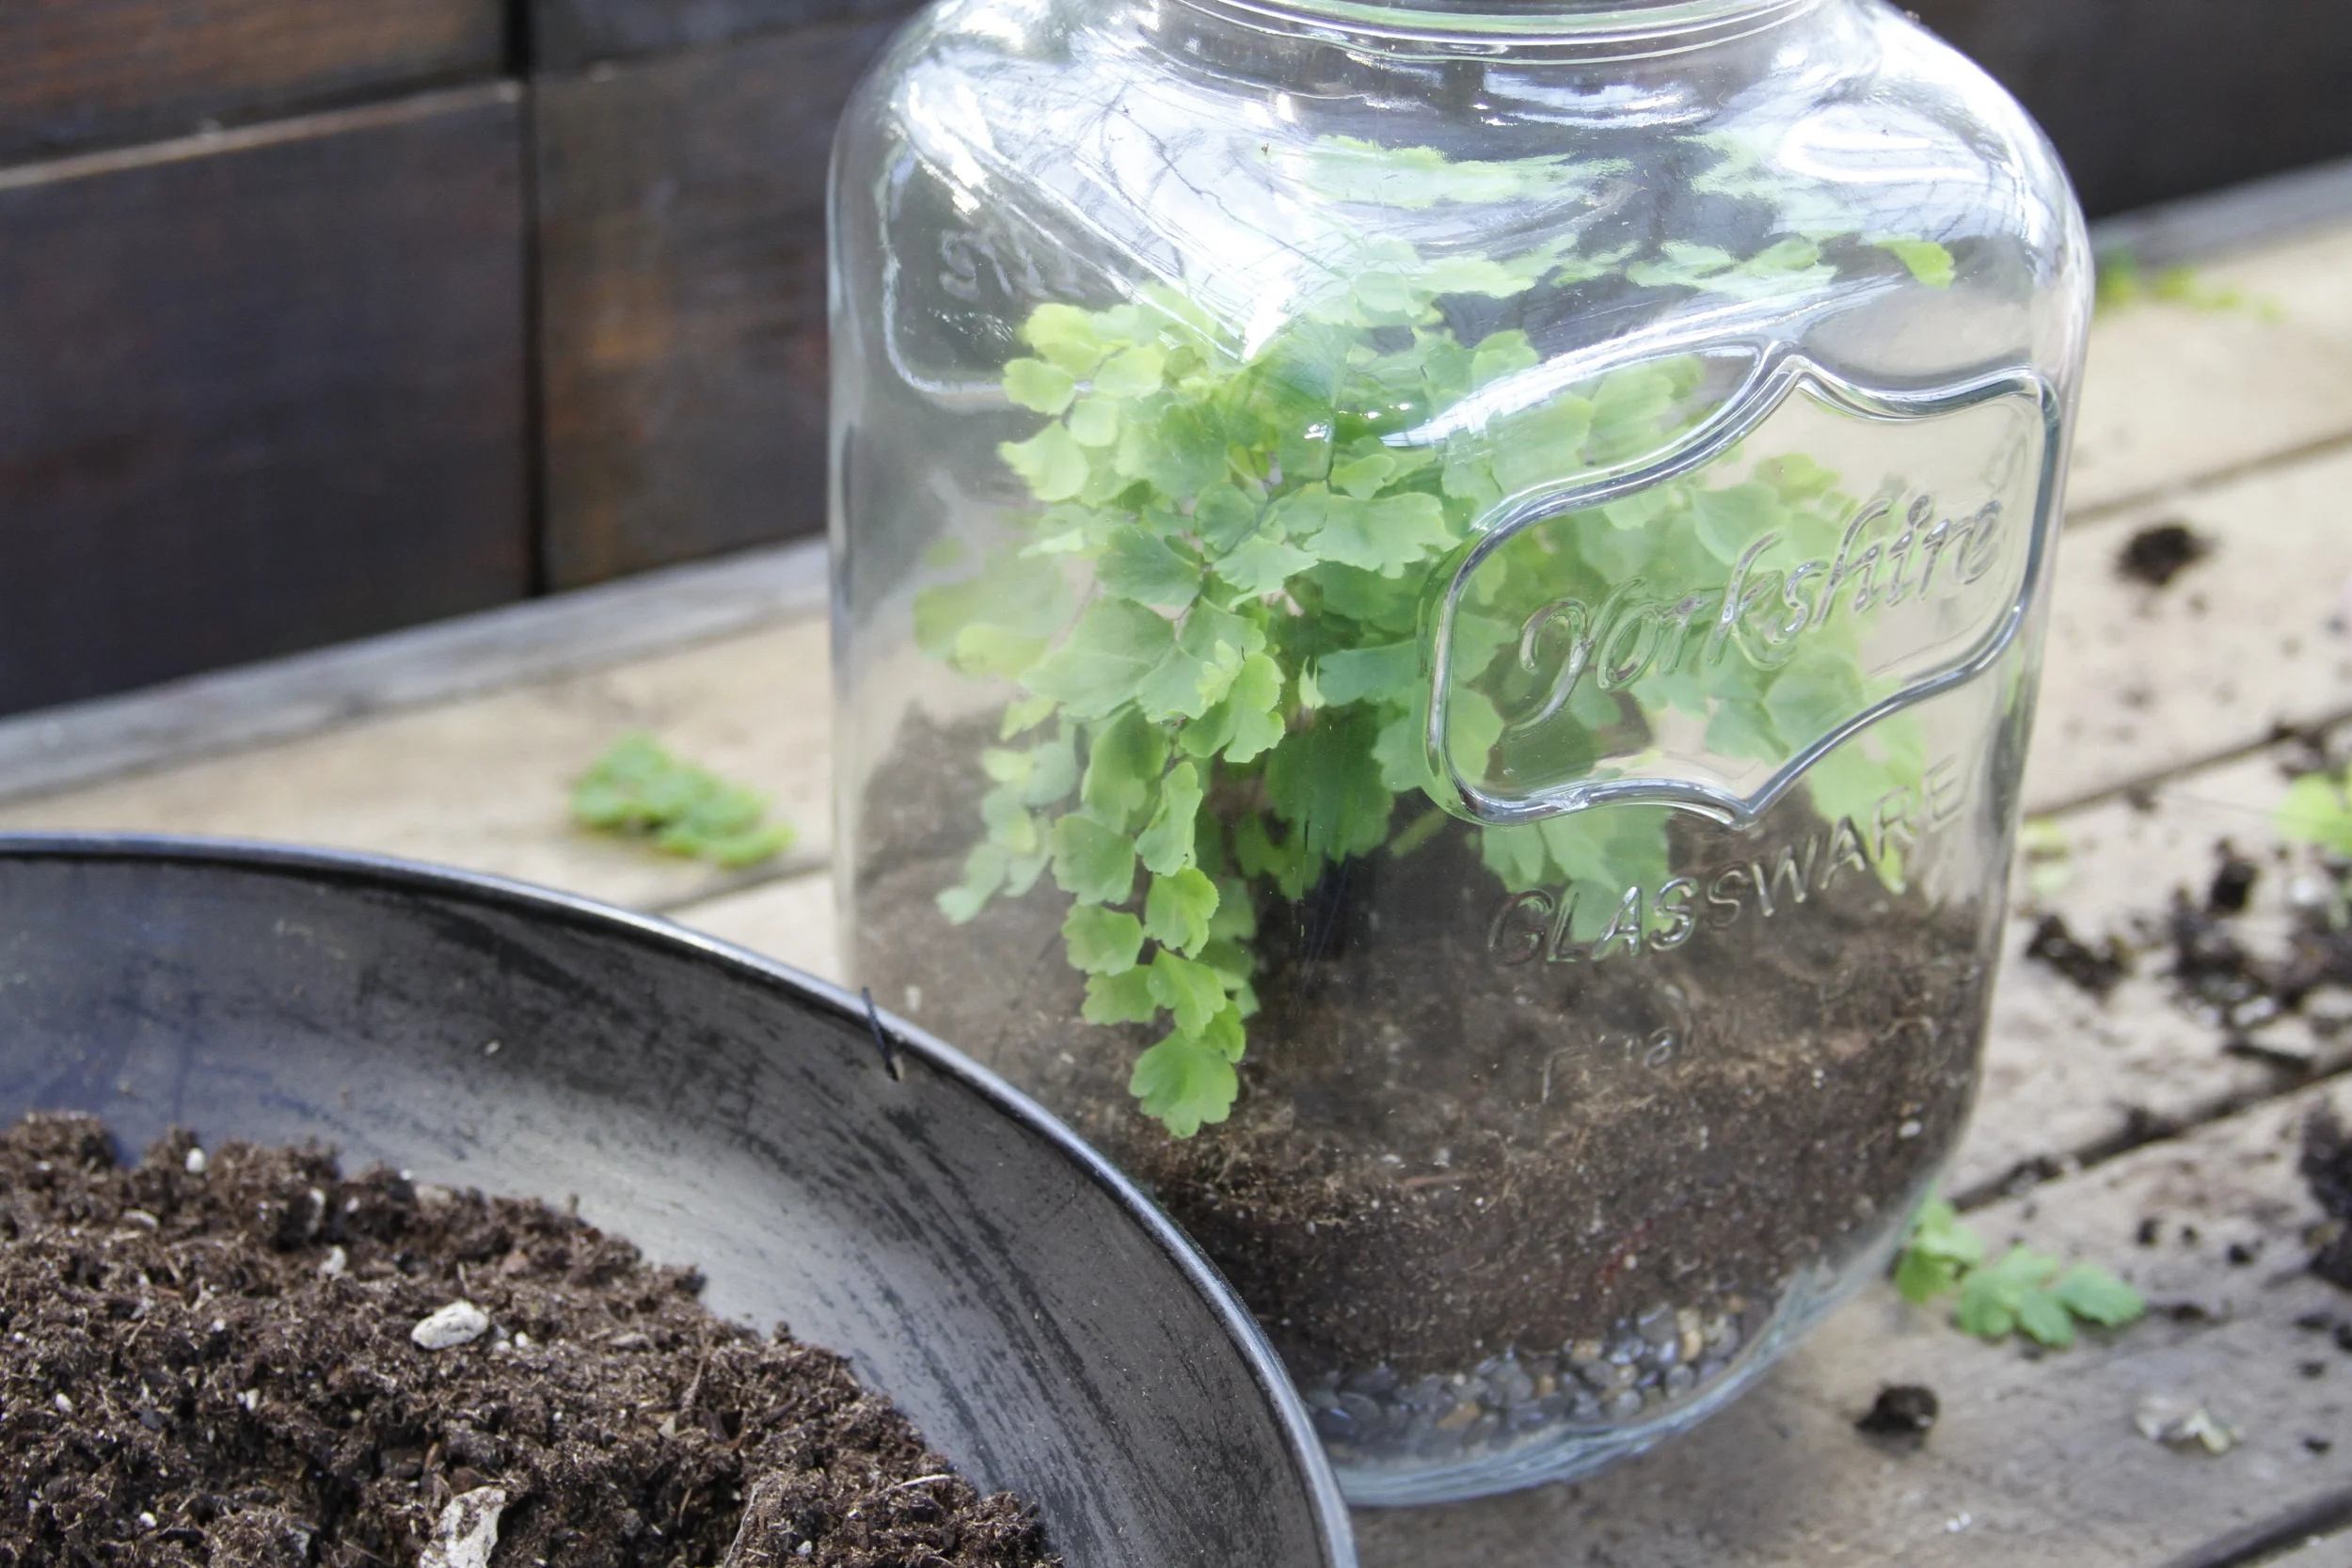
Step 1: Choose your plants & container
The type of plants you select will affect which container you use and vice-versa. If you adore ferns and tropical plants, opt for a container you can close to maintain the perfect level of humidity. If you are crazy for cacti and succulents, choose an open container for a dry terrarium. Terrarium containers should always be clear glass.
Step 2: Build your foundation
You will need the following materials: activated charcoal pieces, horticultural sand, indoor potting soil, and pebbles, and decorative rocks - all available at Swansons, of course! To begin, spread a thin layer of charcoal on the bottom of the clean terrarium. This will help filter the water and air and prevent stagnation. Next, pour in enough sand to cover the charcoal. Finally, add a layer of pebbles and pat down gently. Save the decorative rocks for the final step.


There are different layering methods depending on the look you want to achieve. Here, the sand covered the charcoal completely and the layers blend together somewhat. Some people add moss between layers to keep them very striated and separate. Others add pebbles first, then charcoal. Feel free to experiment.
Step 3: Add a few inches of potting soil
The amount of soil will depend on the size of your container and your plants' root systems, but 2-3 inches is generally sufficient. Make a shallow well in the soil where you will place each plant.
Step 4: Prepare your plants for the terrarium
Gently remove each plant from its pot and massage the root ball.


Step 5: Arrange your plants
Lay each plant where you want it in the container, delicately spread the roots, then cover them evenly with soil. Gently tamp down the soil to remove air pockets and water lightly.
Step 6: Cover the soil
Decorative rocks add a polished look. You can also use moss, which helps retain moisture, or even sand for a desertscape. Now is also the time to add ornaments (rocks, shells, feathers, figurines... anything, really!) if you so choose. Be sure to wash ornaments before placing them in the terrarium.
Voilà: a gorgeous terrarium!
Caring for your terrarium
Terrariums require little care. Watch your enclosed terrarium carefully for the first few days: if the glass completely fogs over, open the lid to allow air flow, then reseal. When the terrarium stops fogging, the moisture balance is correct and it is virtually self-sufficient.
Occasionally check to see if the soil is dry and water as needed. If you see mold beginning to grow, remove it immediately and let fresh air in. Do not place your terrarium in a hot, direct sun or you may burn the plants!
Remember that terrariums are living, evolving ecosystems. You may eventually need to remove or trim plants that are outgrowing their container.
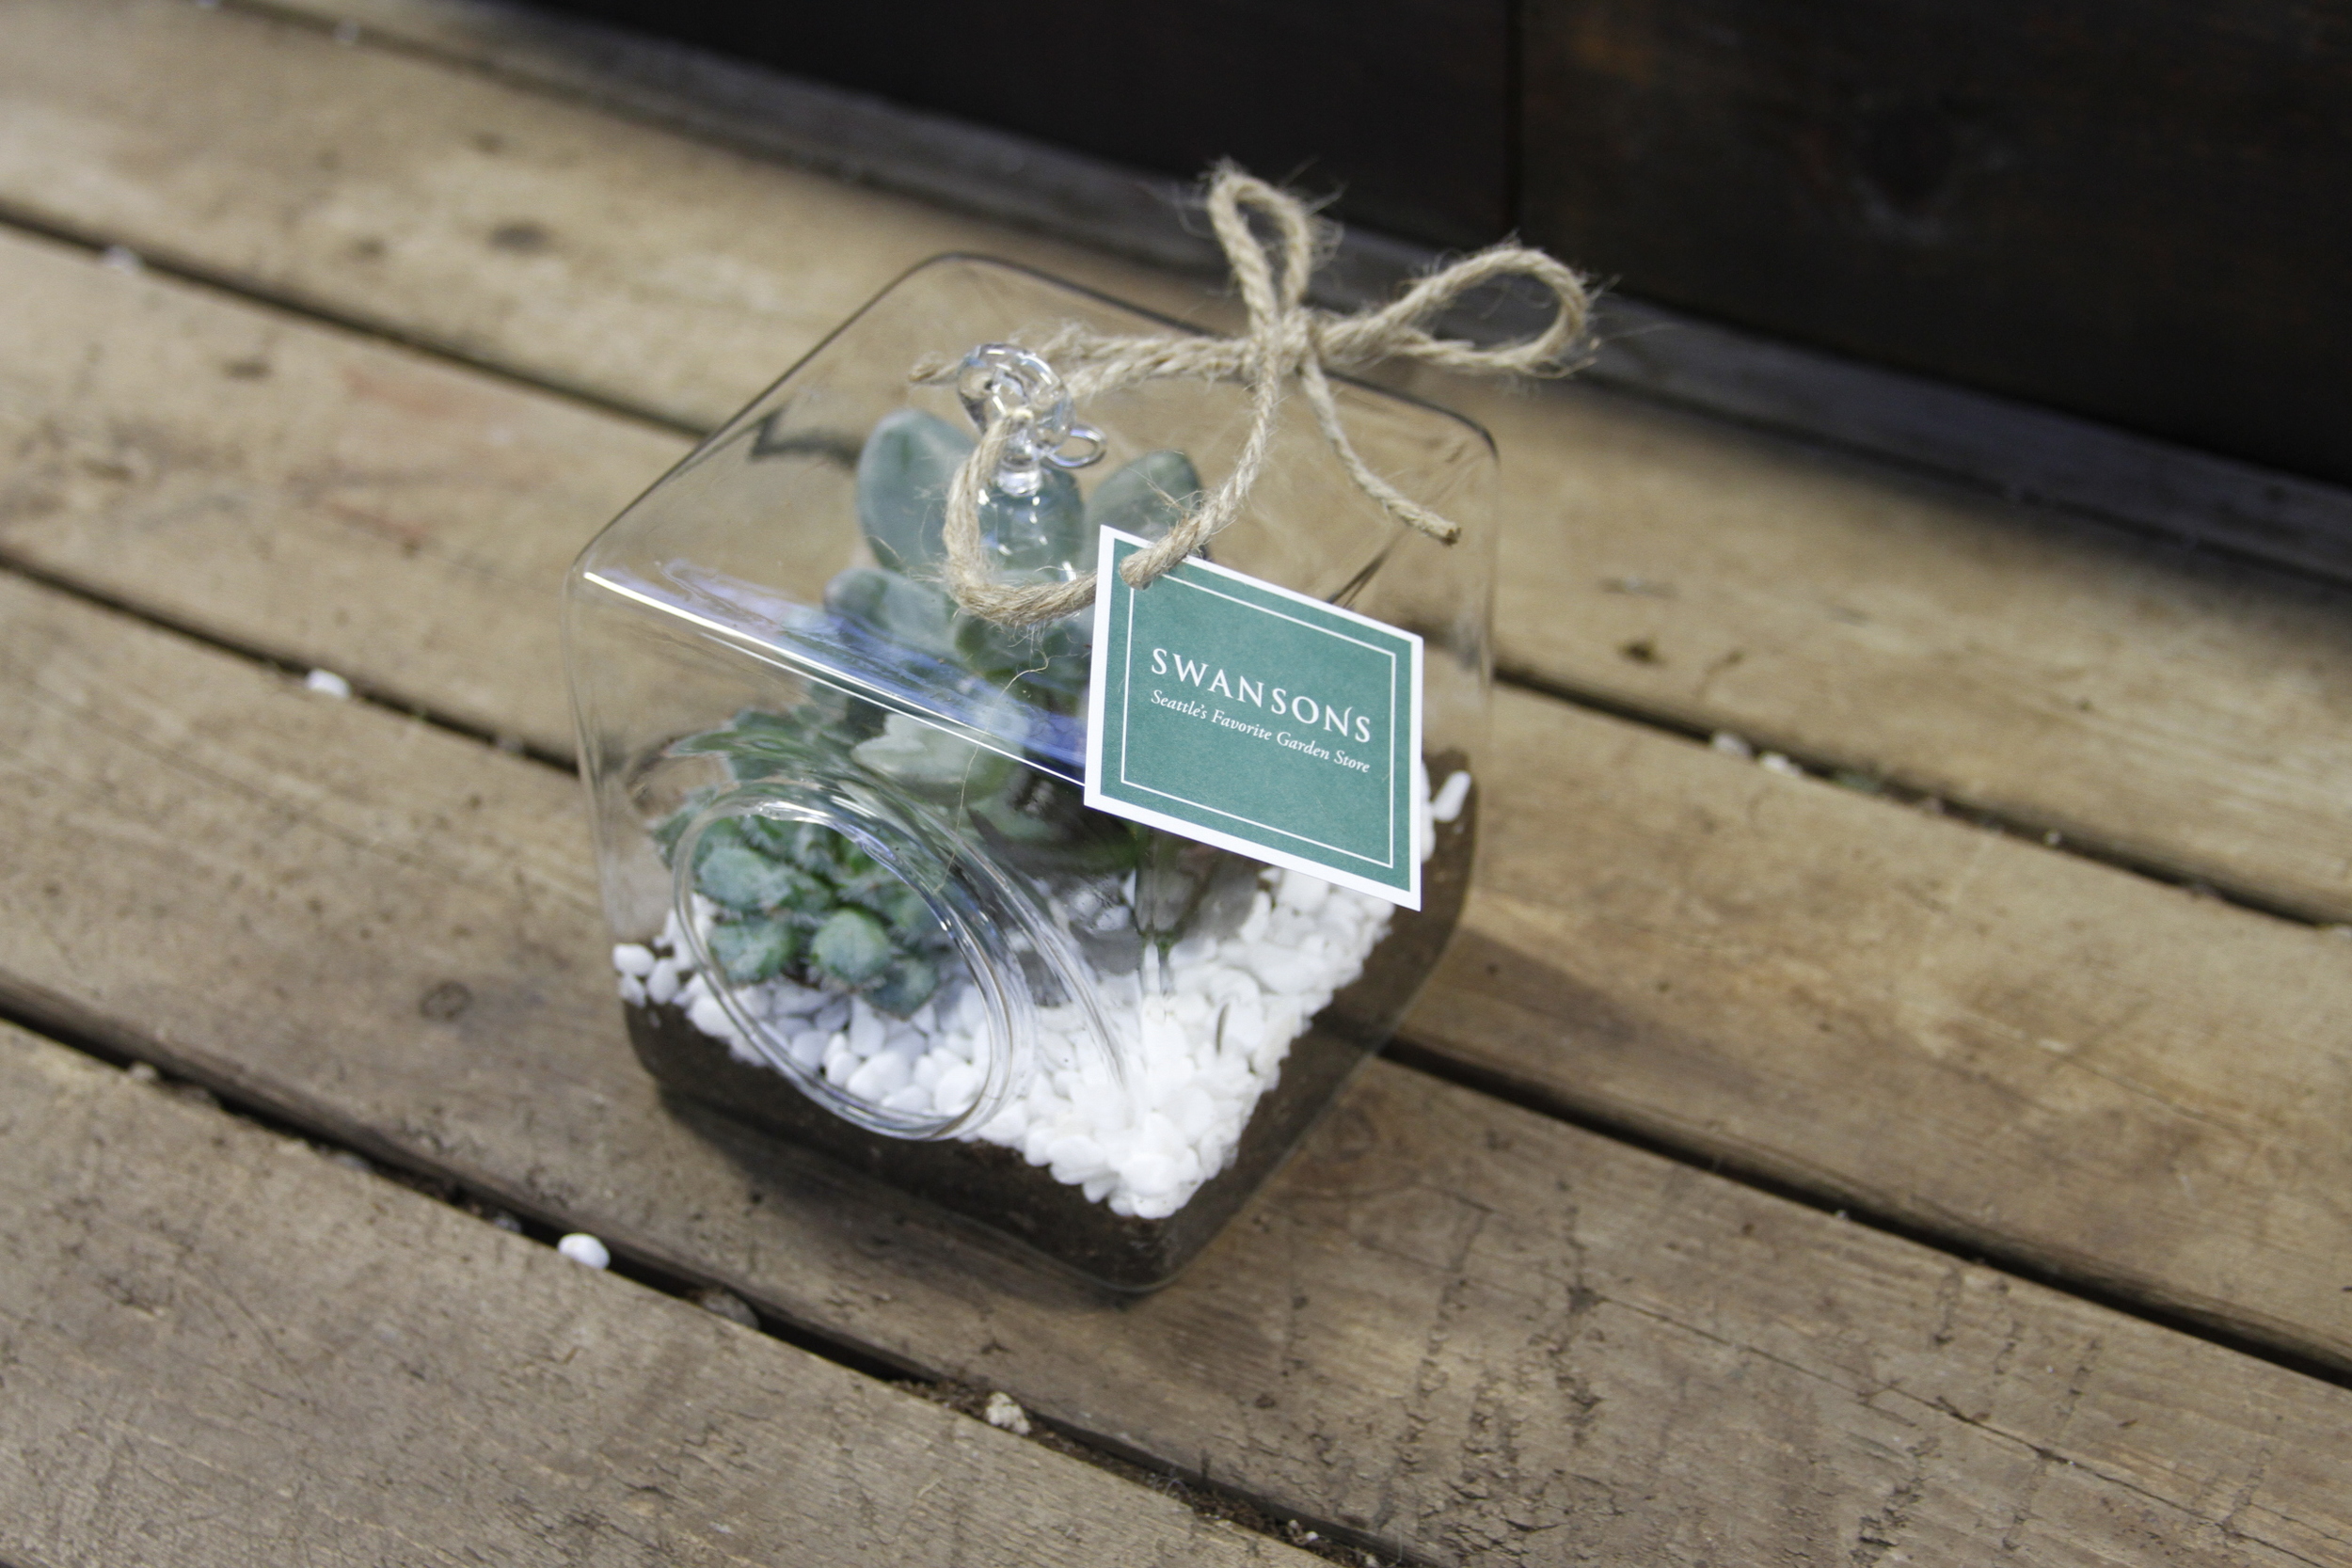
For an open terrarium, such as this hanging succulent terrarium, water and maintain as needed.

Inspired to try making your own terrarium? Visit us for in-person advice and supplies!