In Designing a Parking Strip Garden, we reviewed the basics of planning a large planting project, from checking the availability of light and water (Step One: Evaluate Your Space) to determining your gardening style and how much you can accomplish with your budget (Step Two: Make a Plan). This week it's time for Step Three! Let's look at what we did here at Swansons to advance our Autumn Project: planting our parking strip.
Step Three: Execute the Plan
'Execute the plan' is a very sweeping statement that applies to a whole group of smaller tasks - and not all of them apply to every project - but they make a handy checklist. Breaking your project into several smaller tasks makes it easier to feel like you're making progress.
Instead of looking at a big empty area and thinking "Ugh, I really need to do something about that," you can go to your checklist, do the next thing on the list, cross it off (so satisfying) and then go fix yourself a martini. Which is really what gardening is all about.
Task 1: Prepare the space
Often this is just basic cleanup. Pull out any plants you're not keeping in the bed and transplant them into other areas of your garden, into containers, or simply get rid of them. Make sure to check that you're transplanting at a good time of year for the plants in question; many plants don't like to be disturbed while they're actively growing or when it's hot out. This is also a great time to thoroughly weed the area, so you have a clean start.
For Swansons' Autumn Project, we had pulled everything in the bed out except the dogwoods in the spring. So we just needed to pull all those tenacious weeds that had sprouted up since.
Task 2: Hardscaping
Before you go wild with planting, make sure the big heavy stuff is in place first. The last thing you want to do is accidentally drop an 800 pound landscape boulder on top of your prize 'Chief Joseph' pine just because you got the levers confused on your rental track hoe. (Lord, if I had a nickel for every time . . .) We added and revised several hardscaping elements as part of our project:
Retaining walls: the walls surrounding the bed near our entrance and exit gates were in poor repair and stuck out a little too far, so we replaced sections of them with a pretty Roman Stack retaining wall. This also gave us a little more depth at the ends of the beds, so we have more soil to work with. This will be good for the long-term health of the dogwoods in particular, since they are growing in a pretty narrow space.
Irrigation: Because we knew we were going to be planting shrubs and ferns, which can become bulky as they mature, we were concerned about the water from our sprinkler system reaching every part of the bed. So we shifted four of the sprinkler heads over to the other side of the bed, so now the heads alternate. This way the spray patterns will overlap all the way through the bed.
Stepping stones: we had five stepping-stone paths cutting through our parking strip, but they were a bit small and starting to sink as the soil under them settled. We raised and re-settled the stone for three of the existing paths and replaced the other two with pavers matching our new retaining walls. The pavers make for a wider, firmer base for people to walk on as they move between their cars and the sidewalk, and their color helps tie the whole bed together.
Task 3: Soil preparation
Everything that happens in your garden, good or bad, has its root in the quality of your soil (I actually get bonuses every time I use a stupid pun in social media). So don't skimp! We are lucky to have good soil in our planting beds, but the dogwoods, surface runoff, and natural decomposition had definitely taken their toll. Parts of the bed were pretty low, so we levelled and filled the soil, adding compost as we worked.
Task 4: Layout and planting
At last! This is the moment you've been waiting for.
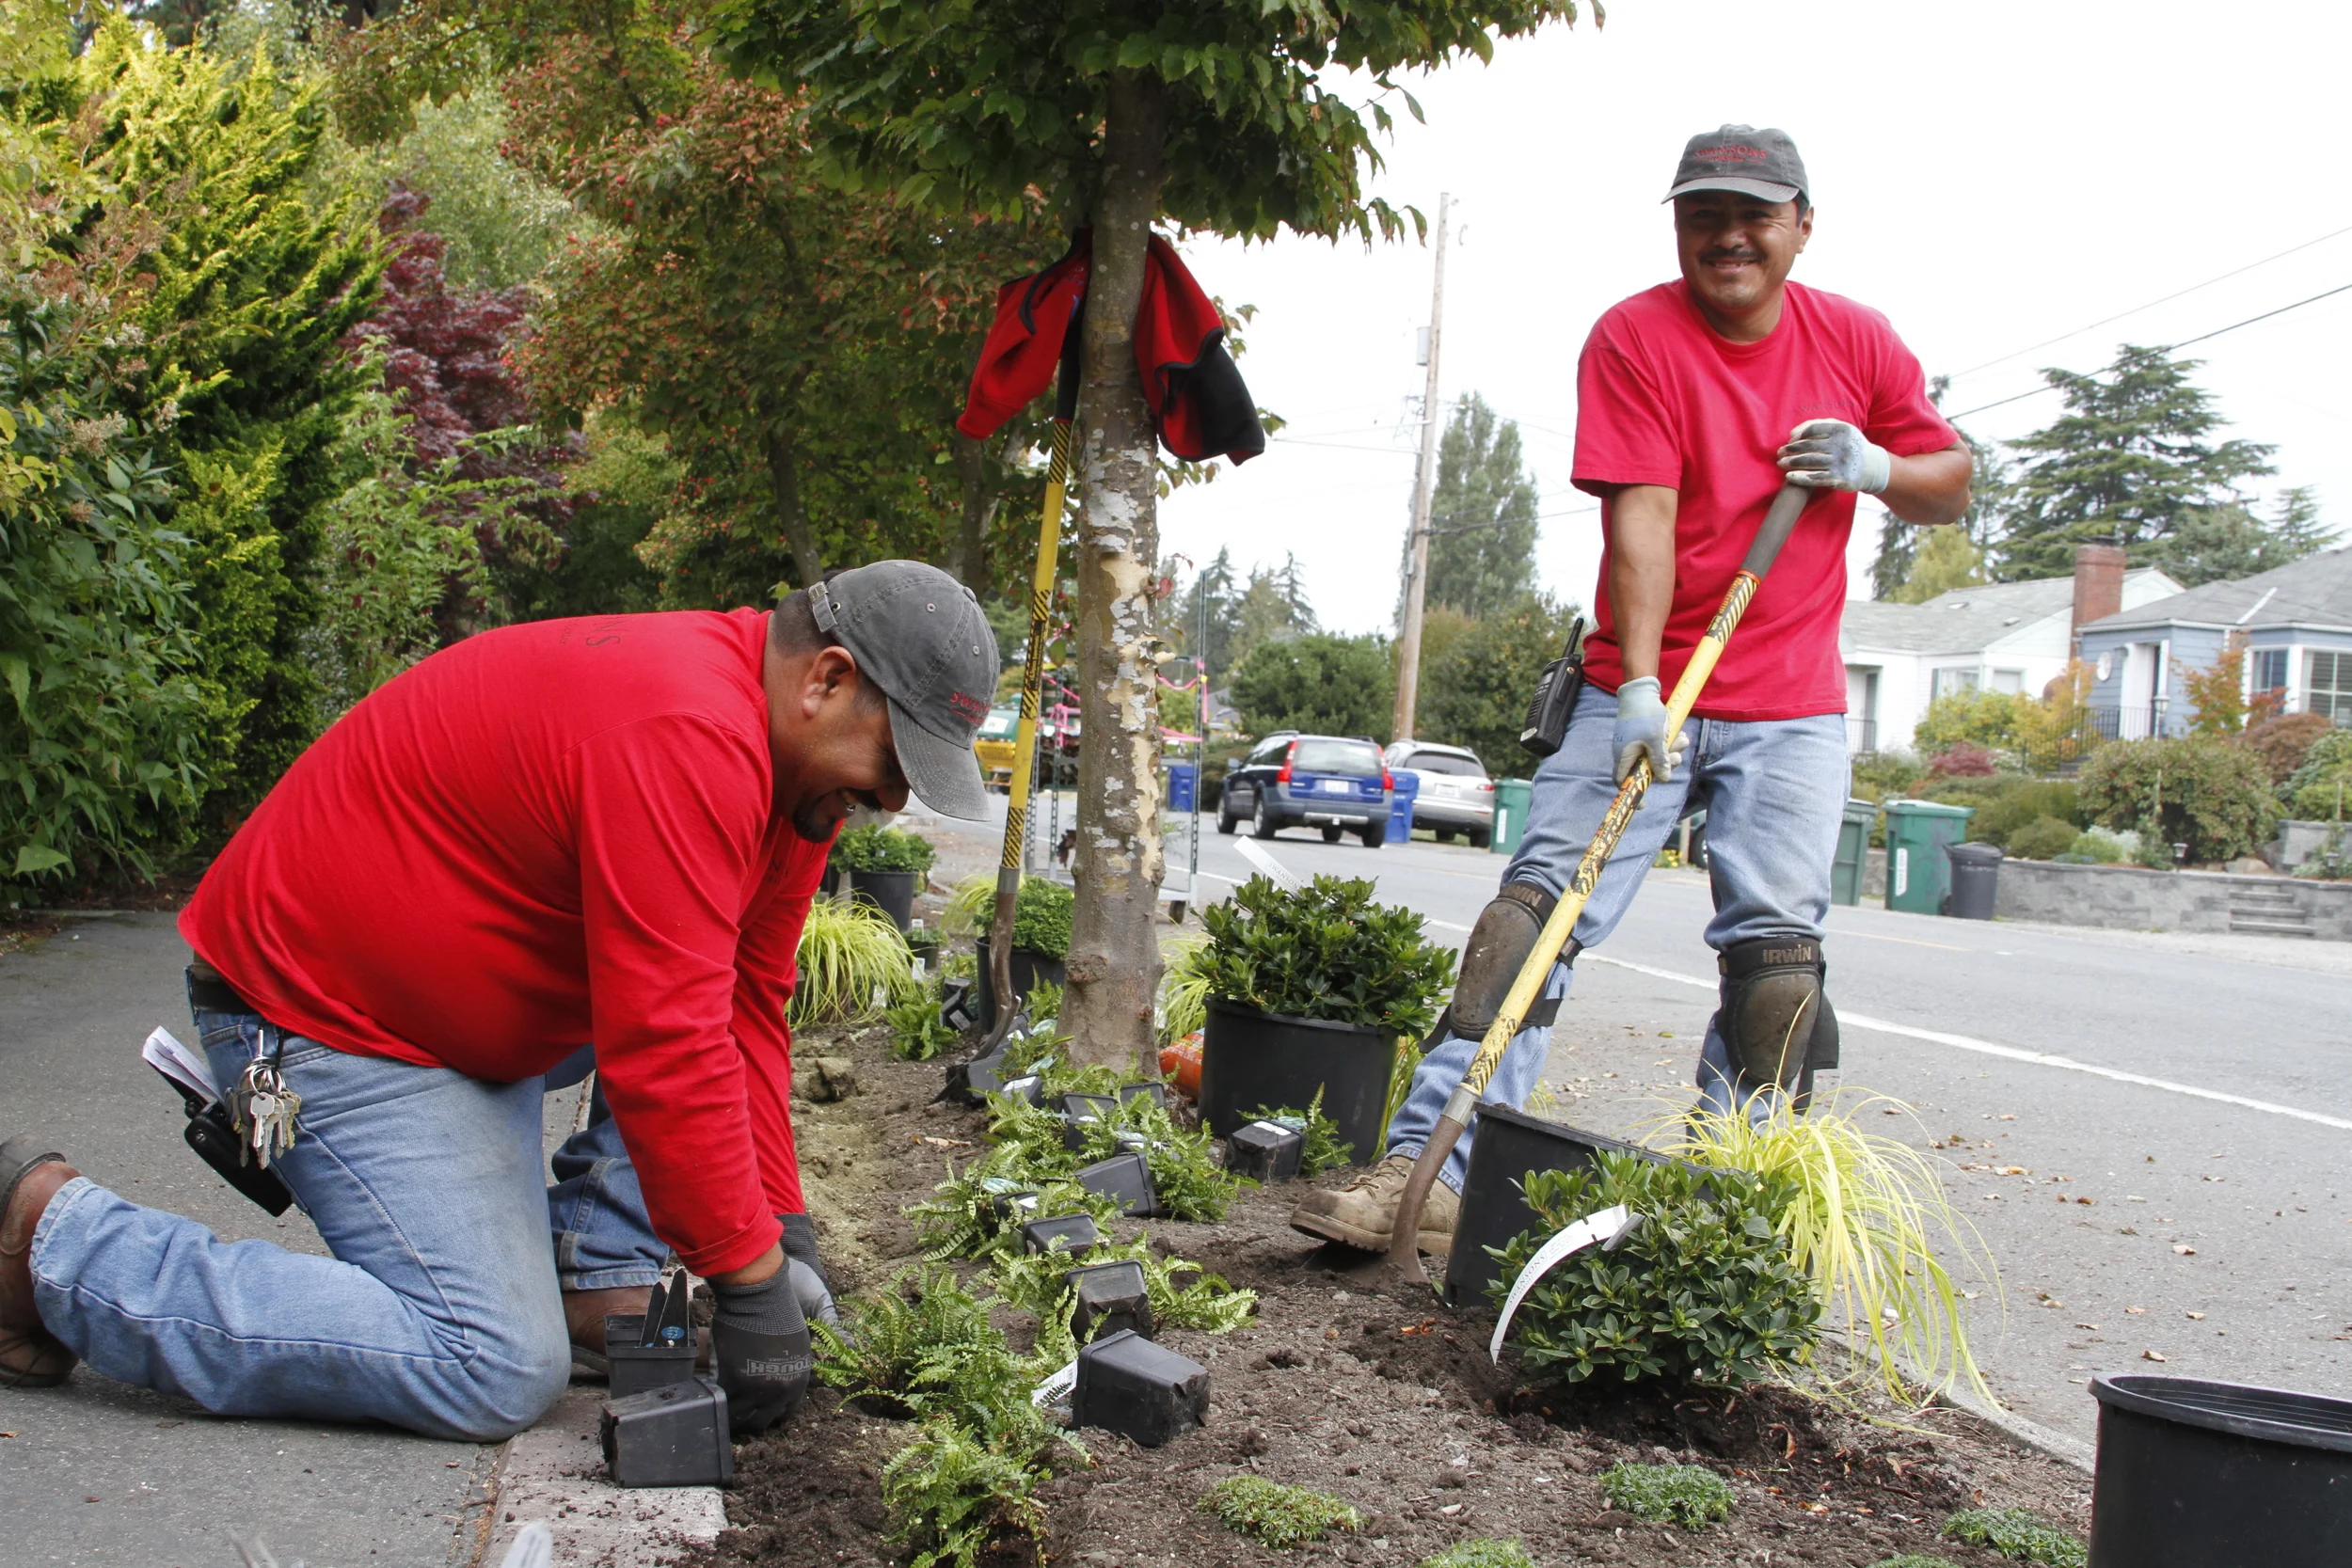
If you're working with a large space, it's always a good idea to lay out the plants first, and then step back to take a look at them. Even if you measured everything to the inch and laid it all out in software (which is what Kathy Cole, who did this design for us, did), nothing will ever look like you imagined it.
If you've ever tried to take a picture of your cat doing something cute only to be frustrated by their supernatural ability to dodge camera shutters, then you'll understand how the natural world can rebel against human plans. Plants seem to have their own gravity, which somehow manages to warp spacetime around them, making things that fit perfectly in software suddenly large and unwieldy in the real world.
By the way, in case you're wondering who this 'we' is that I keep referring to, it isn't me. In the picture above, where it looks like I'm evaluating the layout of the plants and planning the next phase, what I am actually doing is standing there with my hands in my pockets watching Priciliano and Bladimiro do all the work. I get away with this by telling people I'm 'composing a blog post.' They typically leave me alone when I say that.
Task 5: Establish for long-term success
This can mean different things depending on the season (for example, it involves a lot more watering if you're planting in late spring or summer), but generally it includes fertilizer, mulch and water. We (Priciliano and Bladimiro) threw a little planting fertilizer in each hole as we (they) worked, and then top-dressed with mulch.
Even though the autumn rains are coming, they made sure to water the plants deeply, so they have a great head start. Remember that nearly every plant requires extra watering through its first year or two in the ground, in order to get established.


Notice anything about these pictures? Not enough plants! We weren't able to get everything we wanted for the bed this autumn, so we'll have to wait until spring to finish. In the meantime, Kathy Cole revised her plan a bit and added in some Heucherellas to help fill the empty space and give us some pretty autumnal foliage to enjoy until the new plants arrive.
Here's a good lesson for any kind of project management: you don't always have to be finished to consider the project a success.
Thanks to Kathy Cole for giving us a beautiful design and to Priciliano and Bladimiro for making it real! You guys are the best! I promise I'll stop saying 'we'!
And thanks to the dogwood trees for their lovely berry-red 'mulch' - very fall festive, don't you think?
Here's the list of plants we used:
Azalea 'Hino Crimson'
Callicarpa 'Snowstorm'
Chamaecyparis 'Golden Pincushion'
Rhododendron 'Patty Bee'
Carex 'Everillo'
Blechnum penna-marina
Bolax glabria
Heucherella 'Brass Lanterns'
Bouteloua gracilis 'Blonde Ambition'
Stop by and take a look at our new strip - and let us know what you think!
Note: all photos by Aimée Damman