
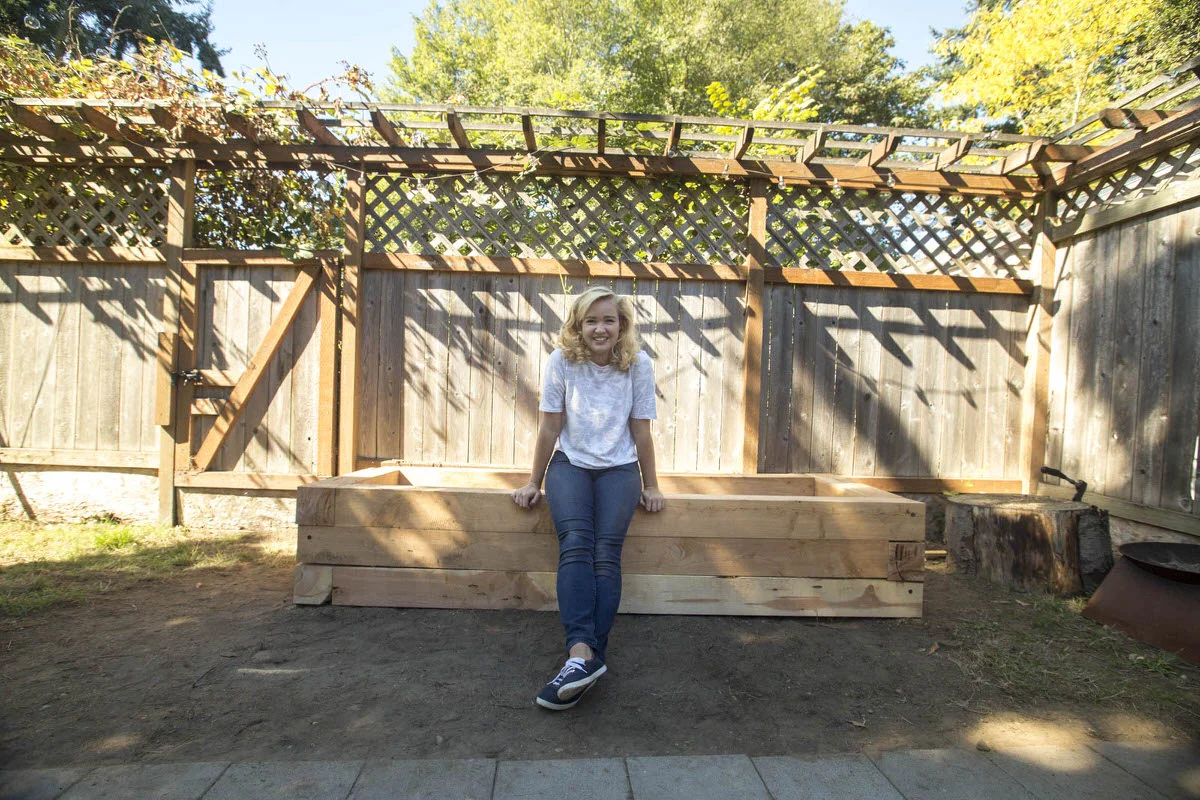
We're so excited to have Kirsten Dunn, of Dunn DIY, as a guest blogger on Digging Deeper to show us how to make a beautiful and practical raised bed!
As many of you already know, raised beds are ideal for growing edibles (and flowers, too), and they are an attractive addition to the garden. We love the idea of using juniper to build the bed. Thanks to Kirsten and Dunn DIY, we now know that it’s resistant to both rot and bugs. Thanks for the great info, Kirsten! We’re ready to try this DIY project at home!
About Juniper
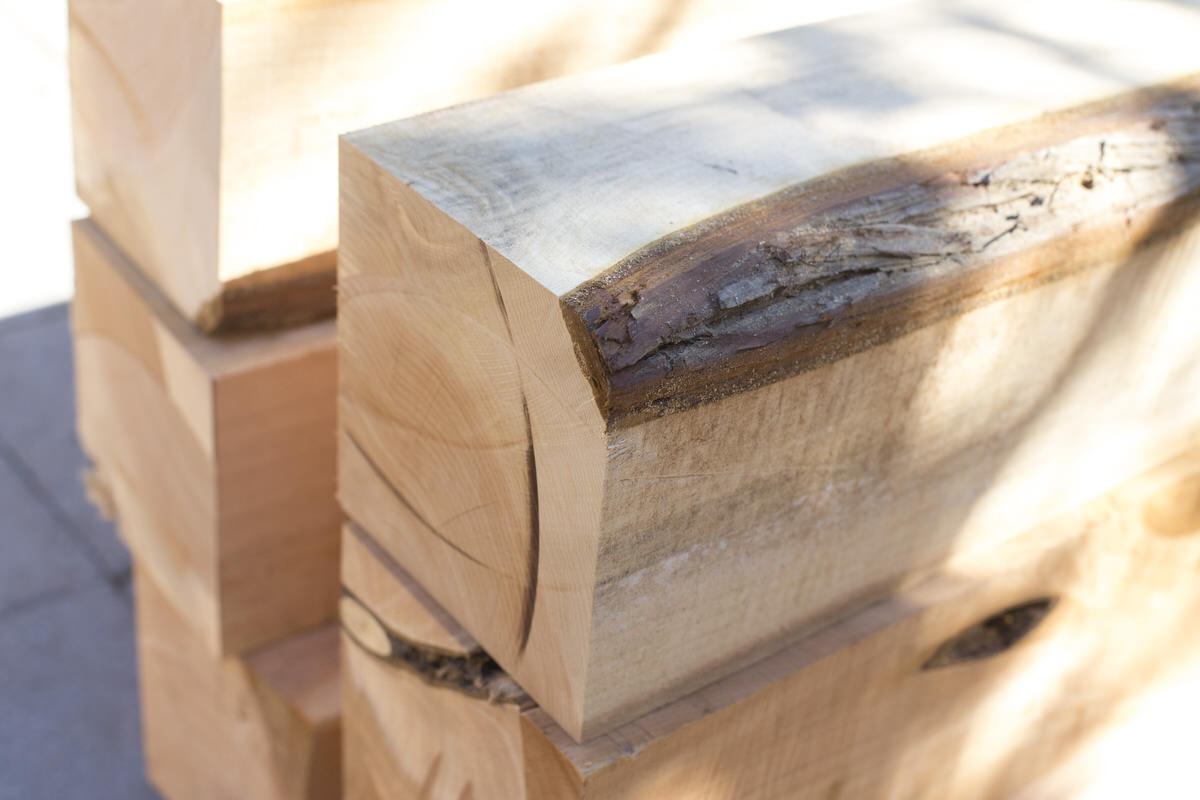
Juniper is a go-to gardening wood. Because it’s very naturally rot and bug resistant, juniper does well in contact with dirt. If you’re going to put veggies in the planter and you're concerned about them growing near treated lumber, a wood like juniper is a great alternative.
We used big 6” x 6” timbers (see materials and tools list). Dunn Lumber carries rustic Juniper landscape timbers. "Rustic," meaning the wood is neither smooth nor are all the edges perfect. (The timbers are cut into rough dimensions.) That’s fun for a project like this. It’s big timber anyway, and the rough cut looks at home in an outdoor setting.
Step 1: Cut the Wood
I don’t have a saw that’s big enough to cut through 6” x 6” material—I doubt you have one either—and I wasn’t convinced that my car would be up to carrying all that weight, so I let Dunn Lumber handle the job. The first six cuts at Dunn Lumber are free (every cut after that is 50 cents, so the cuts only cost me $1 total), and Dunn Lumber offers a flat-rate $20 local delivery. It made it all effortless.
Step 2: Choose the Right Drill Bit
This is a simple project, but it does take a fair amount of elbow grease to get it done. Make sure you have plenty of batteries charged for your drill and impact driver. We thought we had more than enough and still barely made it through. If you’re running on a rechargeable battery pack, you might need to recharge a couple times.
The timbers are so thick that it takes a lot of power—muscle power and drill power—to put them together. Learn from one of my mistakes by getting a drill bit that is the correct size. (I already had a "close enough" drill bit, so I didn't think it was worth buying another one). Trust me, the whole project becomes a lot more difficult if your drill bit is too large or too small, because there is more wood (and more friction) in the way as you drill. The key to finding the right size bit is to hold it up in front of the screw you’re using. If you can see the threads of the screw behind the bit, but not the shaft of the screw, then you know it’s the right size.

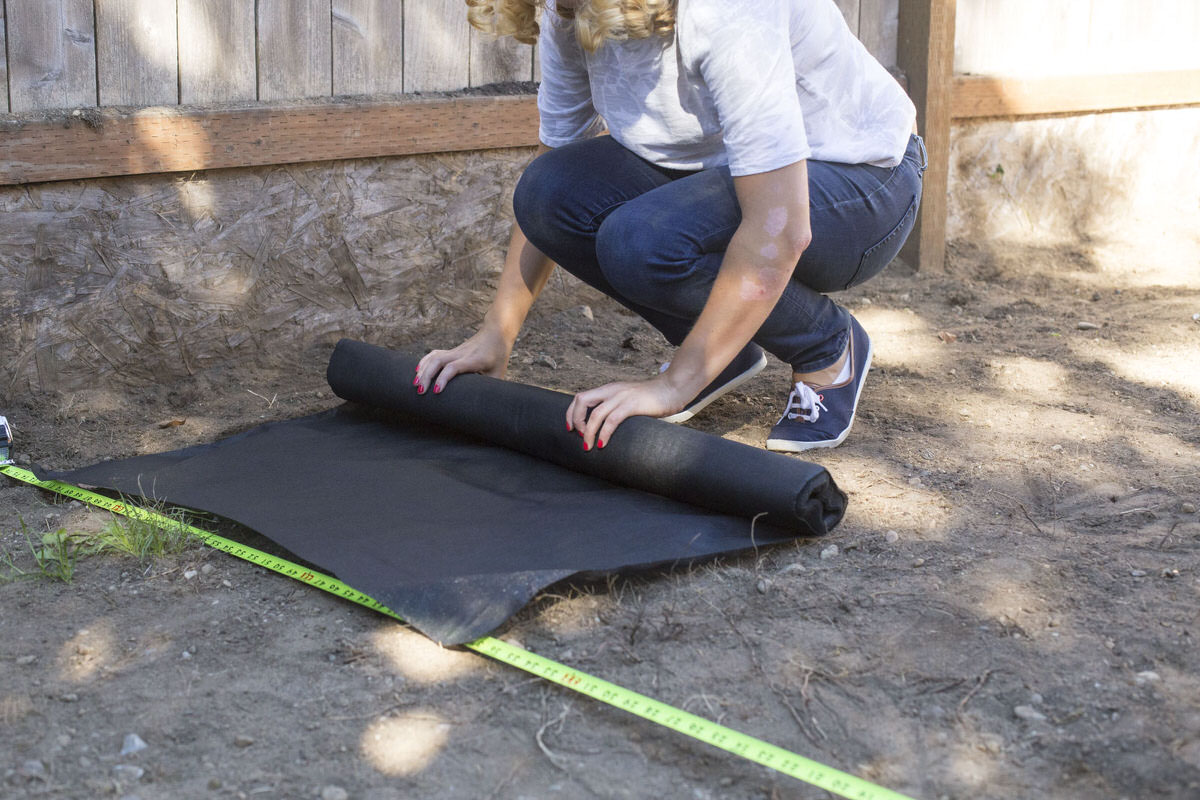
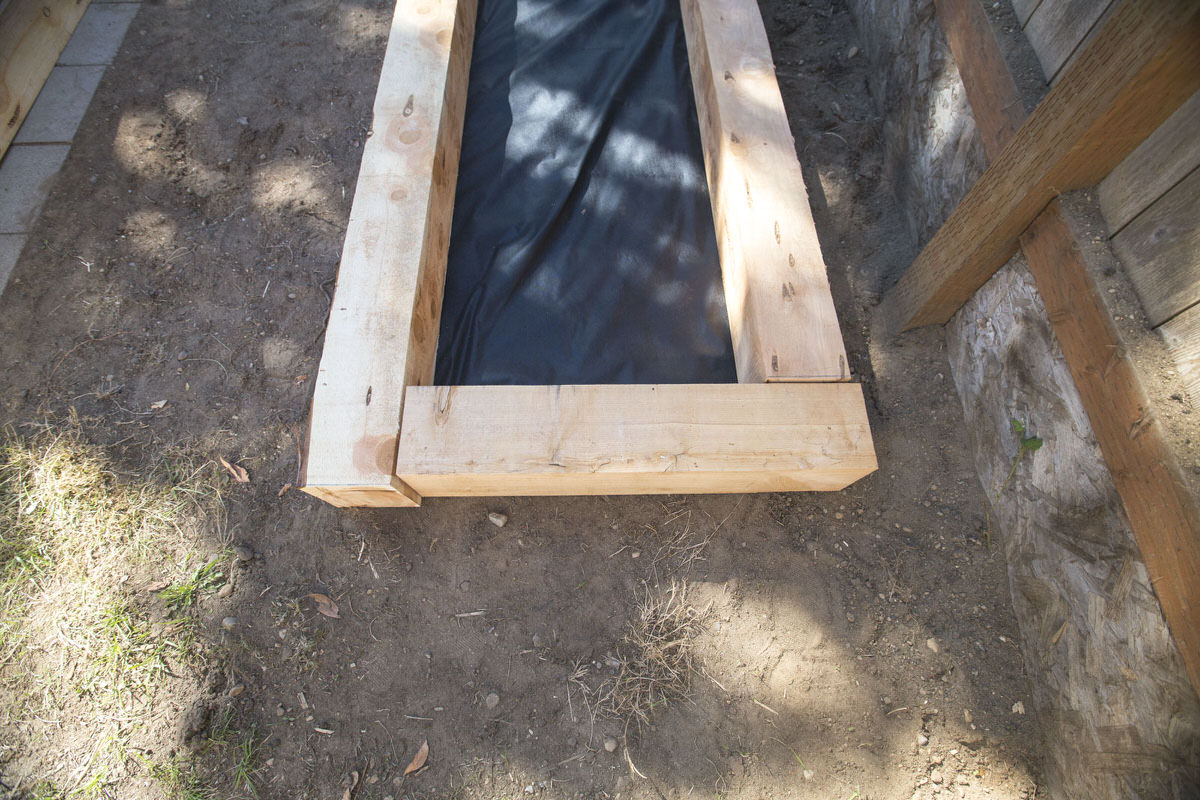
Step 3: Set the Landscape Fabric
Don't worry about the ground being perfectly graded, because the weight of the timber will eventually level it for you. It's not like you're laying down stones for a path; it’s just taking a shovel and evening out the surface so it’s not bumpy. It’s very non-precise.
Measure and cut out landscape fabric to lay directly on the ground. Landscape fabric is a mesh material that blocks weeds from growing through the planter bed while allowing water to drain through. It’s an alternative to laying down plastic, because it’s biodegradable. It’s not necessary, but it’s helpful. We put down two layers for added protection.
[Note: The dimensions of the bed reflect the dimensions of a planter bed that had been in that spot before. They’re not a suggested dimension, just what we were working with.]
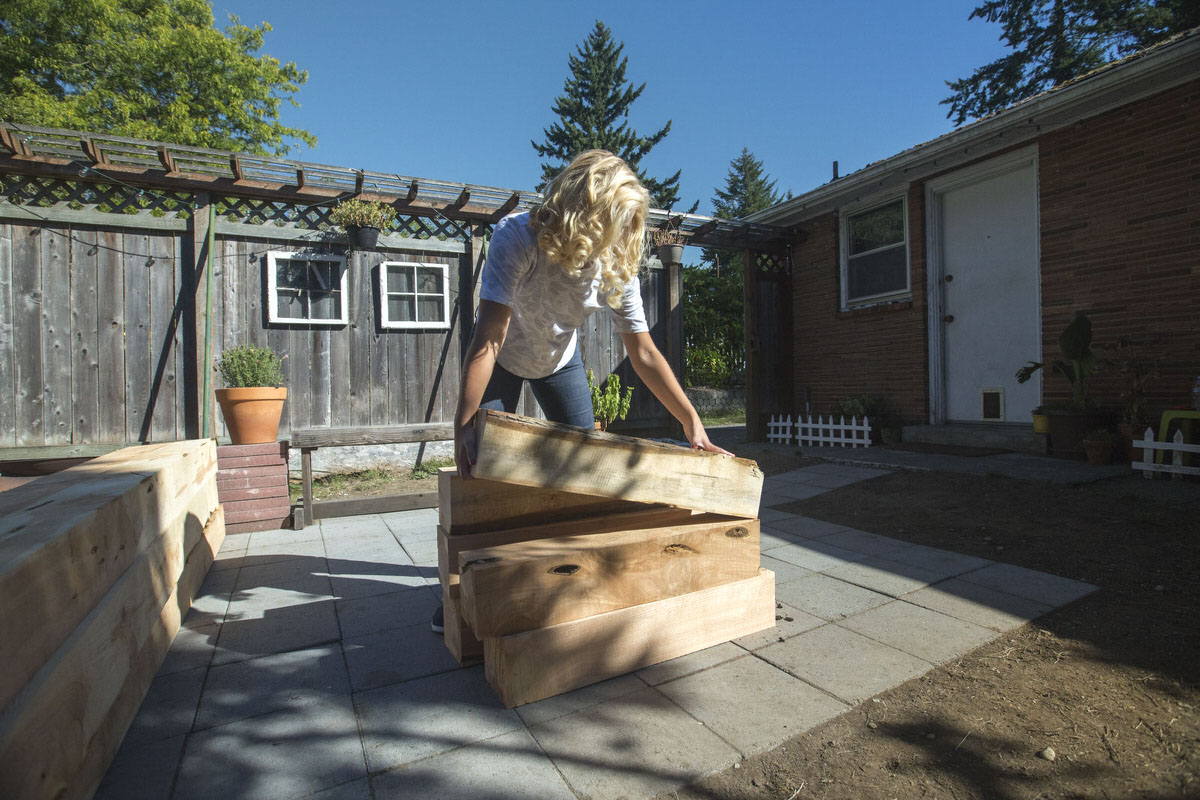
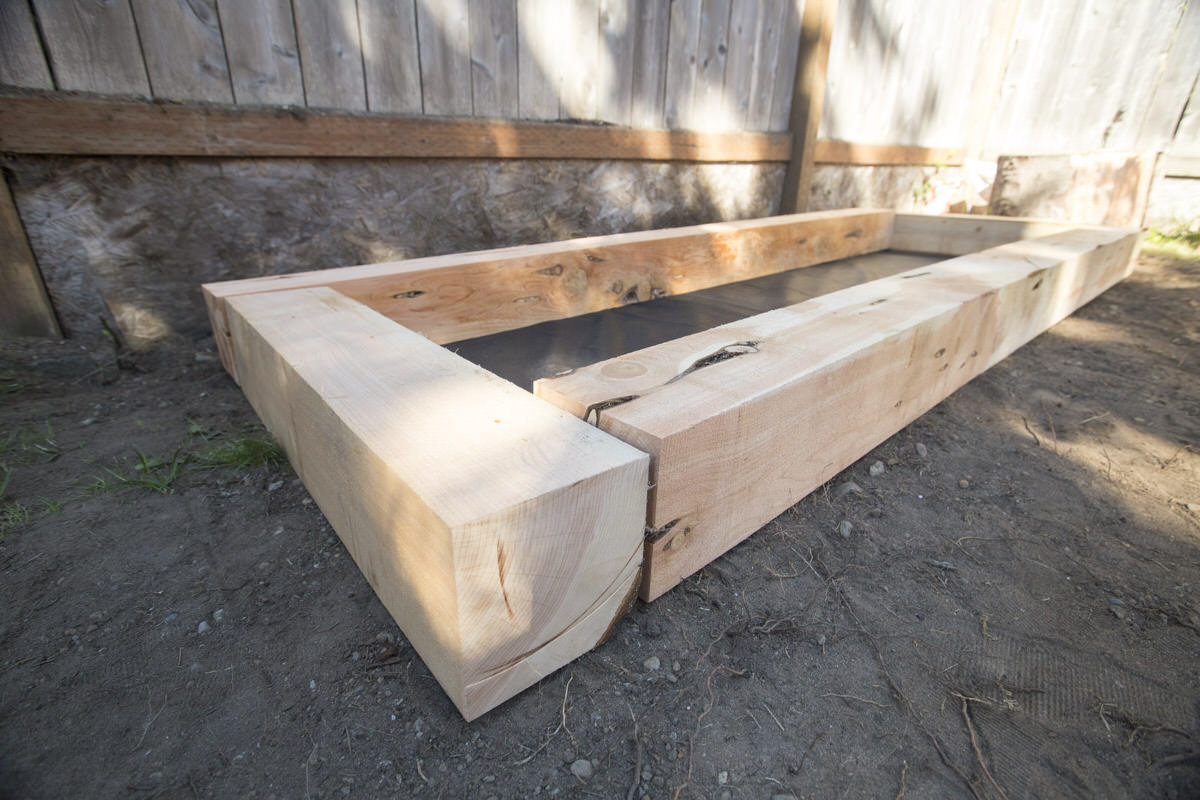
Step 4: Arrange the Bed's Base
Lay out the first tier of the planter bed over the landscape fabric. Adjust the fabric and tuck in the edges as needed.
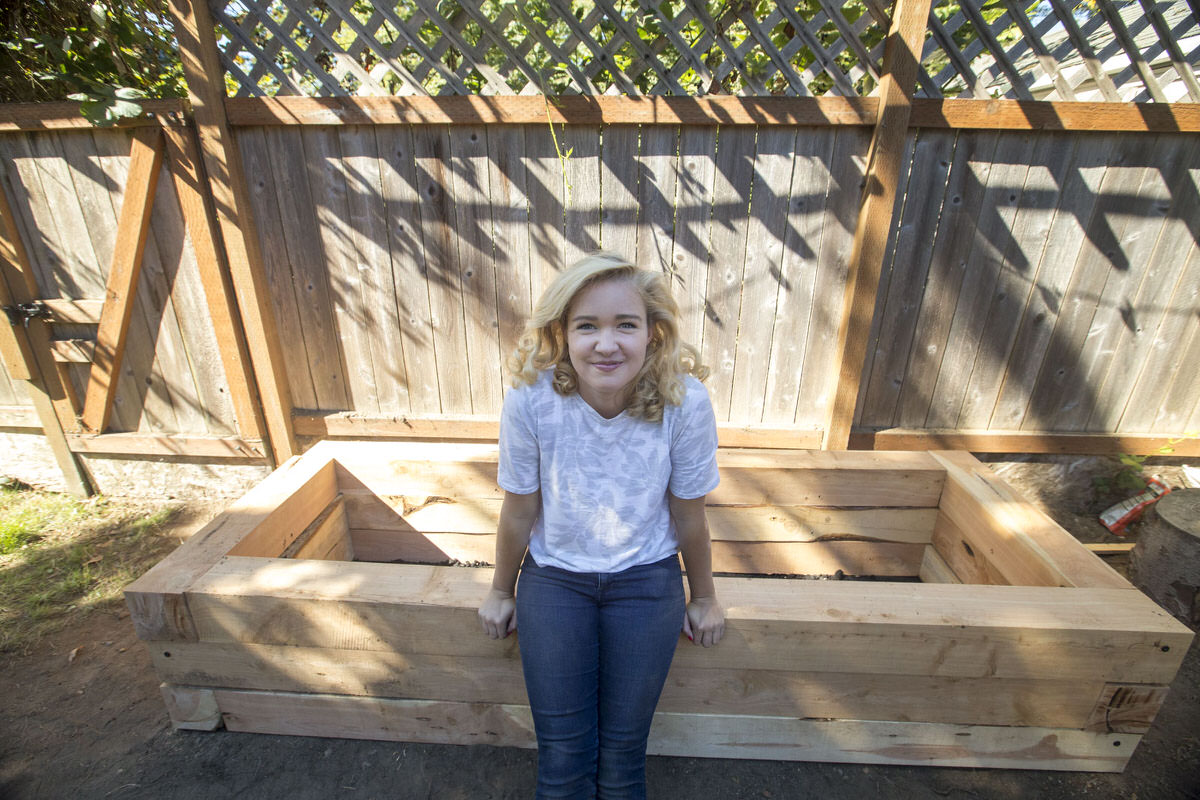
With each tier of the bed, the corners should interlock or cross over each other. Switching back and forth (like you see in the photo) keeps the planter stable and secure.
When you're arranging the timbers, keep in mind that lumber this big is hefty. I had another person helping me and with two of us lifting it wasn’t too bad, but I don’t know if I could have carried the longer pieces by myself. Maybe I could have—but wouldn’t want to. It's definitely more comfortable as a two-person job.
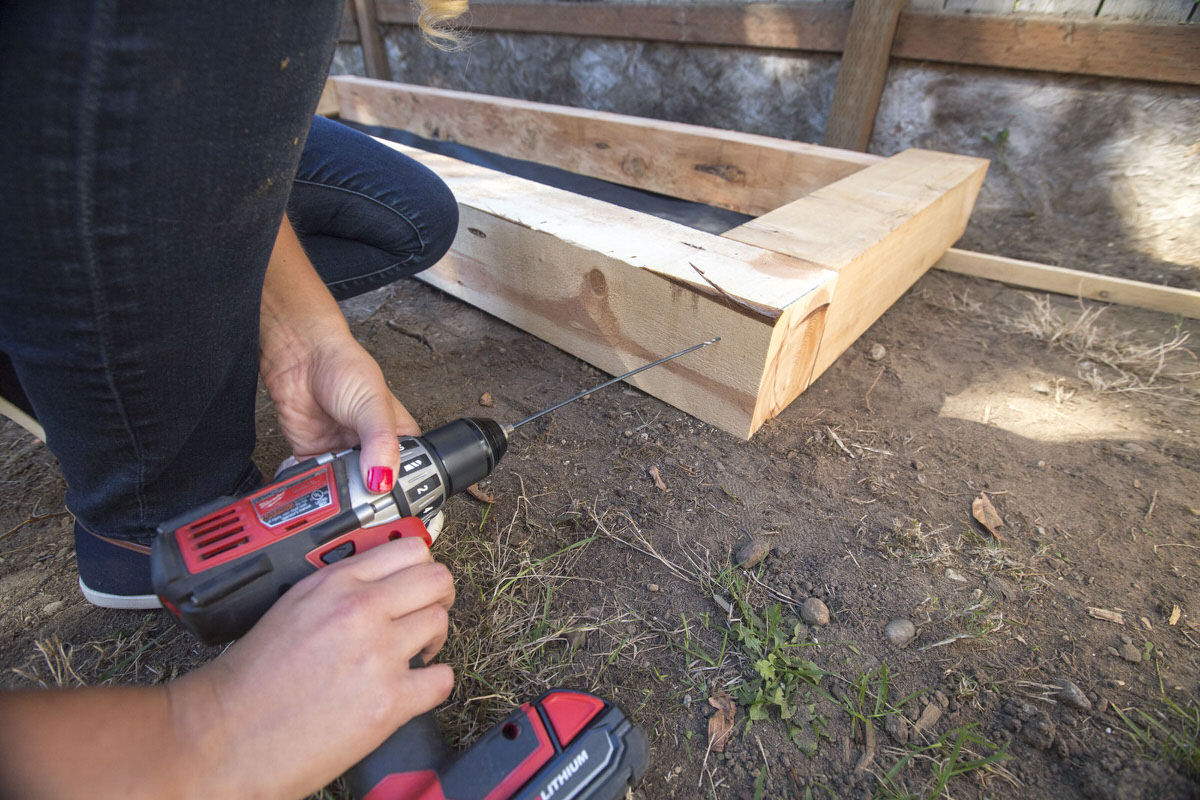
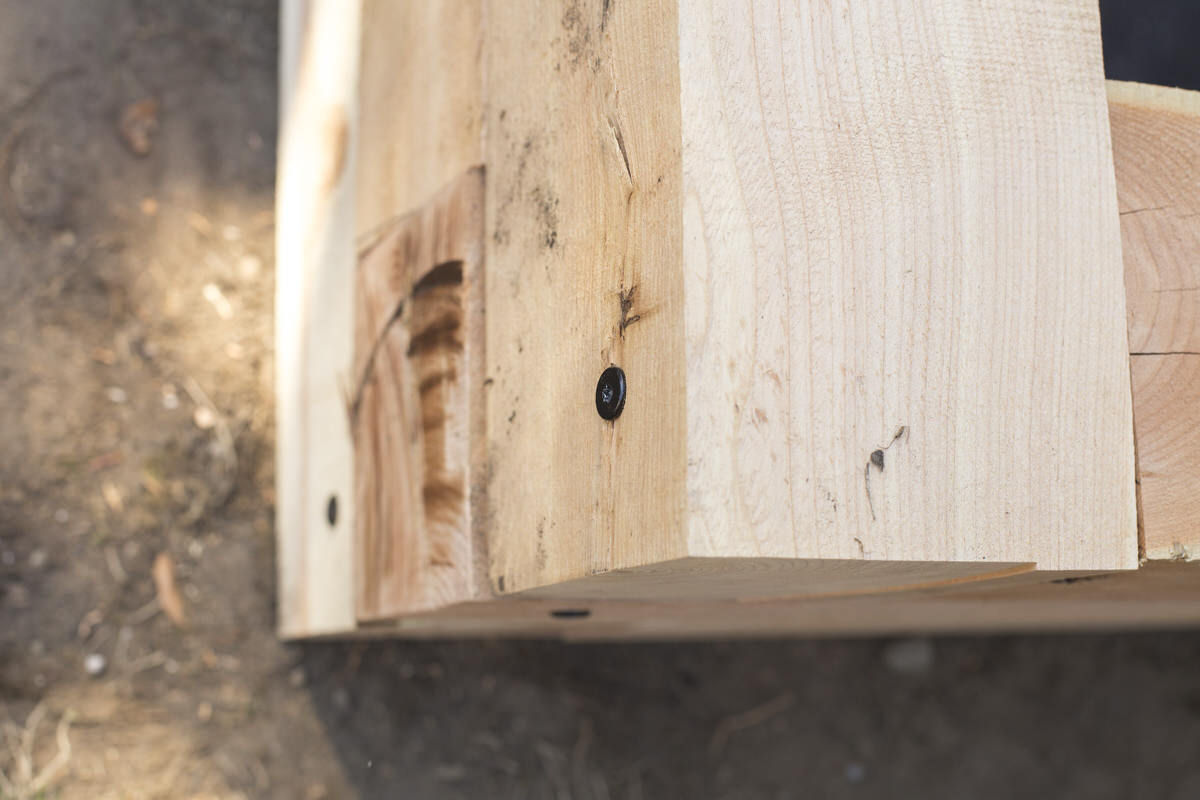
Step 5: Pre-Drill
I talked to people at Dunn Lumber and asked them about the best way to secure everything together. We decided to use massive 12” screws to secure all the timbers. When you’re determining how long your screws need to be, the basic idea is to multiply the dimensions of the wood by two. So if you were working with a 1” x 2” and drilling through the 1” side, you’d generally use a 2” screw. That meant for this project, we needed screws that were a foot long! (Because these are rustic timbers and not finished boards, they are an actual 6” wide, not the standard 5 ½” the board would be if it were planed and smoothed.)
Here’s the thing that’s not surprising about 12” screws: It takes a lot more effort to drive a 12” screw than a 2” screw. There’s much more friction. With lumber that thick, it becomes really important to pre-drill holes. Pre-drill with a 12” bit through the side of one piece and into the end of the one perpendicular to it. Be firm, but not so heavy on the bit that it breaks. (Because it’s so long, the bit bends a scary amount. It’s not a problem for it to bend, but if you put too much pressure on it, it will snap. )
Start out gently, increasing the pressure as you get used to the give of the wood. Make sure to keep the drill at a right angle to the wood as you go.
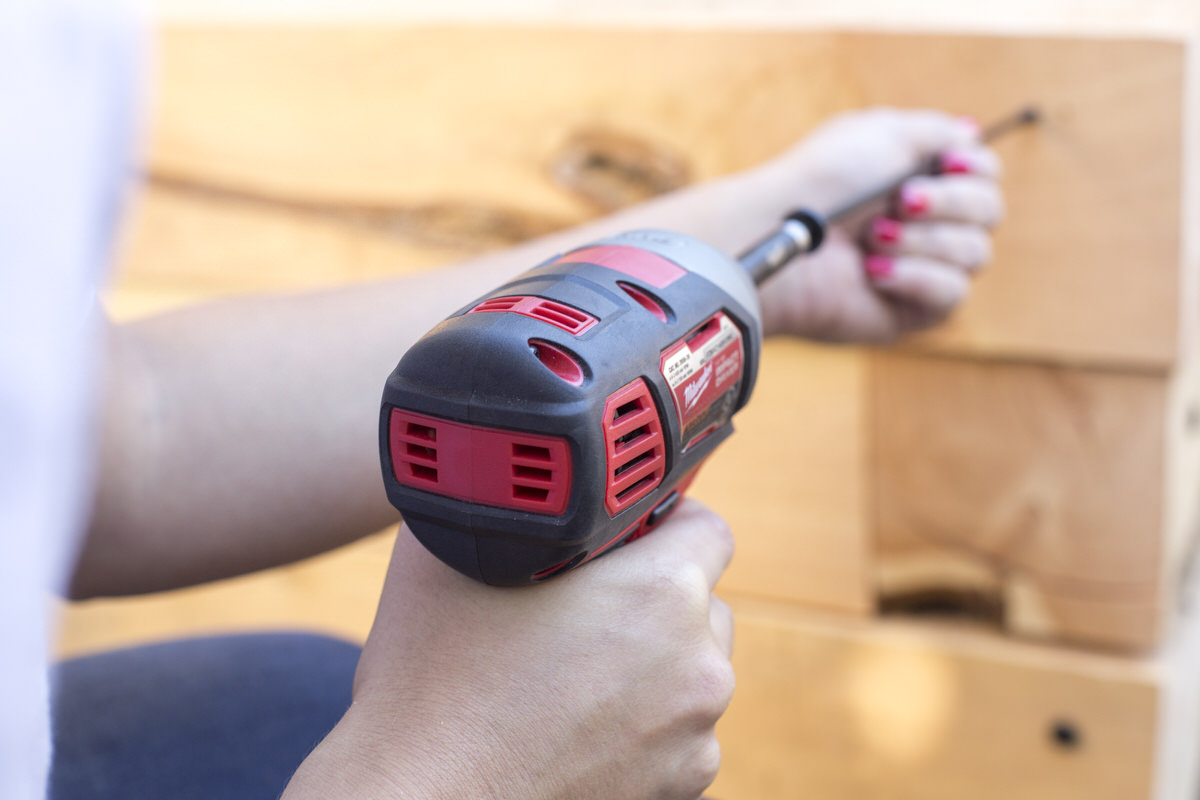
Step 6: Use an Impact Driver (and a Lot of Body Weight)
An impact driver is a drill, but it’s designed to do this kind of work. You still need your drill to pre-drill the holes. You can't pre-drill with an impact driver, you only insert screw—hence the name driver, not drill. It’s a one-function machine, so it’s pretty specific to that function and does a better job at it.
The impact driver has an anvil mechanism inside that creates force within the driver. Whereas a drill’s power is in turning the screw so the threads push it into the wood, the impact driver actually puts force on the screw to do the pushing.
That anvil mechanism makes a lot of noise. If you’ve never used an impact driver before, you might think the clicking sound means you’re breaking it, but it's perfectly normal.

Step 7: Build the Bed
Build the bed where it’s going to live permanently. You can move it, but it weighs a lot once assembled. Our planter bed was close to a fence—too close to drive a 12” screw on that side. To solve this problem, we attached the three corners that we could, then turned the whole frame on its side. From there, it was easy to drill down and attach the final corner. We did this for all three levels.
Lay down the next level of the bed, alternating the pattern of the timbers so none of the seams overlap. This creates a stronger frame. You might think of it almost as spiral pattern. The wood goes in a clockwise direction on the first tier, then a counterclockwise direction on the second. If it’s crosshatched, it prevents a specific area of weakness opening up along one seam and keeps the dirt where it belongs.
Attach the second level and then the third in the same manner as the first. To secure the levels of the bed to each other, drill at an angle on the inside of the box from one layer down to the next. Attach with 5” screws.
Joining the different levels needs less screw and less securing because it’s not a main support. It's just an added security to make sure the bed isn't shifting. (Also, it’s really fun to drive 5" screws after you’ve done 12" screws, because it’s a breeze!) We used one screw on either end and two in the middle to attach the second level to the first, and then repeated the process to attach the third level to the second.
Keep in mind that these timbers are rough and won’t line up as well as finished boards. Because they’re so thick, you can’t manipulate them much. But that's OK! In the end the imperfections add to the overall aesthetic.

Step 8: Add Soil
Now you can fill your new bed with a high-quality potting soil.. Remember never to fill the bed with garden soil (same goes for filling pots). Instead, use a potting soil, such as G&B Organics Raised Bed & Potting Mix. Swansons also carries soil and amendments specifically formulated for vegetable gardens. Try mixing some G&B Organics Harvest Supreme or Dr. Earth Vegetable Garden Planting Mix into the potting mix, to add vital nutrients and aerate the soil.

Ready to plant? Check out our guest post on Dunn DIY: Growing Vegetables in the Pacific Northwest!
You can also find great monthly edible gardening tips on our NW Gardening Tips page and these take a look at these blog posts:
Project Materials:
12-24 Heavy Duty 12" Screws
Landscape Fabric
G&B Organics Raised Bed & Potting Mix


About Kirsten
Kirsten Dunn is a proud fifth-generation family member and employee at Dunn Lumber. When she's not DIY-ing, she enjoys sewing, swing dancing, and spending time with her sister. She loves working with her hands and creating beauty, and she looks forward to living out some of her Pinterest dreams at Dunn DIY.
Editor's Note: A version of this post was originally published on dunndiy.com. Reposting on Digging Deeper with permission from Dunn DIY.